Operation
Remote Control: Select Remote Control from the Service menu to change the following settings related to remote control operation.
•Remote Code: Select Remote Code from the Remote Control menu to set the infrared (IR) code set to which the
•Another device in the theater (a DVD player, for example) is responding to commands from the
•You have multiple DHD Controllers and want to control them independently, as opposed to broadcasting commands from a single remote to all of them. In this scenario, you can use multiple remotes programmed to use different IR codes. Or, you can use a single remote and change the IR code as needed to address a specific DHD Controller.
Use the DHD Controller
remote to match as described below.
When you change a remote code on the
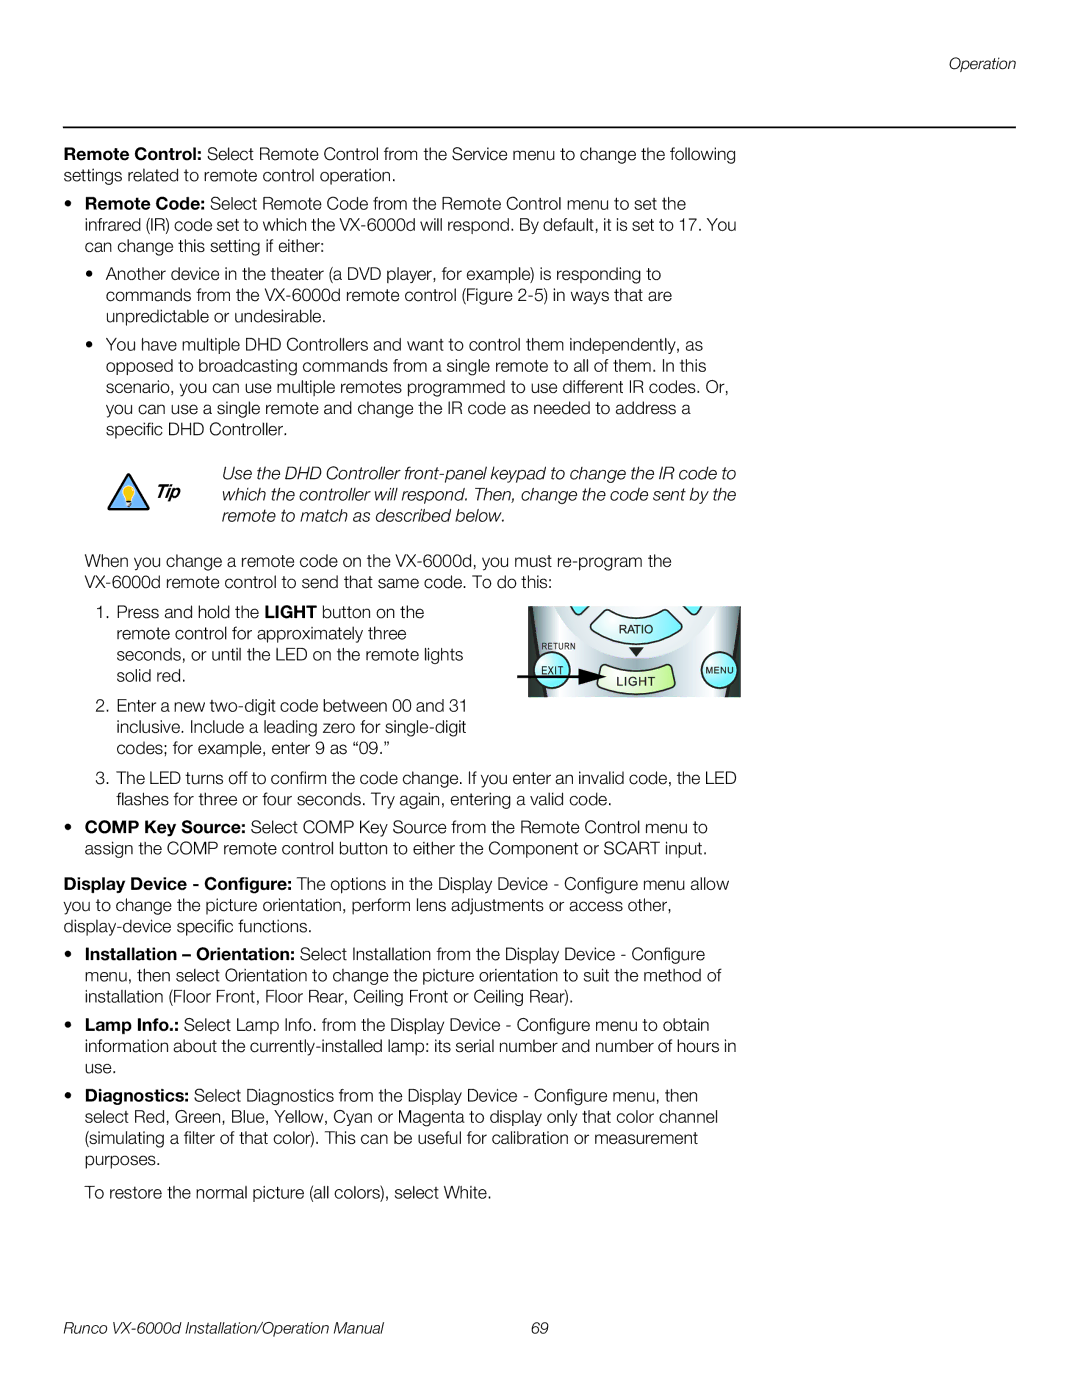
1.Press and hold the LIGHT button on the remote control for approximately three seconds, or until the LED on the remote lights solid red.
2.Enter a new
RETURN
EXIT
3.The LED turns off to confirm the code change. If you enter an invalid code, the LED flashes for three or four seconds. Try again, entering a valid code.
•COMP Key Source: Select COMP Key Source from the Remote Control menu to assign the COMP remote control button to either the Component or SCART input.
Display Device - Configure: The options in the Display Device - Configure menu allow you to change the picture orientation, perform lens adjustments or access other,
•Installation – Orientation: Select Installation from the Display Device - Configure menu, then select Orientation to change the picture orientation to suit the method of installation (Floor Front, Floor Rear, Ceiling Front or Ceiling Rear).
•Lamp Info.: Select Lamp Info. from the Display Device - Configure menu to obtain
information about the
•Diagnostics: Select Diagnostics from the Display Device - Configure menu, then select Red, Green, Blue, Yellow, Cyan or Magenta to display only that color channel (simulating a filter of that color). This can be useful for calibration or measurement purposes.
To restore the normal picture (all colors), select White.
Runco | 69 |