ADJUSTING THE OUTPUT SUPPORT
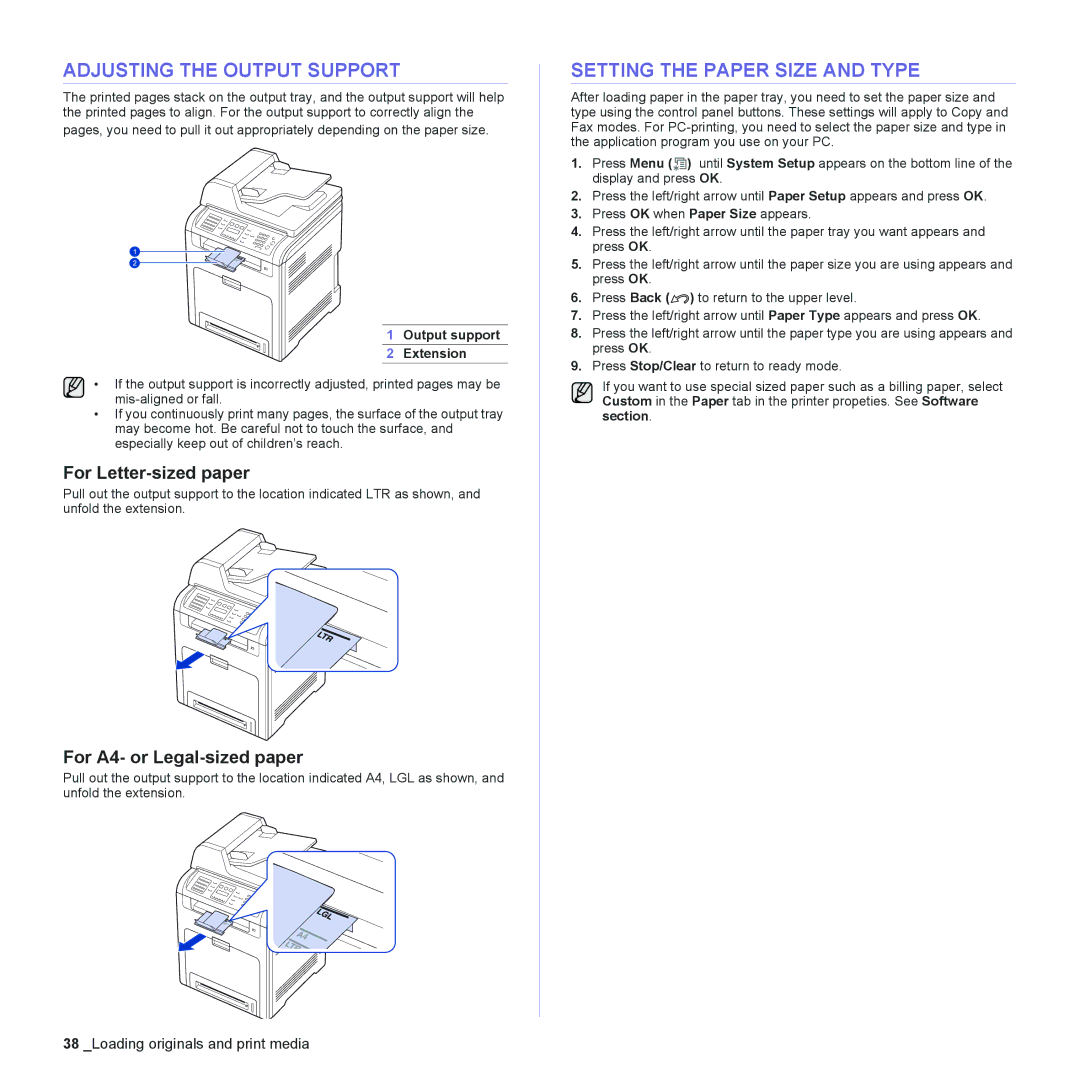
The printed pages stack on the output tray, and the output support will help the printed pages to align. For the output support to correctly align the
pages, you need to pull it out appropriately depending on the paper size.
1 Output support
2 Extension
• If the output support is incorrectly adjusted, printed pages may be
•If you continuously print many pages, the surface of the output tray may become hot. Be careful not to touch the surface, and especially keep out of children’s reach.
For Letter-sized paper
Pull out the output support to the location indicated LTR as shown, and unfold the extension.
For A4- or Legal-sized paper
Pull out the output support to the location indicated A4, LGL as shown, and unfold the extension.
SETTING THE PAPER SIZE AND TYPE
After loading paper in the paper tray, you need to set the paper size and type using the control panel buttons. These settings will apply to Copy and Fax modes. For
1.Press Menu ( ![]() ) until System Setup appears on the bottom line of the display and press OK.
) until System Setup appears on the bottom line of the display and press OK.
2.Press the left/right arrow until Paper Setup appears and press OK.
3.Press OK when Paper Size appears.
4.Press the left/right arrow until the paper tray you want appears and press OK.
5.Press the left/right arrow until the paper size you are using appears and press OK.
6.Press Back (![]() ) to return to the upper level.
) to return to the upper level.
7.Press the left/right arrow until Paper Type appears and press OK.
8.Press the left/right arrow until the paper type you are using appears and press OK.
9.Press Stop/Clear to return to ready mode.
If you want to use special sized paper such as a billing paper, select Custom in the Paper tab in the printer propeties. See Software section.
