•Custom Margin: Enter the left, right, top, bottom margin using Number keypad.
6.Press the left/right arrow to select Yes.
7.Press OK to begin copying.
8.Press Stop/Clear to return to ready mode.
Edge erase
Edge erase allows you to erase sports, drill holes, fold creases and staple marks along any of the four edges of a document.
The Edge Erase feature can either be used for scan glass or DADF (or ADF) depending on the set up.
-Small Original: Scanner glass
1.Press Copy.
2. Load originals face up into the DADF (or ADF), or place a single original face down on the scanner glass.
For details about loading an original, see page 32.
3. Press Menu (![]() ) until Copy Feature appears on the bottom line of the display and press OK.
) until Copy Feature appears on the bottom line of the display and press OK.
4.Press OK when Edge Erase appears.
5.Press the left/right arrow until the binding option you want appears.
•Off: Does not set the binding option.
•Small Original. Erases the edge of the original if it is small.
•Hole Punch. Erases the marks of bookbinding holes.
•Book Center. Erases the middle part of the paper which is black and horizontal, when you copy a book.
•Border Erase. Erases the certain amount of the edge of the printout.
6.Press OK to begin copying.
7.Press Stop/Clear to return to ready mode.
Gray enhance copying
When you copy the original in gray scale, use this feature for the better quality of
1.Press Copy.
2.Load originals face up into the DADF (or ADF), or place a single original face down on the scanner glass.
For details about loading an original, see page 32.
3.Press Menu (![]() ) until Copy Feature appears on the bottom line of the display and press OK.
) until Copy Feature appears on the bottom line of the display and press OK.
4.Press OK when Gray Enhance appears.
5.Press the left/right arrow to select On.
6.Press OK to begin copying.
7.Press Stop/Clear to return to ready mode.
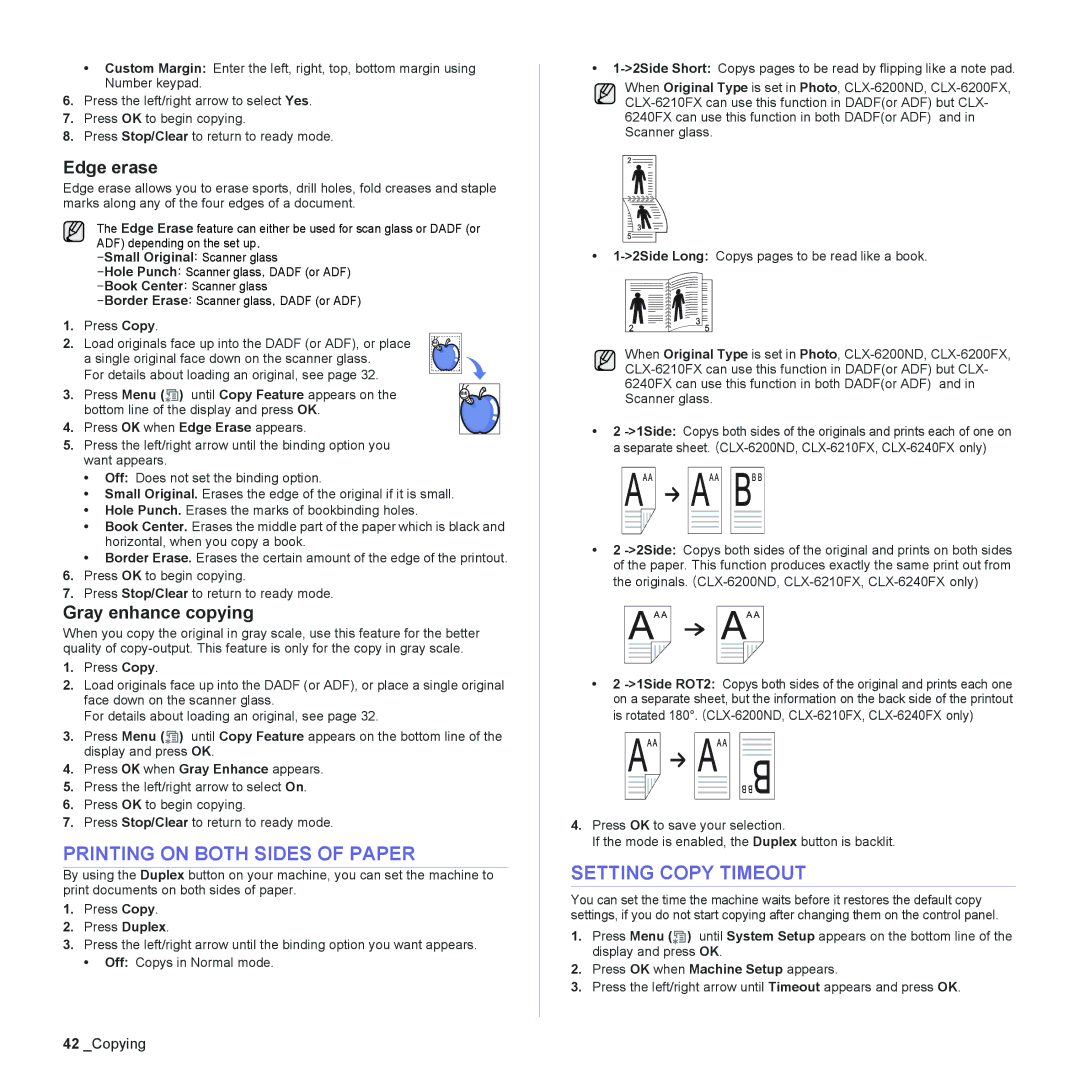
PRINTING ON BOTH SIDES OF PAPER
By using the Duplex button on your machine, you can set the machine to print documents on both sides of paper.
1.Press Copy.
2.Press Duplex.
3.Press the left/right arrow until the binding option you want appears.
• Off: Copys in Normal mode.
•
When Original Type is set in Photo,
•
When Original Type is set in Photo,
•2
•2
•2
4.Press OK to save your selection.
If the mode is enabled, the Duplex button is backlit.
SETTING COPY TIMEOUT
You can set the time the machine waits before it restores the default copy settings, if you do not start copying after changing them on the control panel.
1.Press Menu (![]() ) until System Setup appears on the bottom line of the display and press OK.
) until System Setup appears on the bottom line of the display and press OK.
2.Press OK when Machine Setup appears.
3.Press the left/right arrow until Timeout appears and press OK.
42_Copying