01616A
One-Touch Recording (OTR)
Record Speed
GB
OTR 0:30 0:11:40
SP
OTR 0:30 | OTR 0:30 | ||
OTR 1:00 | |||
0:11:40 |
| ||
| OTR 1:30 | ||
SP |
| ||
| OTR 2:00 | ||
|
| ||
|
| OTR 9:00 | |
|
| OTR 9:30 | |
|
| ||
|
| ||
| OTR Loop | ||
| 0:11:40 | ||
|
| SP | |
1Start Recording
Follow the instructions on page 52 to begin recording.
2Activate OTR
While in Record mode, press the REC button again to activate
•OTR 0:30 appears on the
3Add Recording Time
Continue pressing REC to add recording time in 30 minute increments up to 9 hours and 30 minutes.
4Activate Loop Record
When you reach OTR 9:30, press REC again to enter Loop Record mode. The
•If you press Power during OTR, the
•The
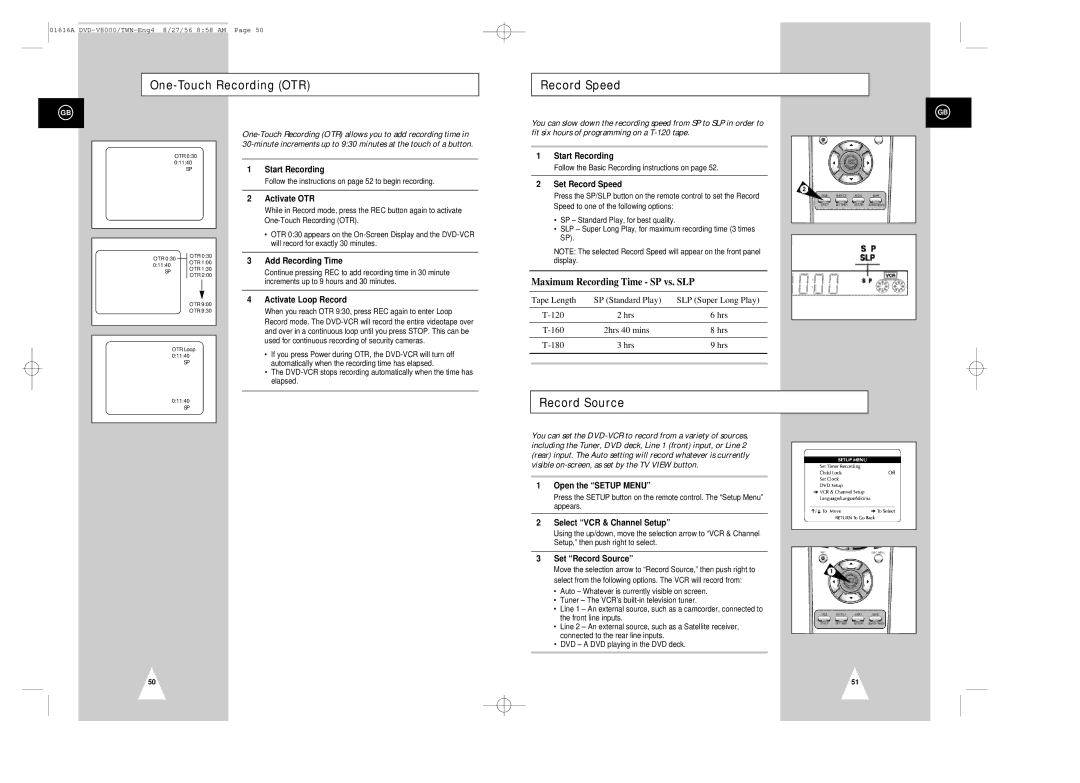
You can slow down the recording speed from SP to SLP in order to fit six hours of programming on a
1Start Recording
Follow the Basic Recording instructions on page 52.
2Set Record Speed
Press the SP/SLP button on the remote control to set the Record Speed to one of the following options:
•SP – Standard Play, for best quality.
•SLP – Super Long Play, for maximum recording time (3 times SP).
NOTE: The selected Record Speed will appear on the front panel display.
Maximum Recording Time - SP vs. SLP
Tape Length | SP (Standard Play) | SLP (Super Long Play) |
2 hrs | 6 hrs | |
2hrs 40 mins | 8 hrs | |
3 hrs | 9 hrs |
GB
2
0:11:40 |
SP |
Record Source
You can set the
1Open the “SETUP MENU”
Press the SETUP button on the remote control. The “Setup Menu” appears.
2Select “VCR & Channel Setup”
Using the up/down, move the selection arrow to “VCR & Channel Setup,” then push right to select.
3Set “Record Source”
Move the selection arrow to “Record Source,” then push right to | 1 |
select from the following options. The VCR will record from:
•Auto – Whatever is currently visible on screen.
•Tuner – The VCR’s
•Line 1 – An external source, such as a camcorder, connected to the front line inputs.
•Line 2 – An external source, such as a Satellite receiver, connected to the rear line inputs.
•DVD – A DVD playing in the DVD deck.
50
51
