If you set up the public DDNS (dyndns. com,
To connect this product to an IP router, you have to designate a port for this product in the setup menu of the router. This product has 4 ports for TCP communication. To use the DHCP function provided by the IP router to allocate the dynamic IP to the product, designate a port for the IP that has been allocated by the IP router setup menu. When using the IP router, it
is recommended to use the fixed IP. For that purpose, set the IP address and port number to be allocated to the product, select Static IP in the connection mode and enter the IP address assigned to the IP router. For more information about using the IP router, see the user manual of the IP router or contact the manufacturer.
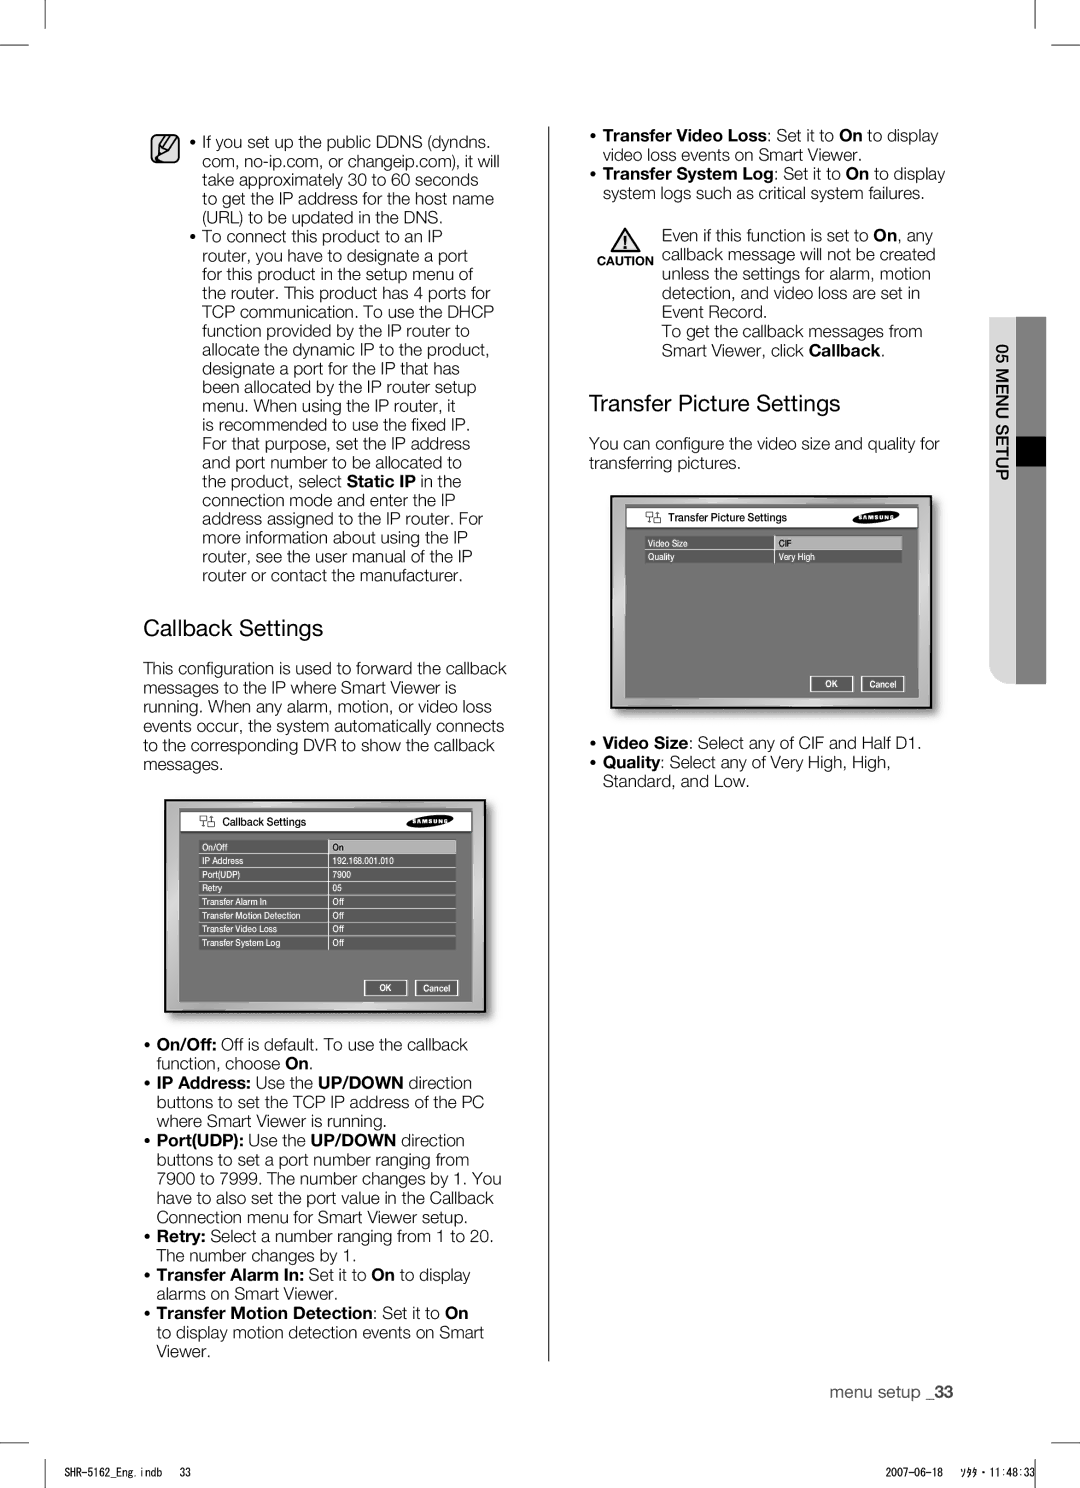
Callback Settings
This configuration is used to forward the callback messages to the IP where Smart Viewer is running. When any alarm, motion, or video loss events occur, the system automatically connects to the corresponding DVR to show the callback messages.
Callback Settings
On/Off | On |
|
IP Address | 192.168.001.010 |
|
Port(UDP) | 7900 |
|
Retry | 05 |
|
Transfer Alarm In | Off |
|
Transfer Motion Detection | Off |
|
Transfer Video Loss | Off |
|
Transfer System Log | Off |
|
| OK | Cancel |
On/Off: Off is default. To use the callback function, choose On.
IP Address: Use the UP/DOWN direction buttons to set the TCP IP address of the PC where Smart Viewer is running.
Port(UDP): Use the UP/DOWN direction buttons to set a port number ranging from 7900 to 7999. The number changes by 1. You have to also set the port value in the Callback Connection menu for Smart Viewer setup.
Retry: Select a number ranging from 1 to 20. The number changes by 1.
Transfer Alarm In: Set it to On to display alarms on Smart Viewer.
Transfer Motion Detection: Set it to On to display motion detection events on Smart Viewer.
Transfer Video Loss: Set it to On to display video loss events on Smart Viewer.
Transfer System Log: Set it to On to display system logs such as critical system failures.
Even if this function is set to On, any CAUTION callback message will not be created unless the settings for alarm, motion
detection, and video loss are set in Event Record.
To get the callback messages from Smart Viewer, click Callback.
Transfer Picture Settings
You can configure the video size and quality for transferring pictures.
Transfer Picture Settings
Video Size | CIF |
Quality | Very High |
OK Cancel
Video Size: Select any of CIF and Half D1.
Quality: Select any of Very High, High, Standard, and Low.
menu setup _33
05 MENU SETUP![]()
|
|