setup screen
yInstall a public certifi cate : To install the certifi cate to camera, you need to type a certifi cate name (it can be arbitrarily assigned by user), certifi cate fi le issued from the authority and a key fi le. When done, click [Install].
If the certifi cate is installed successfully, the
M To access the camera using HTTPS mode, you have to type the IP address for the camera in the form of “https://<Camera_IP>”.
2.When done, click [Apply].
The web viewer will switch to the set secure connection system.
OVERLAY SETUP
You can display text on the screen.
To set the text
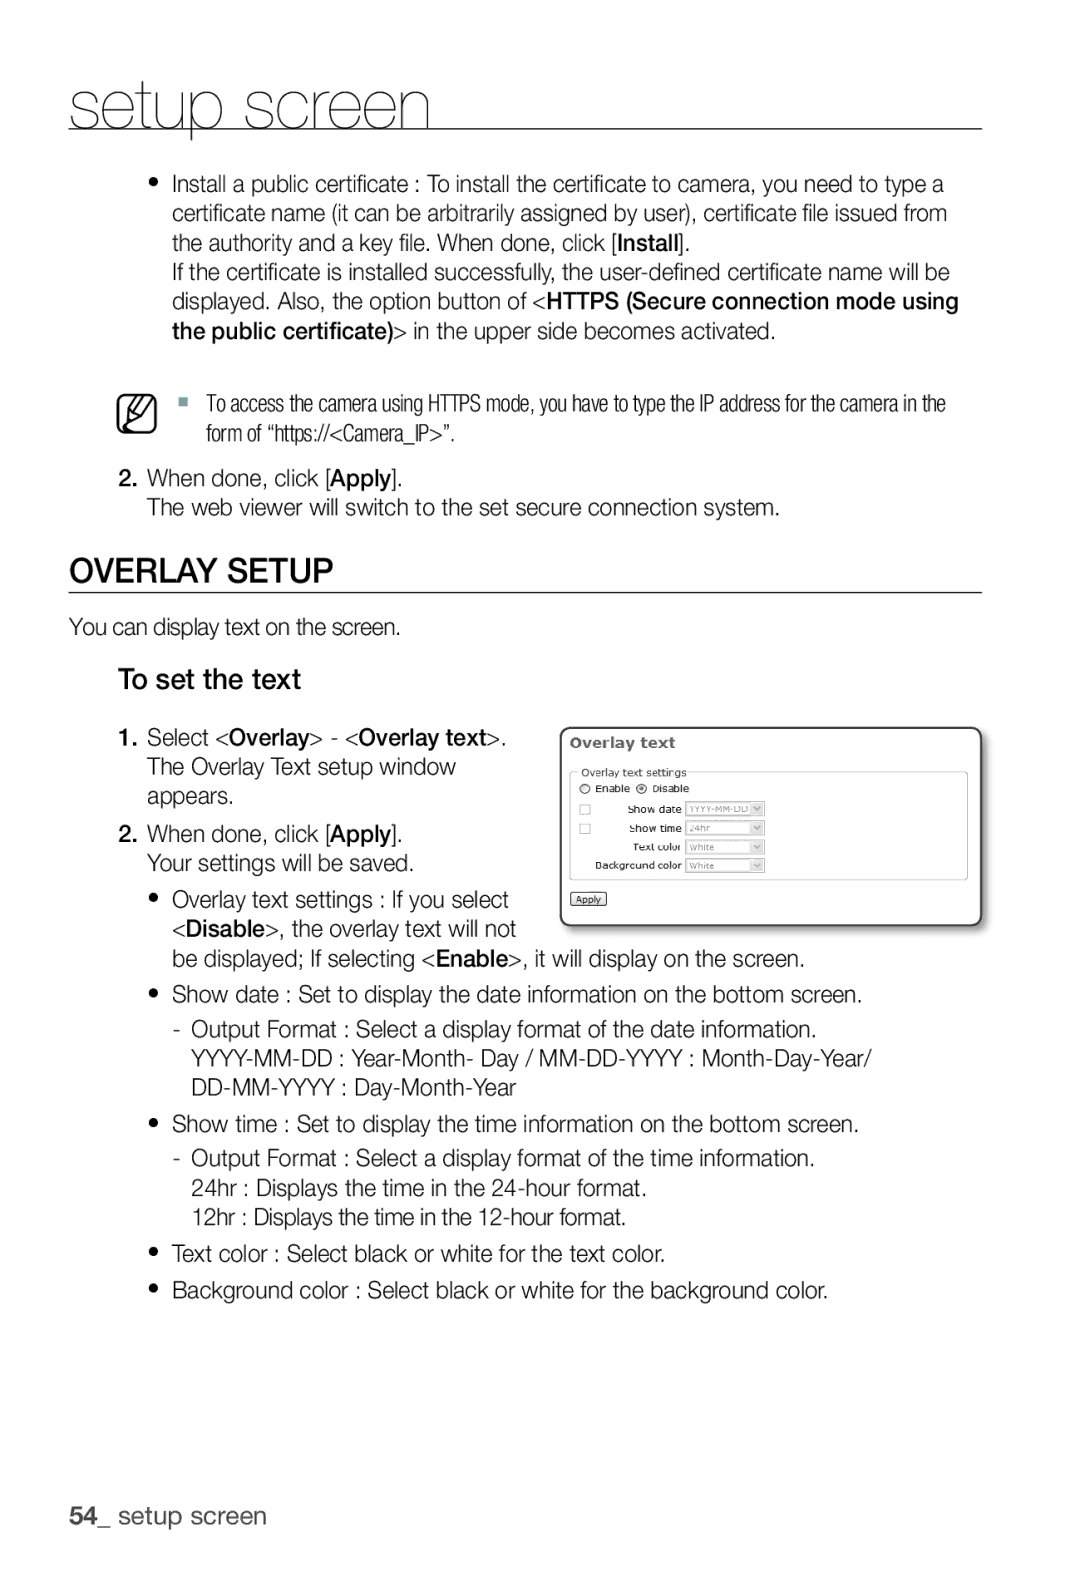
1.Select <Overlay> - <Overlay text>. The Overlay Text setup window appears.
2.When done, click [Apply]. Your settings will be saved.
y Overlay text settings : If you select <Disable>, the overlay text will not
be displayed; If selecting <Enable>, it will display on the screen.
y Show date : Set to display the date information on the bottom screen.
-Output Format : Select a display format of the date information.
yShow time : Set to display the time information on the bottom screen.
-Output Format : Select a display format of the time information.
24hr : Displays the time in the
12hr : Displays the time in the
yText color : Select black or white for the text color.
yBackground color : Select black or white for the background color.
54_ setup screen