setup screen
-Upload path : You can specify the path of the FTP directory to which you will transfer an alarm image.
You can specify the path by just typing </directory name> or <directory name> in this fi eld.
If nothing is specifi ed, the path will be defaulted to the root directory of the FTP server.
-Port : The FTP port is defaulted to 21. This value can be changed according to the FTP server setting.
-User ID : Provide the user account ID to access the FTP server.
-Password : Provide the user account password to access the FTP server.
y
-SMTP server address : Enter the SMTP server address to use when you send an email.
ex) 10.240.56.228
-Port : Enter a port number to use when you send an email. The default is 25.
-User ID : Provide the user account ID to access the SMTP server.
-Password : Provide the user account password to access the SMTP server.
-
-
-Title : Enter the subject of the email to send.
-Message : Enter the content of the email to send.
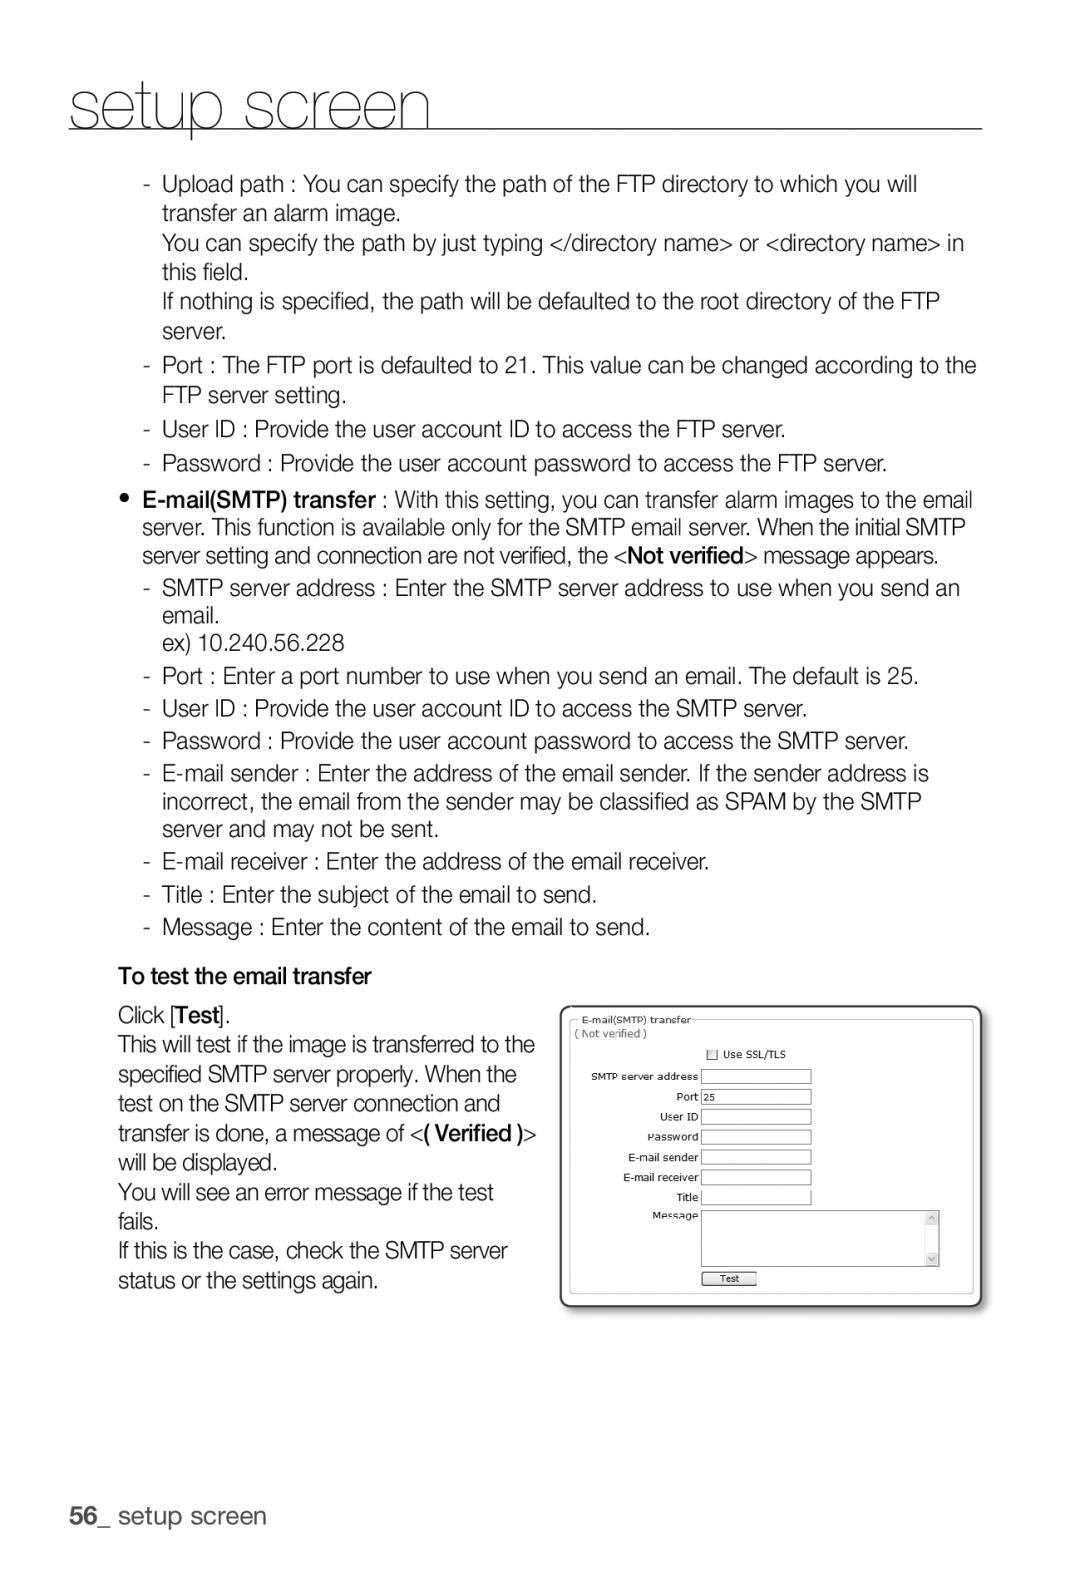
To test the email transfer
Click [Test].
This will test if the image is transferred to the specified SMTP server properly. When the test on the SMTP server connection and transfer is done, a message of <( Verified )> will be displayed.
You will see an error message if the test fails.
If this is the case, check the SMTP server status or the settings again.
56_ setup screen