
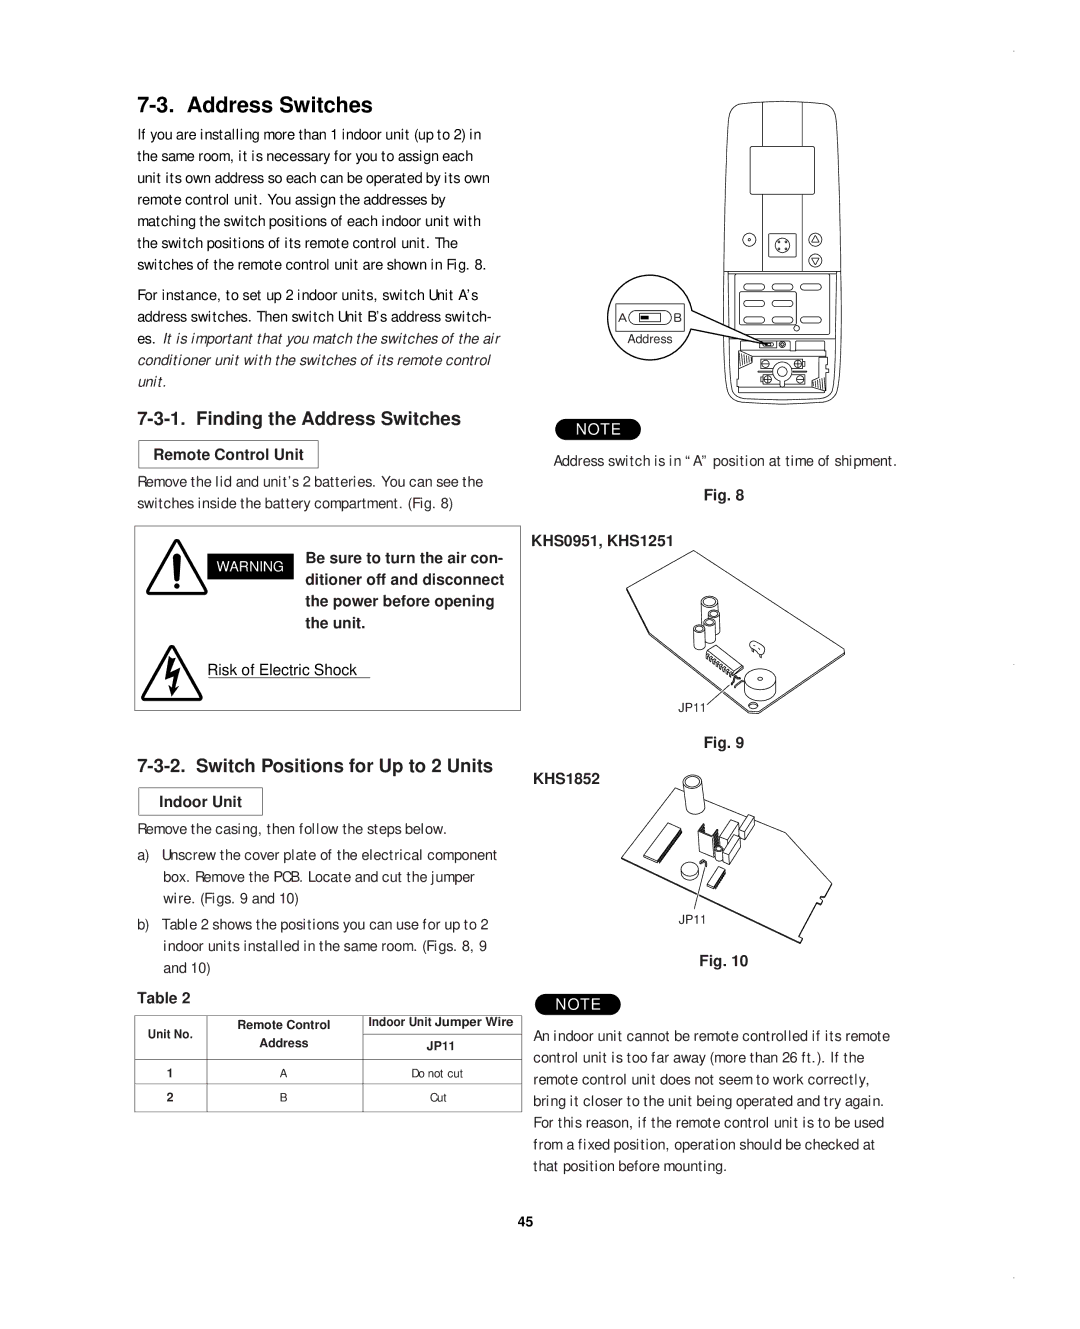
KHS1852-S, CH0952, CH1852 specifications
The Sanyo CH0952, CH1852, and KHS1852-S are innovative and versatile air conditioning units designed to deliver efficient cooling and heating solutions for both residential and commercial applications. These models stand out in the market for their advanced technologies, energy efficiency, and user-friendly features.The Sanyo CH0952 is a compact and highly efficient wall-mounted air conditioner that is ideal for small to medium-sized rooms. One of its main features is the inverter technology, which allows the unit to adjust its cooling or heating output based on the temperature requirements of the space. This not only enhances comfort but also significantly reduces energy consumption, making it an eco-friendly choice.
The CH1852 model builds upon the advantages of the CH0952 but offers an increased capacity suitable for larger areas. Like the CH0952, it is equipped with inverter technology to maintain optimal temperatures with minimal energy use. Additionally, it features a multi-speed fan system, which allows users to select the desired airflow level for personalized comfort. The unit’s quiet operation further enhances the user experience, making it an ideal choice for bedrooms and living spaces.
The KHS1852-S model is a powerful option, designed for heavy usage in both commercial environments and larger residential spaces. It boasts advanced filtration technologies, ensuring the air quality remains high by removing dust, allergens, and other impurities from the air. The KHS1852-S is also equipped with smart technology, allowing for remote control operation via mobile applications. This feature provides additional convenience, enabling users to control their air conditioning settings from anywhere.
All three models are designed with user-friendly controls and clear displays, improving accessibility for all users. Built to last, each unit incorporates durable materials and innovative engineering that offers long-term reliability and maintenance ease.
In summary, the Sanyo CH0952, CH1852, and KHS1852-S air conditioning units exemplify state-of-the-art technology, delivering efficiency, comfort, and convenience. Their inverter technology, multi-speed fan options, advanced filtration systems, and smart control capabilities make them an excellent choice for anyone seeking effective climate control solutions. With these modern features, Sanyo continues to lead in creating efficient and user-friendly air conditioning systems.