2 ![]() In [USER ID] and [PASSWORD], type the user ID and password, respectively.
In [USER ID] and [PASSWORD], type the user ID and password, respectively.
Type the user ID (up to 48 alphanumeric characters) and password for authentication (up to 20 alphanumeric characters).
3 ![]() In [POP3 SERVER ADDRESS], type your POP3 server address and click
In [POP3 SERVER ADDRESS], type your POP3 server address and click ![]() SET
SET ![]() .
.
If you selected “POP3” in [AUTHENTICATION], type the IP address or domain name of your POP3 server (up to 64 alphanumeric characters).
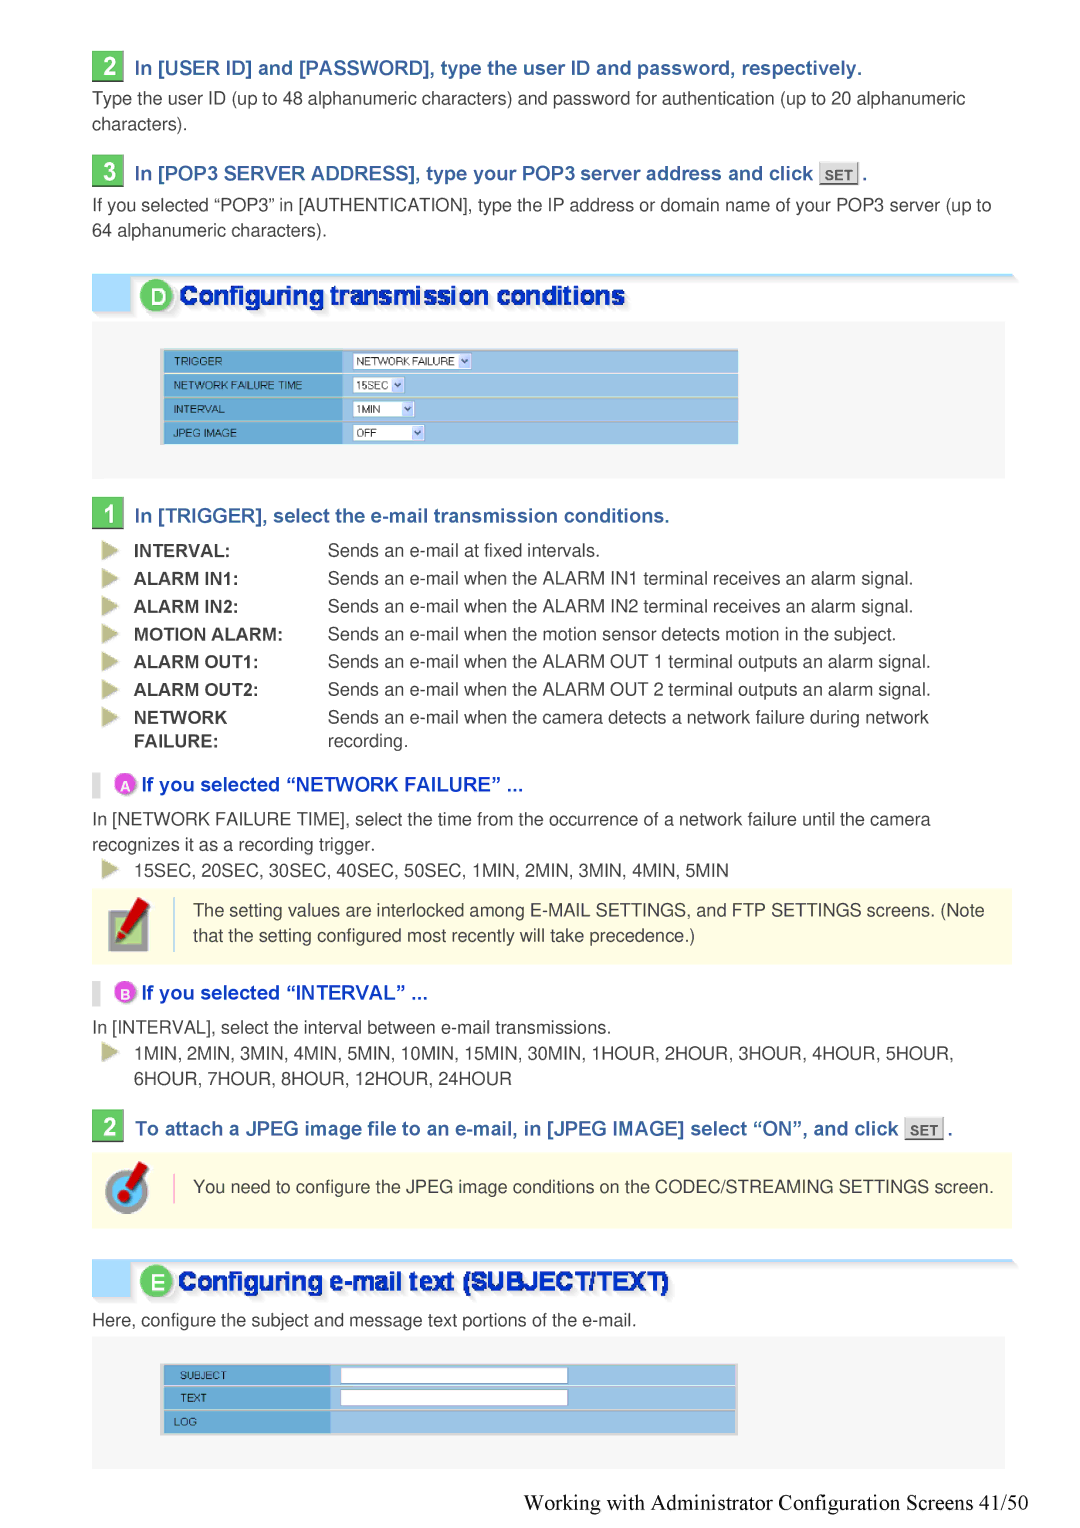
1  In [TRIGGER], select the
 e-mail transmission conditions.
INTERVAL: Sends an
ALARM IN1: Sends an
ALARM IN2: Sends an
MOTION ALARM: Sends an
ALARM OUT1: Sends an
ALARM OUT2: Sends an
NETWORK Sends an
FAILURE:recording.
A If you selected “NETWORK FAILURE” ...
In [NETWORK FAILURE TIME], select the time from the occurrence of a network failure until the camera recognizes it as a recording trigger.
15SEC, 20SEC, 30SEC, 40SEC, 50SEC, 1MIN, 2MIN, 3MIN, 4MIN, 5MIN
The setting values are interlocked among
B If you selected “INTERVAL” ...
In [INTERVAL], select the interval between
1MIN, 2MIN, 3MIN, 4MIN, 5MIN, 10MIN, 15MIN, 30MIN, 1HOUR, 2HOUR, 3HOUR, 4HOUR, 5HOUR, 6HOUR, 7HOUR, 8HOUR, 12HOUR, 24HOUR
2 ![]() To attach a JPEG image file to an
To attach a JPEG image file to an ![]() SET
SET ![]() .
.
You need to configure the JPEG image conditions on the CODEC/STREAMING SETTINGS screen.
Here, configure the subject and message text portions of the
