2. Setting up the Seagate Wireless Plus Device | Step 3: Disconnecting and Powering On |
|
|
Step 3: Disconnecting and Powering On
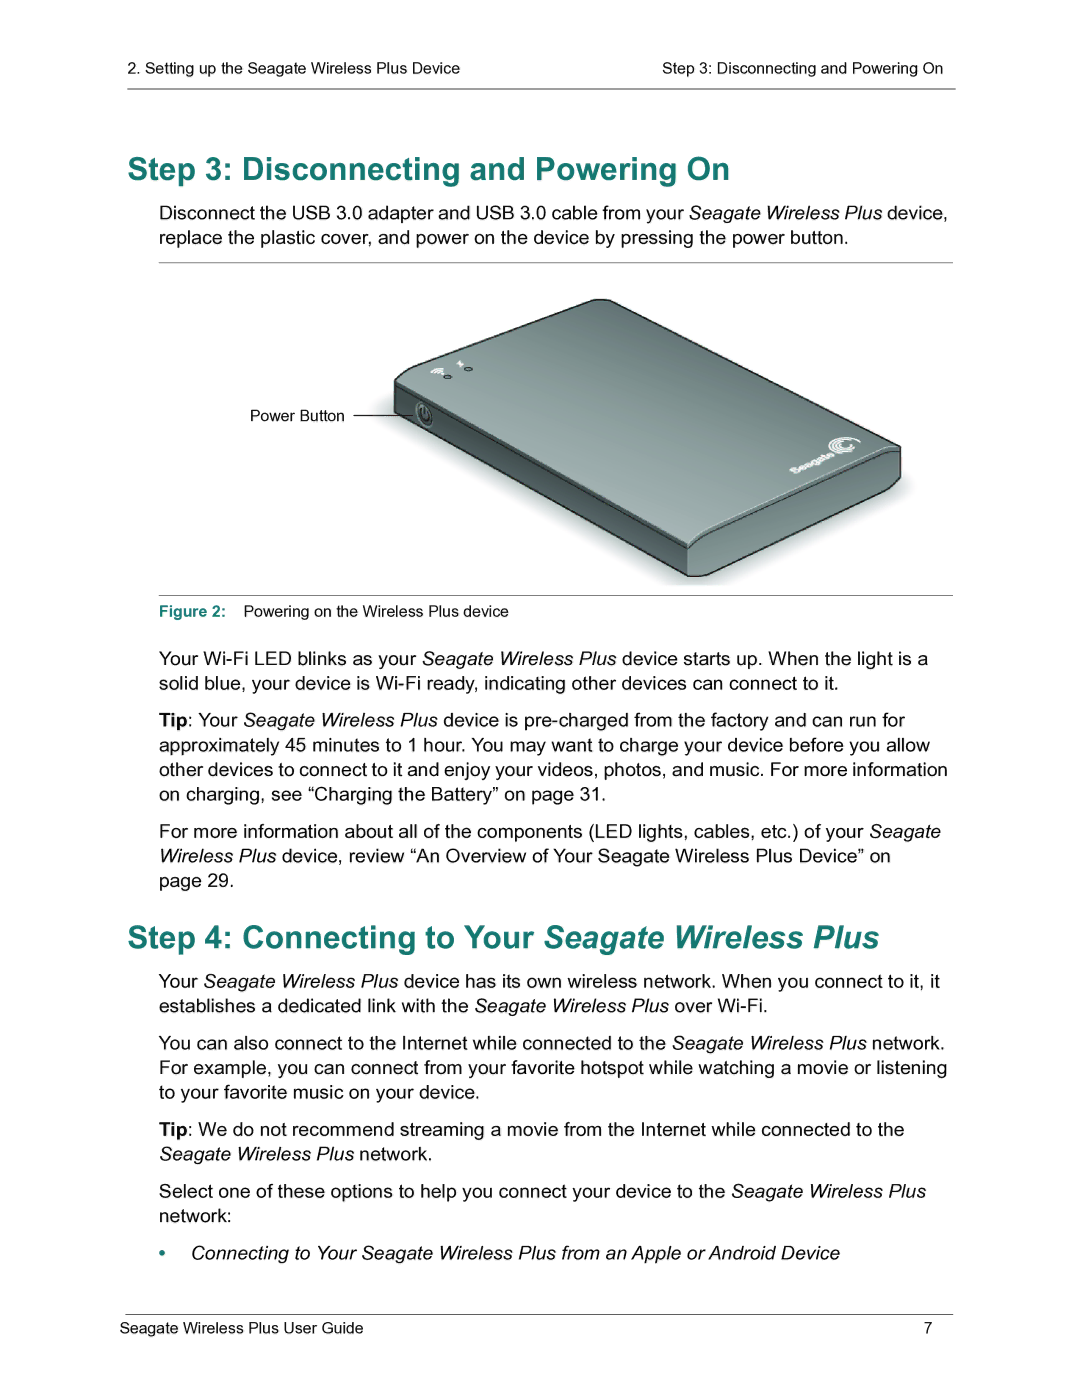
Disconnect the USB 3.0 adapter and USB 3.0 cable from your Seagate Wireless Plus device, replace the plastic cover, and power on the device by pressing the power button.
Power Button
Figure 2: Powering on the Wireless Plus device
Your
Tip: Your Seagate Wireless Plus device is
For more information about all of the components (LED lights, cables, etc.) of your Seagate Wireless Plus device, review “An Overview of Your Seagate Wireless Plus Device” on page 29.
Step 4: Connecting to Your Seagate Wireless Plus
Your Seagate Wireless Plus device has its own wireless network. When you connect to it, it establishes a dedicated link with the Seagate Wireless Plus over
You can also connect to the Internet while connected to the Seagate Wireless Plus network. For example, you can connect from your favorite hotspot while watching a movie or listening to your favorite music on your device.
Tip: We do not recommend streaming a movie from the Internet while connected to the Seagate Wireless Plus network.
Select one of these options to help you connect your device to the Seagate Wireless Plus network:
•Connecting to Your Seagate Wireless Plus from an Apple or Android Device
Seagate Wireless Plus User Guide | 7 |
