SYSTEM
Remote Management
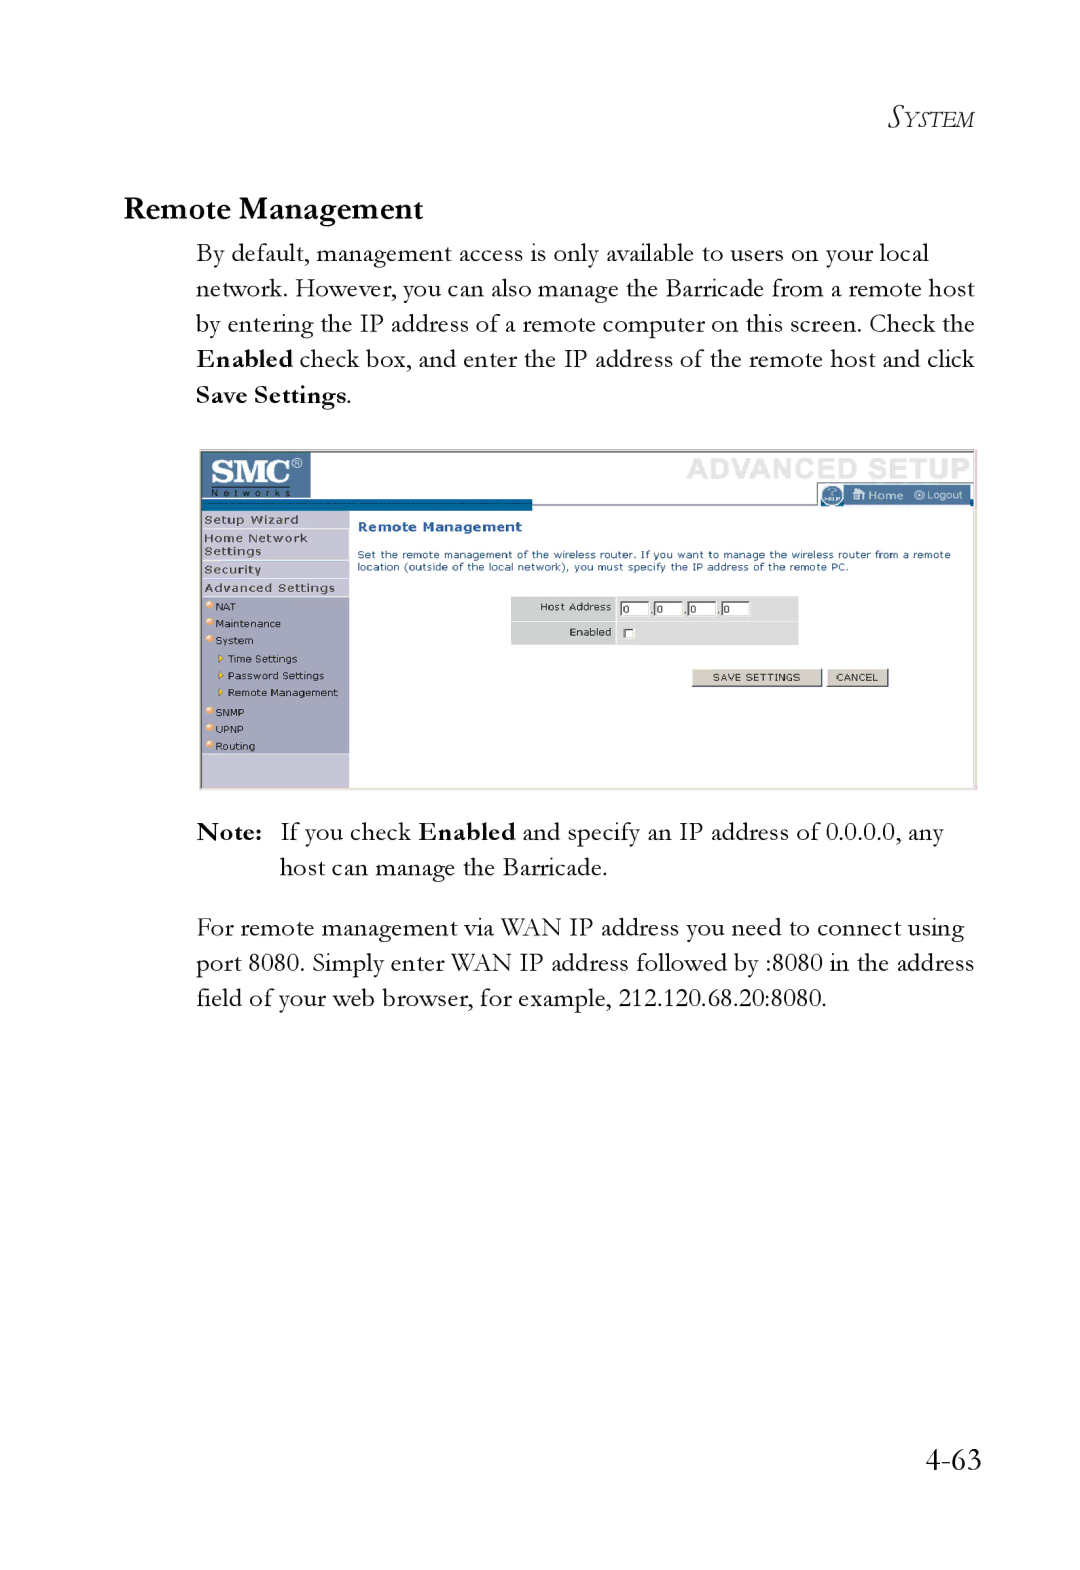
By default, management access is only available to users on your local network. However, you can also manage the Barricade from a remote host by entering the IP address of a remote computer on this screen. Check the Enabled check box, and enter the IP address of the remote host and click Save Settings.
Note: If you check Enabled and specify an IP address of 0.0.0.0, any host can manage the Barricade.
For remote management via WAN IP address you need to connect using port 8080. Simply enter WAN IP address followed by :8080 in the address field of your web browser, for example, 212.120.68.20:8080.