CONFIGURING THE BARRICADE
Access Control
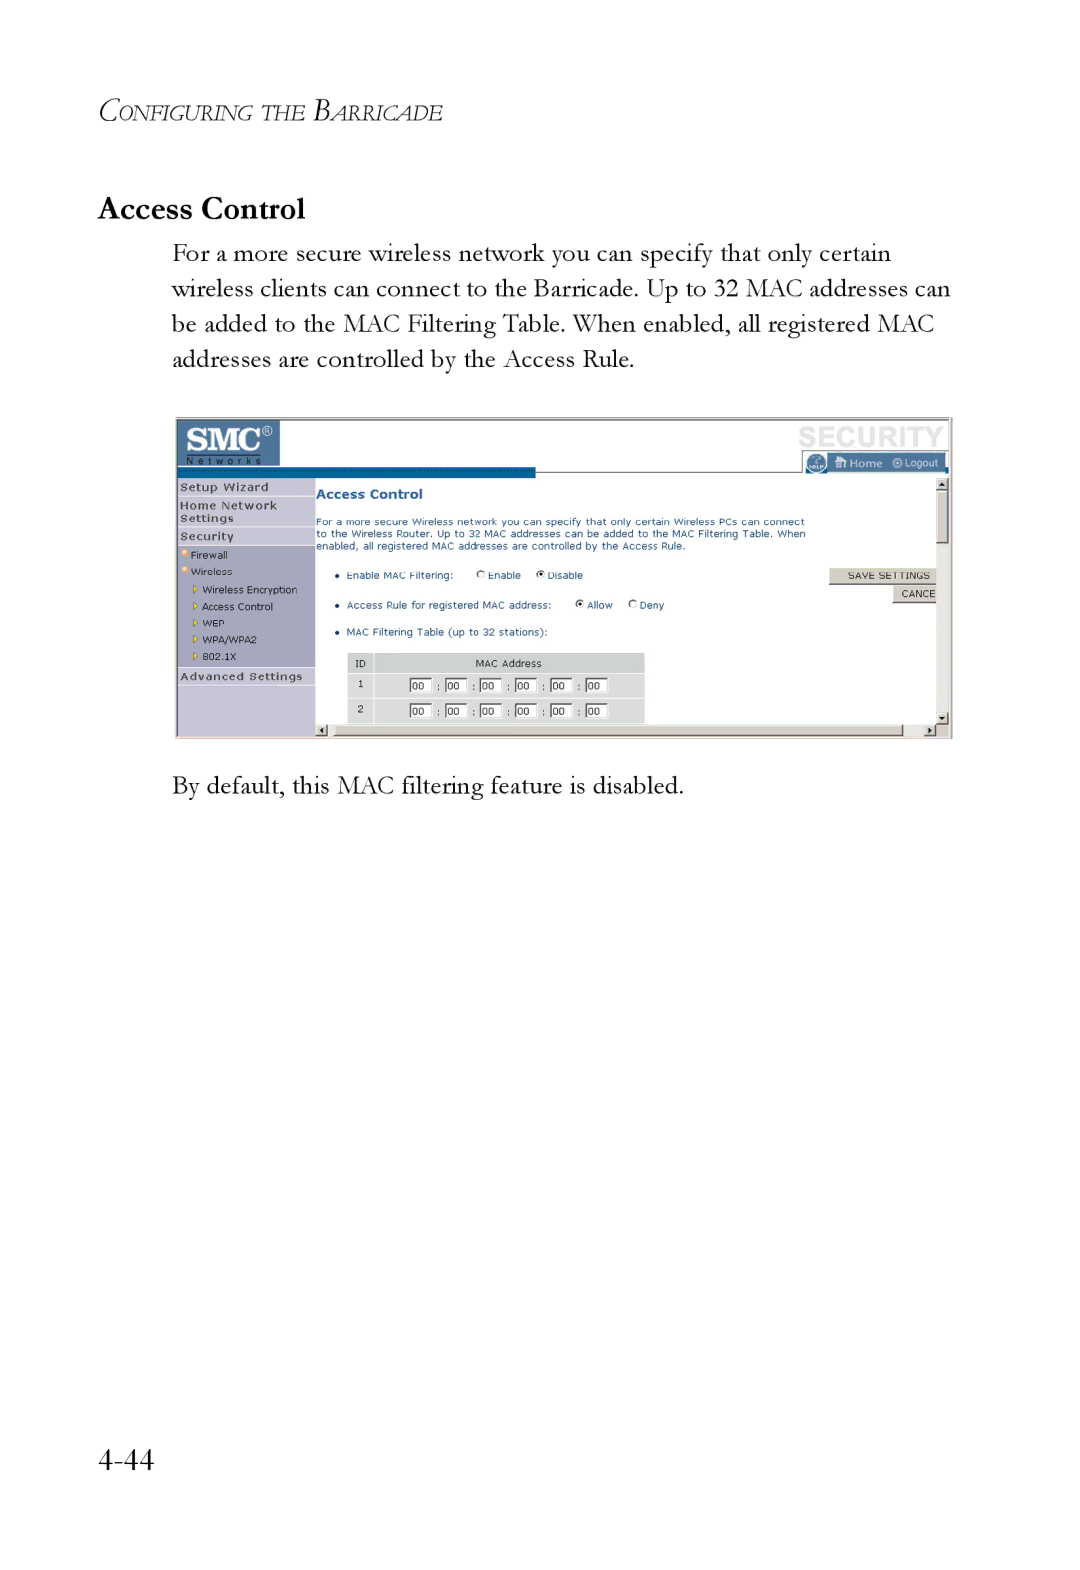
For a more secure wireless network you can specify that only certain wireless clients can connect to the Barricade. Up to 32 MAC addresses can be added to the MAC Filtering Table. When enabled, all registered MAC addresses are controlled by the Access Rule.
By default, this MAC filtering feature is disabled.