MAKING CONFIGURATION CHANGES
Static IP
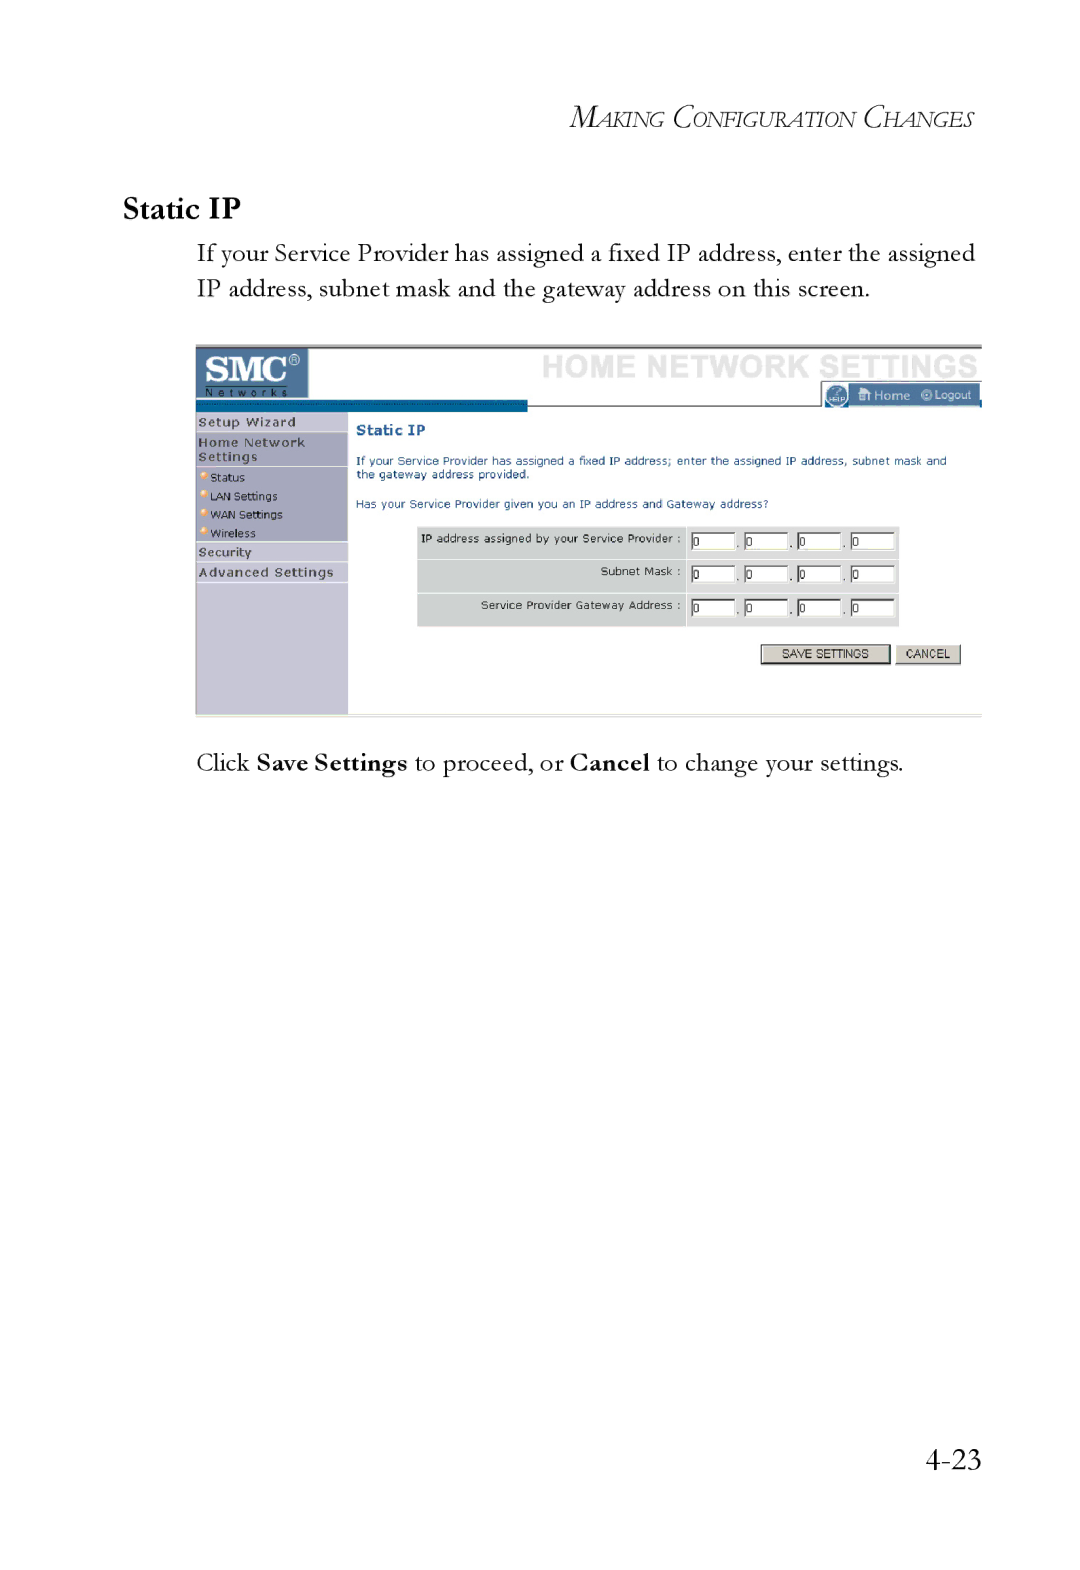
If your Service Provider has assigned a fixed IP address, enter the assigned IP address, subnet mask and the gateway address on this screen.
Click Save Settings to proceed, or Cancel to change your settings.
MAKING CONFIGURATION CHANGES
If your Service Provider has assigned a fixed IP address, enter the assigned IP address, subnet mask and the gateway address on this screen.
Click Save Settings to proceed, or Cancel to change your settings.