Recording the video picture as a still image
When you set the print mode dial to the split mode
You can also record the picture in the split mode. In this case, only the most recently selected picture is recorded onto the floppy disk.
Re-selecting the image
Press PICTURE before pressing SAVE. The playback picture appears on the screen. Follow step
2.(You cannot capture a image while the MEMORY indicator lights up. Press CAPTURE while the MEMORY indicator goes off.)
You can also
If you press CLEAR ALL, the printer is reset to stand by mode.
Perform printing procedures from the beginning.
You can record the playback picture from the video equipment as a still image onto the floppy disk.
Before you begin
1Turn on the printer and television and set the input selector of the television to “VIDEO.”
2Set INPUT SELECT to “VIDEO MOTION” or “VIDEO STILL.”
1 Set the print mode dial to “ ![]() (standard)” or split printing mode.
(standard)” or split printing mode.
2 Select the image to be recorded.
For details of operating procedures, refer to the pages for the corresponding printing mode.
1Turn on and start playback on the video equipment.
2Press CAPTURE when the picture you want to record appears on the screen.
3 Insert the floppy disk into the floppy disk slot.
Insert a floppy disk formatted in the
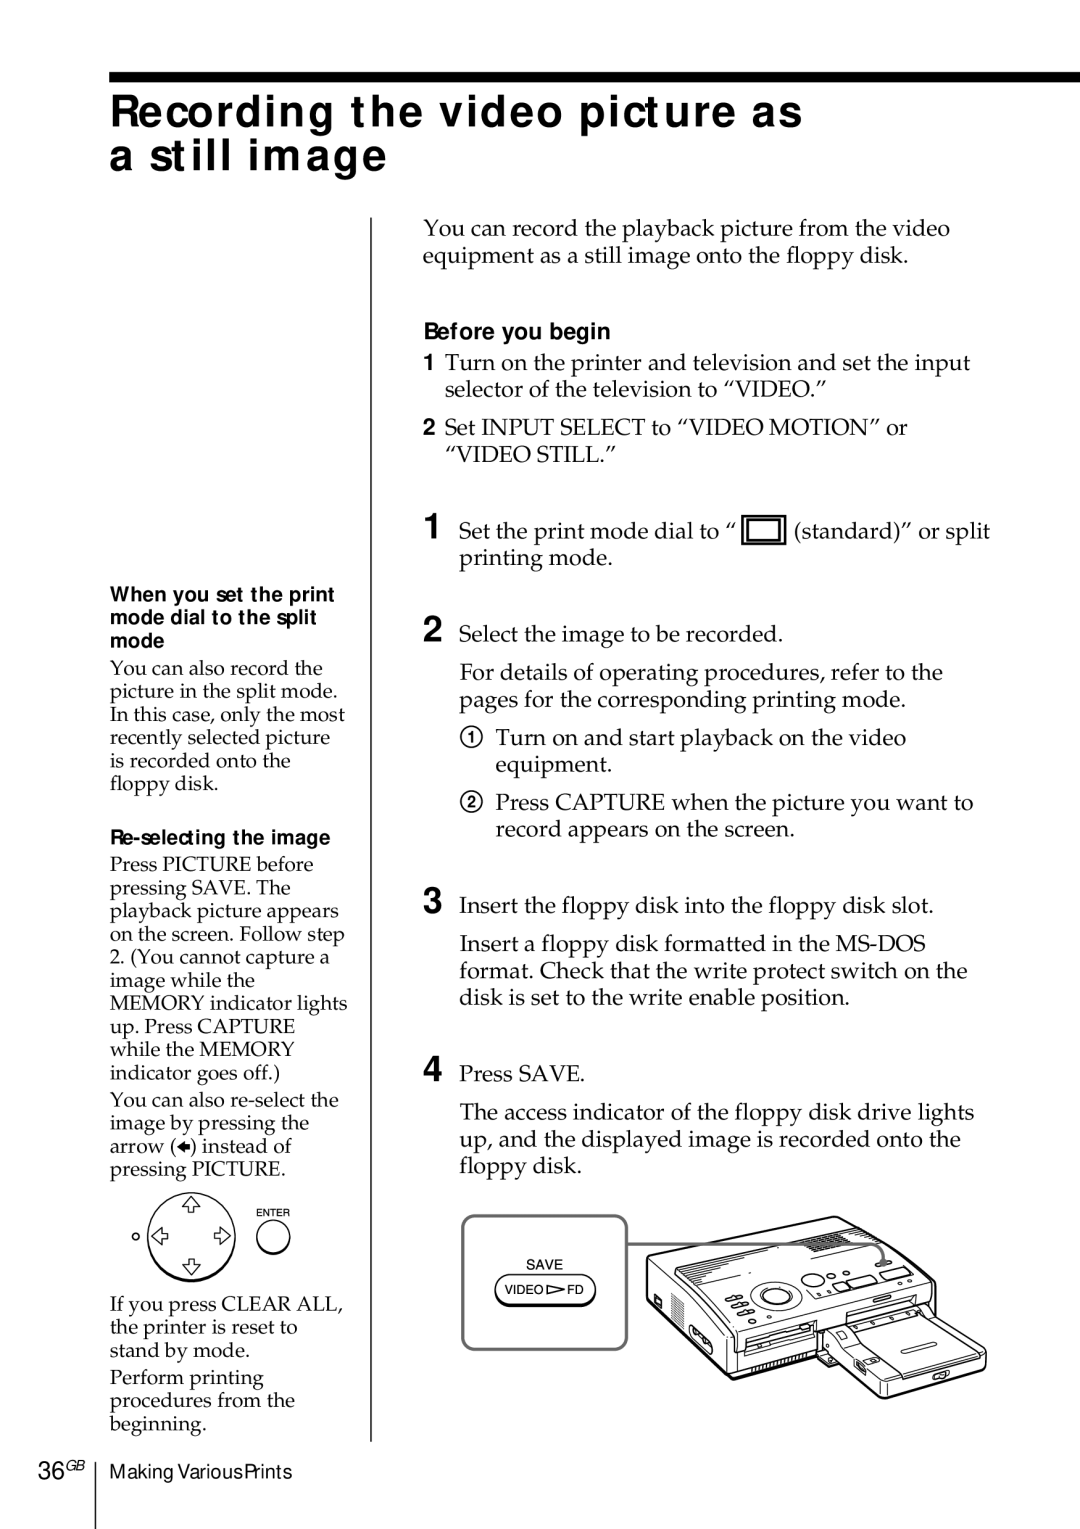
4 Press SAVE.
The access indicator of the floppy disk drive lights up, and the displayed image is recorded onto the floppy disk.
36GB
Making Various Prints