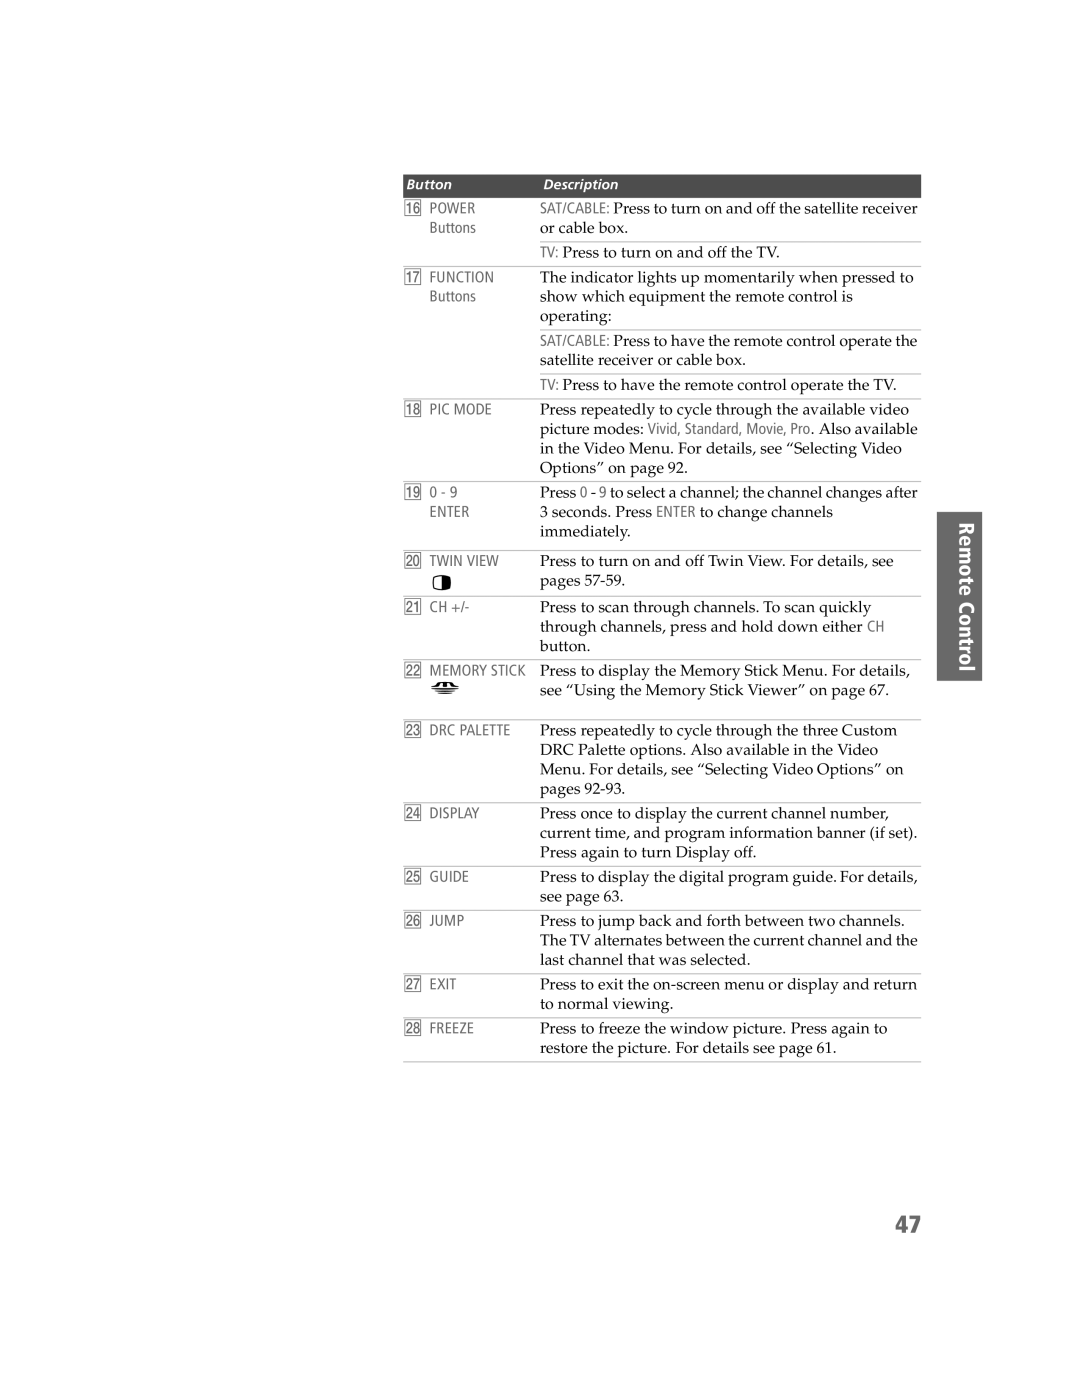
Button | Description |
qh POWER | SAT/CABLE: Press to turn on and off the satellite receiver |
Buttons | or cable box. |
|
|
| TV: Press to turn on and off the TV. |
|
|
qj FUNCTION | The indicator lights up momentarily when pressed to |
Buttons | show which equipment the remote control is |
| operating: |
|
|
| SAT/CABLE: Press to have the remote control operate the |
| satellite receiver or cable box. |
|
|
| TV: Press to have the remote control operate the TV. |
|
|
qk PIC MODE | Press repeatedly to cycle through the available video |
| picture modes: Vivid, Standard, Movie, Pro. Also available |
| in the Video Menu. For details, see “Selecting Video |
| Options” on page 92. |
|
|
ql 0 - 9 | Press 0 - 9 to select a channel; the channel changes after |
ENTER | 3 seconds. Press ENTER to change channels |
| immediately. |
|
|
w; TWIN VIEW | Press to turn on and off Twin View. For details, see |
| pages |
|
|
wa CH +/- | Press to scan through channels. To scan quickly |
| through channels, press and hold down either CH |
| button. |
|
|
ws MEMORY STICK | Press to display the Memory Stick Menu. For details, |
| see “Using the Memory Stick Viewer” on page 67. |
|
|
wd DRC PALETTE | Press repeatedly to cycle through the three Custom |
| DRC Palette options. Also available in the Video |
| Menu. For details, see “Selecting Video Options” on |
| pages |
|
|
wf DISPLAY | Press once to display the current channel number, |
| current time, and program information banner (if set). |
| Press again to turn Display off. |
|
|
wg GUIDE | Press to display the digital program guide. For details, |
| see page 63. |
|
|
wh JUMP | Press to jump back and forth between two channels. |
| The TV alternates between the current channel and the |
| last channel that was selected. |
|
|
wj EXIT | Press to exit the |
| to normal viewing. |
|
|
wk FREEZE | Press to freeze the window picture. Press again to |
| restore the picture. For details see page 61. |
|
|
Remote Control SETUP
SETUP
47
