Marking Track Numbers
While Recording
(Track Marking)
You can mark track numbers either manually or automatically while recording. By marking track numbers at specific points, you can quickly locate the points later or edit the MD easily.
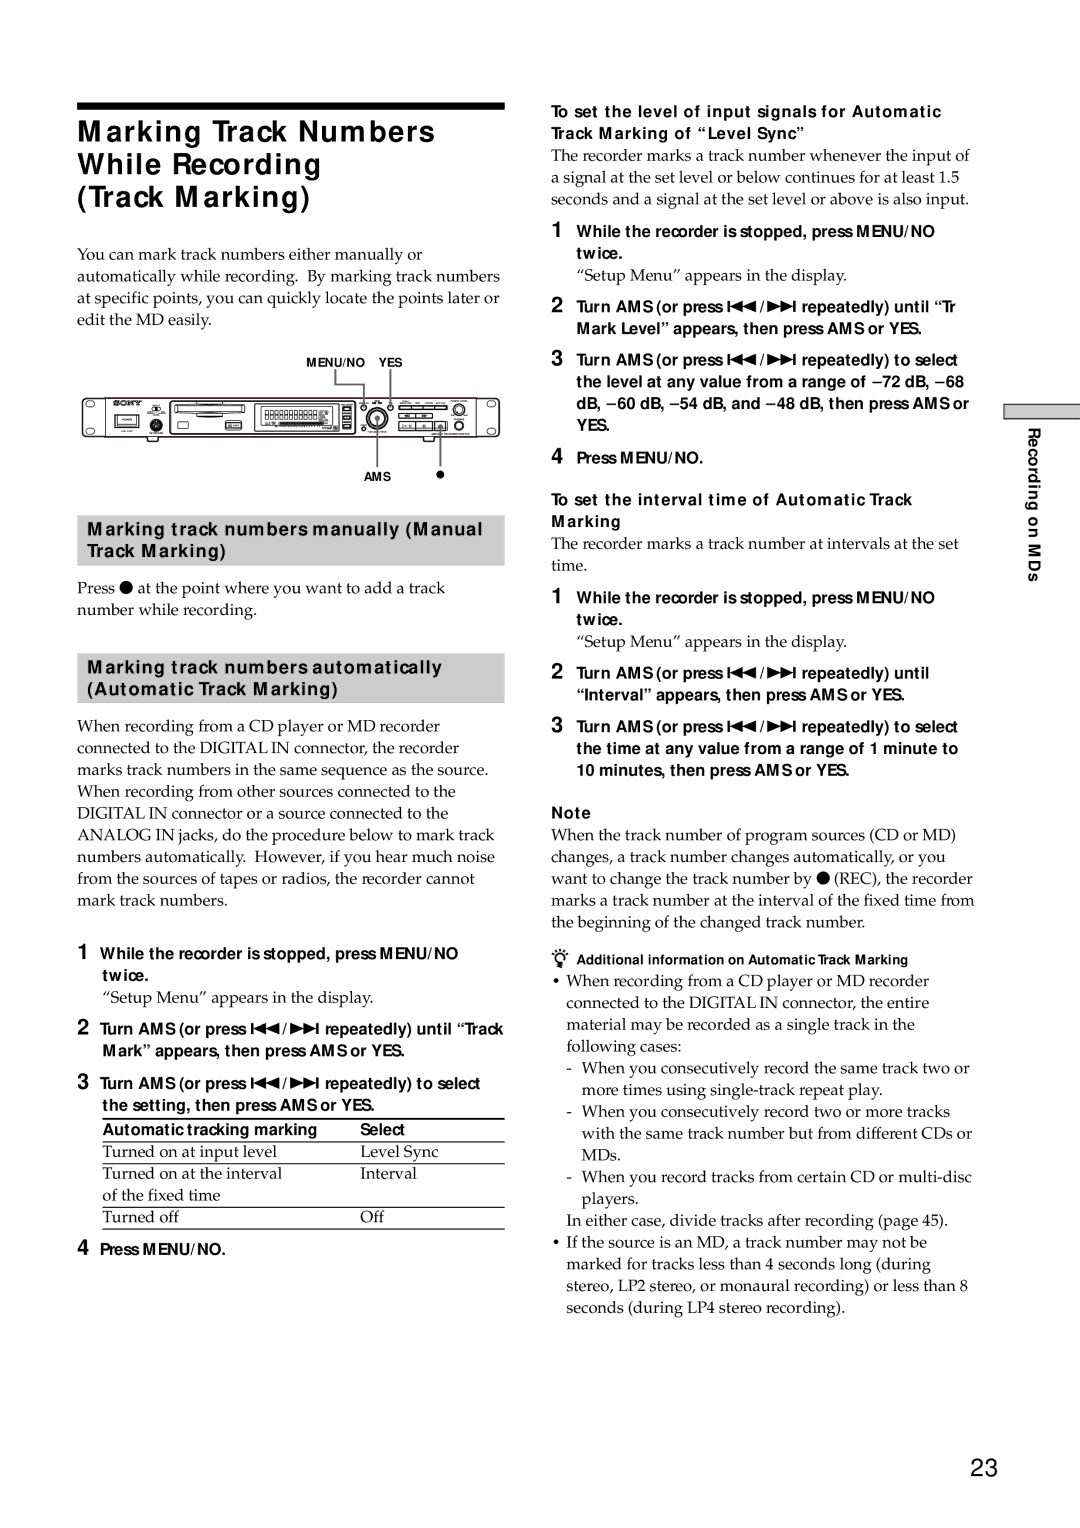
MENU/NO YES
AMS
Marking track numbers manually (Manual
Track Marking)
Press z at the point where you want to add a track number while recording.
Marking track numbers automatically
(Automatic Track Marking)
When recording from a CD player or MD recorder connected to the DIGITAL IN connector, the recorder marks track numbers in the same sequence as the source. When recording from other sources connected to the DIGITAL IN connector or a source connected to the ANALOG IN jacks, do the procedure below to mark track numbers automatically. However, if you hear much noise from the sources of tapes or radios, the recorder cannot mark track numbers.
1While the recorder is stopped, press MENU/NO twice.
“Setup Menu” appears in the display.
2Turn AMS (or press ./> repeatedly) until “Track Mark” appears, then press AMS or YES.
3Turn AMS (or press ./> repeatedly) to select the setting, then press AMS or YES.
| Automatic tracking marking | Select |
| Turned on at input level | Level Sync |
| Turned on at the interval | Interval |
| of the fixed time |
|
| Turned off | Off |
4 Press MENU/NO. |
| |
To set the level of input signals for Automatic Track Marking of “Level Sync”
The recorder marks a track number whenever the input of a signal at the set level or below continues for at least 1.5 seconds and a signal at the set level or above is also input.
1While the recorder is stopped, press MENU/NO twice.
“Setup Menu” appears in the display.
2Turn AMS (or press ./> repeatedly) until “Tr Mark Level” appears, then press AMS or YES.
3Turn AMS (or press ./> repeatedly) to select the level at any value from a range of _72 dB, _68 dB, _60 dB, _54 dB, and _48 dB, then press AMS or
YES.
4Press MENU/NO.
To set the interval time of Automatic Track Marking
The recorder marks a track number at intervals at the set time.
1While the recorder is stopped, press MENU/NO twice.
“Setup Menu” appears in the display.
2Turn AMS (or press ./> repeatedly) until “Interval” appears, then press AMS or YES.
3Turn AMS (or press ./> repeatedly) to select the time at any value from a range of 1 minute to 10 minutes, then press AMS or YES.
Note
When the track number of program sources (CD or MD) changes, a track number changes automatically, or you want to change the track number by z(REC), the recorder marks a track number at the interval of the fixed time from the beginning of the changed track number.
zAdditional information on Automatic Track Marking
•When recording from a CD player or MD recorder connected to the DIGITAL IN connector, the entire material may be recorded as a single track in the following cases:
-When you consecutively record the same track two or more times using
-When you consecutively record two or more tracks with the same track number but from different CDs or MDs.
-When you record tracks from certain CD or
In either case, divide tracks after recording (page 45).
•If the source is an MD, a track number may not be marked for tracks less than 4 seconds long (during stereo, LP2 stereo, or monaural recording) or less than 8 seconds (during LP4 stereo recording).
Recording on MDs
23
