Dividing Tracks (DIVIDE)
This function allows you to divide recorded material that has multiple tracks but only one track number, or to set a new beginning point in the middle of a track.
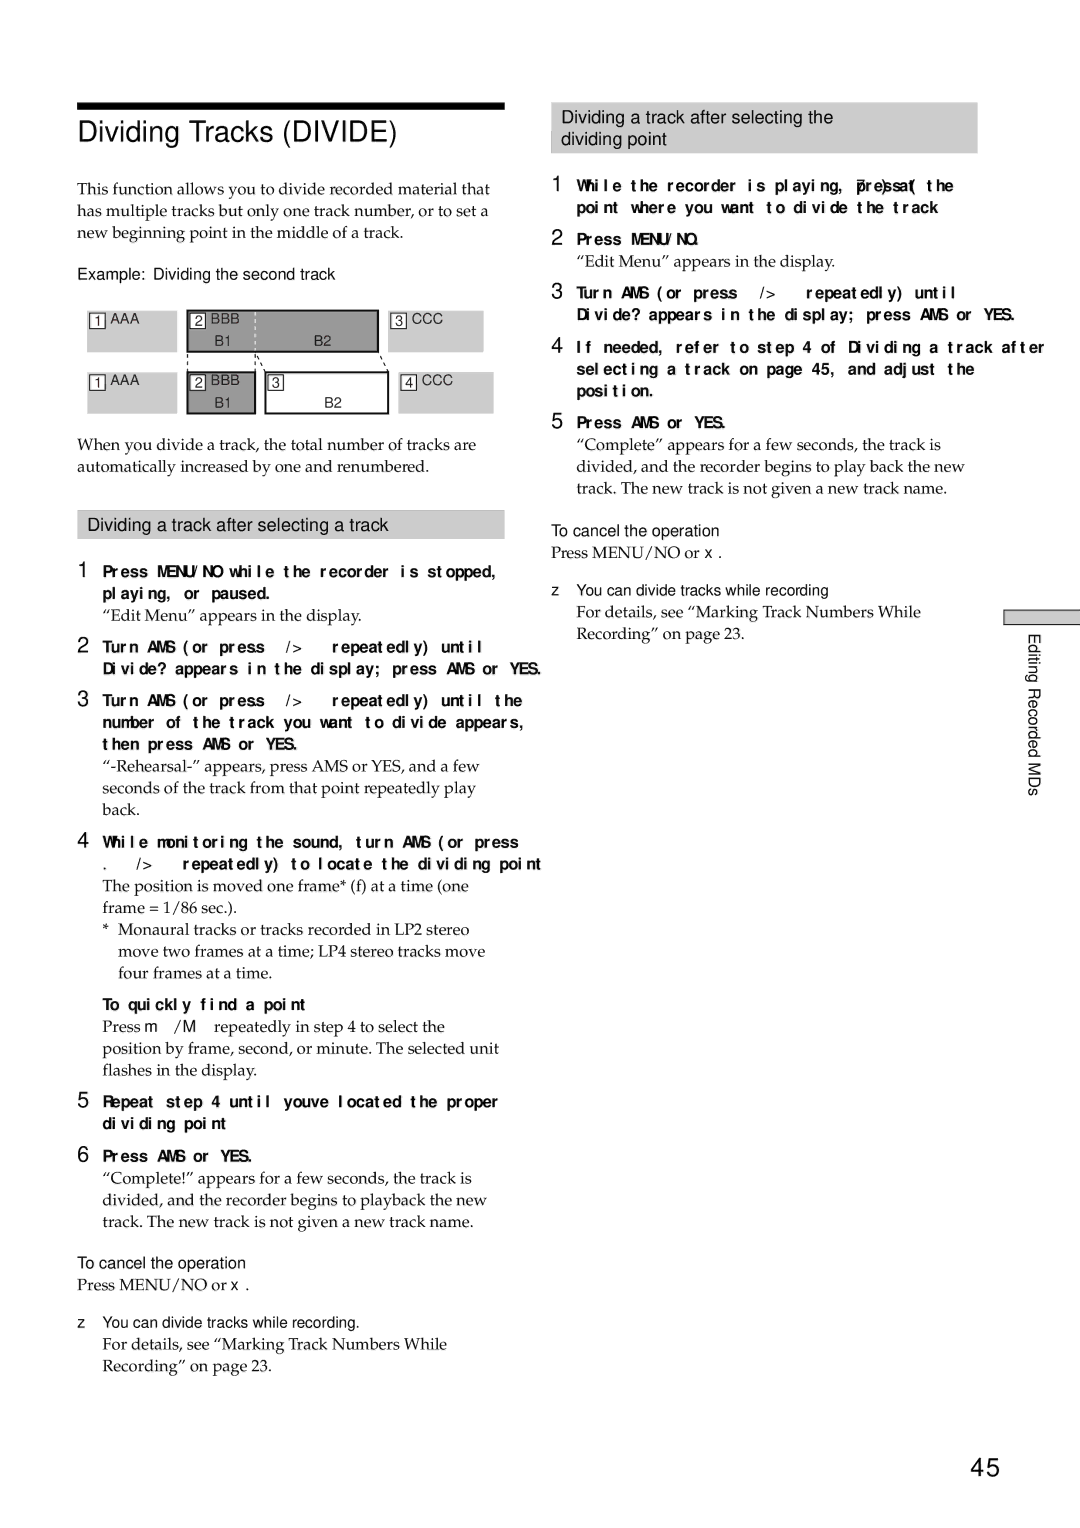
Example: Dividing the second track
1 | AAA |
| 2 | BBB |
|
|
|
| 3 | CCC |
| |
|
|
|
| B1 |
|
| B2 |
|
|
|
|
|
|
|
|
|
|
|
|
|
|
|
|
|
|
1 | AAA |
| 2 | BBB |
| 3 |
|
|
| 4 | CCC |
|
|
|
|
| B1 |
|
| B2 |
|
|
|
| |
When you divide a track, the total number of tracks are automatically increased by one and renumbered.
Dividing a track after selecting a track
1Press MENU/NO while the recorder is stopped, playing, or paused.
“Edit Menu” appears in the display.
2Turn AMS (or press ./> repeatedly) until “Divide?” appears in the display; press AMS or YES.
3Turn AMS (or press ./> repeatedly) until the number of the track you want to divide appears, then press AMS or YES.
4While monitoring the sound, turn AMS (or press
./> repeatedly) to locate the dividing point
The position is moved one frame* (f) at a time (one frame = 1/86 sec.).
*Monaural tracks or tracks recorded in LP2 stereo move two frames at a time; LP4 stereo tracks move four frames at a time.
To quickly find a point
Press m/M repeatedly in step 4 to select the position by frame, second, or minute. The selected unit flashes in the display.
5Repeat step 4 until you’ve located the proper dividing point
6Press AMS or YES.
“Complete!” appears for a few seconds, the track is divided, and the recorder begins to playback the new track. The new track is not given a new track name.
To cancel the operation
Press MENU/NO or x.
zYou can divide tracks while recording.
For details, see “Marking Track Numbers While Recording” on page 23.
Dividing a track after selecting the
dividing point
1While the recorder is playing, press (7) at the point where you want to divide the track
2Press MENU/NO.
“Edit Menu” appears in the display.
3Turn AMS (or press ./> repeatedly) until “Divide?” appears in the display; press AMS or YES.
4If needed, refer to step 4 of “Dividing a track after selecting a track” on page 45, and adjust the position.
5Press AMS or YES.
“Complete” appears for a few seconds, the track is divided, and the recorder begins to play back the new track. The new track is not given a new track name.
To cancel the operation
Press MENU/NO or x.
zYou can divide tracks while recording
For details, see “Marking Track Numbers While Recording” on page 23.
Editing Recorded MDs
45