United States and Puerto Rico
call toll Free I-800-BUY=AIWA
For assistance and information
DIGITAL AUDIO
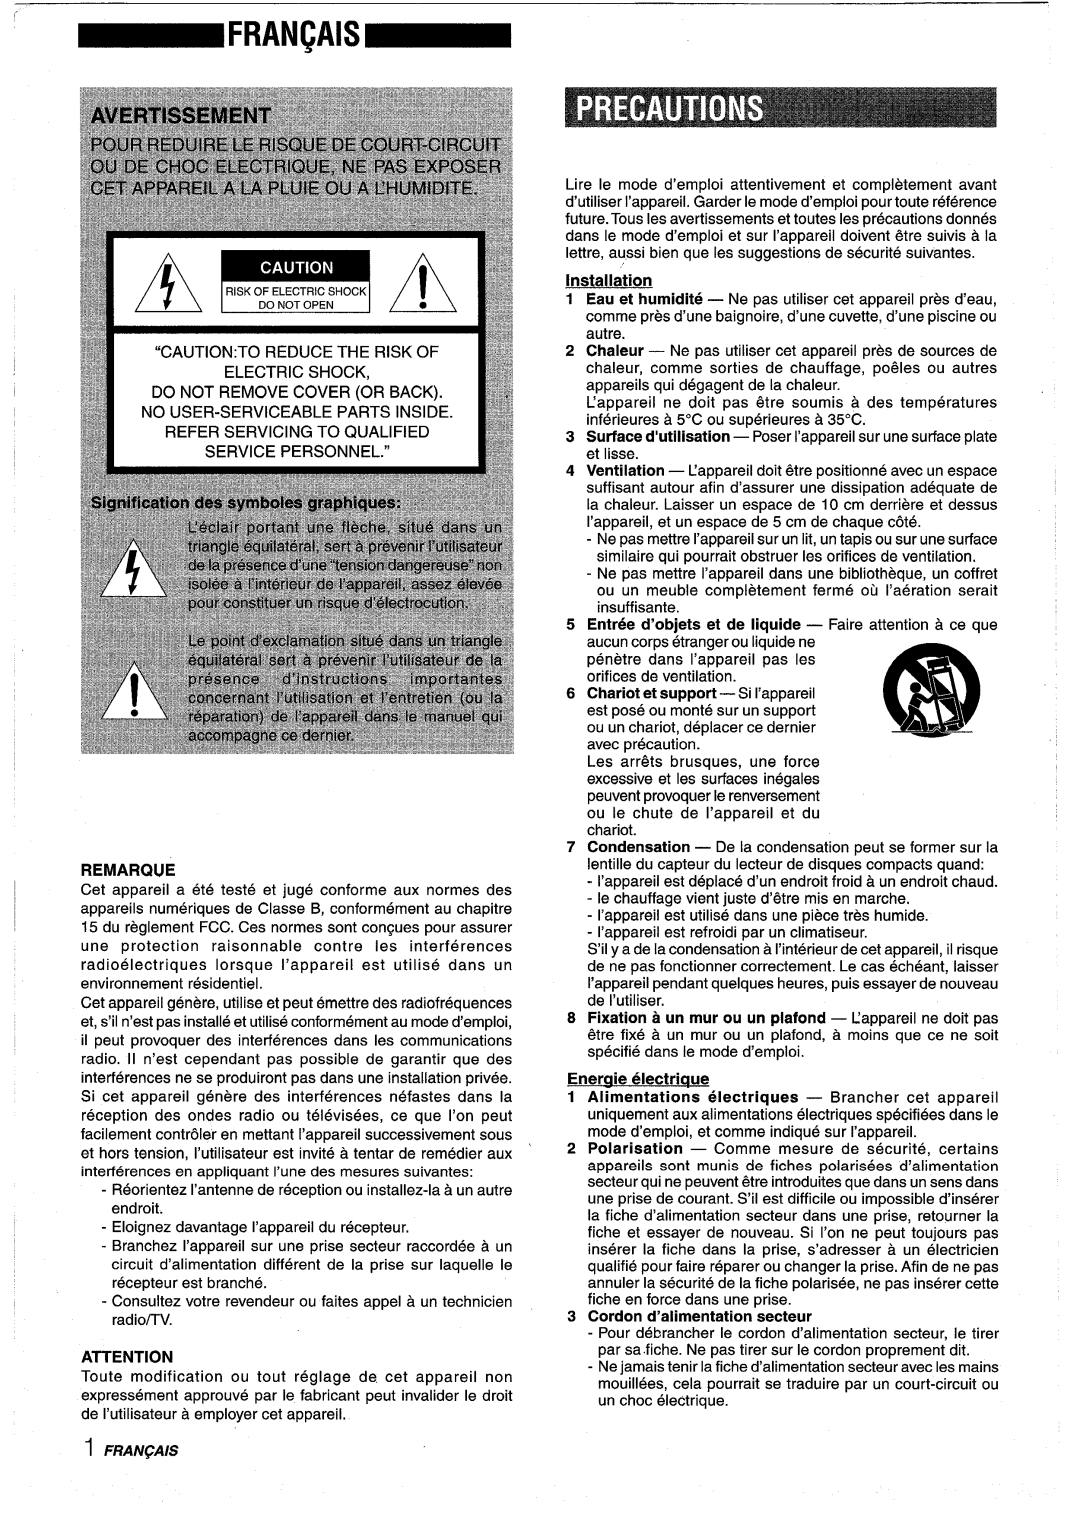
“CAUTIONTO REDUCE THE RISK OF ELECTRIC SHOCK
SOUND
CLOCK AND TIMER
PREPARATIONS
RAD1O RECEPTION
ifIll
Check your system and accessories
Before connecting the AC cord
7 Connect the right speaker to the main unit
3 Connect the supplied antennas
CONNECTING AN OUTDOOR ANTENNA
When to replace the batteries
4 Connect the AC cord to an AC outlet
To reset the game Demo
Using the headphones
To cancel the game Demo
To turn the unit on
ENGL/SH6
To change the volume level of the selected rhythm pattern
10 cancel the rhythm play function
1 Press RHYTHM
To select the equalization curve with the remote control
Turn VOLUME on the main unit, or press VOLUME on the remote control
To cancel the selected mode
Press BBE
To select a manual-preset GEQ
SETTING NEW EQUALIZATION CURVES MANUALLY
2 Turn MULTI JOG to adjust the level of the selected frequency
When the music source is monaural
Select one of the elements to be set for a new DSP sound
SETTING A NEW DSP SURROUND SOUND MANUALLY
To select a manual-preset DSP
4 Within 8 seconds, press ENTER
Press MONO on the remote control so that “MONO appears on the display
‘ Press numbered buttons O-9 and +1 O to select a preset number
When an FM stereo broadcast contains noise
To restore stereo reception, press the buttonagain so that MONO
To play all discs in the disc compartment, press +b
To play with the remote control
Selecting a track with the remote control
To play one disc only, press one of the DISC DIRECT PLAY
1 Press PRGM twice in stop mode
+, w
Press RANDOM/REPEAT
program a track
To start play when the power is off Direct Play Function
When tapes are loaded in both decks Press TAPE first to select a deck
To change the playback side, press +E DIRECTION/PRESET
7 Press DOLBY NR to turn Dolby NR on or off to
1 Insert tapes into deck 1 and deck
When of P
ENGLISH14
2 Press TAPE/DECKl/2 to select the deck to be played back first
2 Set the tape to the point where the erasure is to be started
SOUND ADJUSTMENT DURING RECORDING
Preparation Set the tape to the point where recording will start
1 Insert the tape to be recorded on into deck
3 Press DOLBY NR to turn off the Dolby NR
ENGLISH16
1 Press TAPE
4 Press TAPE/DECK 1/2 to select deck
4 Press one of the DISC DIRECT PLAY 1-5 to select a disc
When using the remote control, press EDIT/CHECK once
2 Press CD and load the discs 3 Press CD EDIT/CHECK once
5 Press + or -to designate the tape length
d Repeat step 5 for the rest of the tracks for side A
When using the remote control, press EDIT/CHECK twice PRGM
2 m aI
2 Press CD and load the discs 3 Press CD EDIT/CHECK twice
@ Cancel To change the audible channel in Multiplex function
3 Adjust the volume and tone of the source
When not using the microphones
1 Connect your microphones to MIC 1 and MIC 2 jacks
41 Press 4 F to start play
7 Press PRGM U
3 Repeat step 2 Uo reserve other tracks
#,j~
To switch to the 24-hour standard
1 Press CLOCK/TIMER once, then press II SET within 4 seconds
When using the remote control
To check the time remaining until the power is turned off
To cancel timer standby mode temporarily
4 Select the duration for the timer-activated period E
2 Designate the hour of the timer-on time by
Using the unit while the timer is set
When the CD DIGITAL OUT OPTICAL jack is not being used
To adjust the sound level of the external source
When connecting a turntable
When an equipment connected to VI DEO/AUX IN jacks is
To reset
To clean the cabinet
To clean the heads and tape paths
To demagnetize the heads
DOLBY NR
Main unit CX-NA959 FM tuner section Tuning range
Speaker svstem SX-WNA958
COPYRIGHT
Page
NOTA
PRECAUTION
1 ES/JAfiOL
Instalacion
RECEPCION
PREPAI?ATIVOS
SONIDO
DE LA RADIO
2 Conecte el altavoz izquierdo a la unidad principal
3 ~AntenadeAM
1 Conecte el altavoz derecho a la unidad principal
IMPORTANTE
I Para conectar otro equipo optional ~ pagina
3 Conecte Ias antenas suministradas
4 Conecte el cable de alimentacion de CA a una toma de CA
Para posicionar Ias antenas Antena de FM
Para encender la unidad
Para cancelar el juego de Demostracion
Para cambiar la visualization del analizador de espectro
Para desactivar la alimentacion
1 Pulse RHYTHM
volumen
Para cancelar la funcion de reproduction con ritmos
2 Gire MULTI JOG para seleccionar el patron ritmico que desee
SISTEMA BBE
VOLUMEN
Para cancelar el modo seleccionado
Para seleccionar Ias curvas de ecualizacion con el control remoto
2 Gire MULTI JOG para ajustar el nivel de la frecuencia seleccionada
ECllALIZACION NUEVAS
1 Pulse FREQUENCY UP o FREQUENCY DOWN para seleccionar una frecuencia
3 Repita Ios pasos 1 y 2 para hater la curva de ecualizacion deseada
Para cancslar el modo seleccionado
4 En un plazo de 8 seaundos, pulse ENTER
5 Antes de aue pasen 8 seaundos, pulse uno de Ios botones DSP Ml -M4
3 Repita Ios pasos 1 y 2 para crear el sonido DSP que desee
la banda deseada, FM o AM
TUNER/BAND
seleccionar
2 Pulse + DOWN o P UP para seleccionar una emisora
Para reproducer un disco solamente, pulse uno de DISC DIRECT PLAY 1 a
INTRODUCTION DE DISCOS
Para reproducer todos Ios discos del compartimiento K pulse
Para reproducer con el control remoto
1 Pulse dos veces PRGM estando err el modo de K L parada.w a
REPRODUCTION ALEATORIA/ REPETITION DE REPRODUCTION
Pulse RANDOMIREPEAT
4 Repita Ios pasos 2 y 3 para programar otras canciones
t------- ----=
2 ~.~’’’w”w”’“‘j
Pulse TAPE y, a continuation, A EJECT para abrir el portacassettes
1 Pulse DOLBY NR para activar o desactivar
que vaya a realizar la reproduction en primer Iugar
1 Inserte cintas en las platinas 1 y
2 PulseTAPE/DECK 1/2 para seleccionar la platina
3 Pulse REV MODE para seleccionar Z
1 Inserte la cinta que vaya a grabar en la platina
INSERCION DE ESPACIOS SIN GRABAR
AJUSTE DEL SONIDO DURANTE LA GRABACION
Grabacion con BBE
5 Pulse REC/REC MUTE para iniciar la grabacion
1 Pulse TAPE
4 PulseTAPE/DECK 1/2 para seleccionar la platina
3 Pulse una o dos veces SYNCHRO DUBBING para iniciar la grabacion
5 Pulse ++ o W para designar la duration de la cinta
2 Pulse CD e introduzca ellos discos 3 Pulse CD EDIT/CHECK una vez
4 Pulse uno de DISC DIRECT PLAY 1 a 5, para seleccionar un disco
6 Pulse REC/REC MUTE para iniciar la grabacion
4 Pulse + 0 para designar una Iongitud de cinta
ESfJAfiOL18
2 Pulse CD e introduzca ellos discos 3 Pulse CD EDIT/CHECK dos veces
6 Repita el paso 5 para el resto de Ias canciones
VOZ/MULTIPLEX
3 Ajuste el volumen y el tono de la fuente de sonido
@ Cancelacion
1 Conecte sus microfonos a Ias tomas MIC 1 y MIC
3 Re~ita Ios ~asos 2 ~ara reservar otras canciones
1 Pulse PRGM una vez 2 Pulse DISC DIRECT PLAY, y Iuego pulse uno de
Pulse 4P para iniciar la reproduction
Ios botones numericos 1 a 5 antes de aue ~asen
II SET en un plazo de 4 segundos
1 Pulse CLOCIVTIMER una vez y, a continuation
Para cancelar el temporizador para dormir
2 Pulse - DOWN o -UP para designar la hors, y pulse II SET
GRABACION CON TEMPORIZADOR
1 Pulse CLOCK/TIMER dos veces para que
6 1, 2,3, 4 2,3
aparezca O y, a continuation, pulse II SET m un plazo de 4 seaundos
TOMAS MD
TOMAS SURROUND SPEAKERS
TOMAS VIDEO/AUX IN
TOMAS LINE OUT
Para Iimpiar Ias cabezas y Ios puntos por donde pasa la cinta
1 Pulse POWER para desconectar la alimentaci6n
Para Iimpiar la caja
Para desmagnetizar Ias cabezas
Sistema de altavoces SX-WNA958
Dimensioned da la unidad
Dimensioned
Tipo de caja
Page
Eneraie electriaue
Installation
REMARQUE
3 Cordon d’alimentation secteur
LECTURE
EN CAS DE PROBLEME
RECEPTION RADIO
DE DISQUES COMPACTS
2 Connecter I’enceinte gauche a I’appareil
Contr61er la chalne et Ies accessoires
1 Connecter I’enceinte droite a I’appareil principal
Avant de brancher Ie cordon secteur
Brancher Ie cordon secteur a une prise de courant
IJtilisation de la telecommande
3 Connecter Ies antennes fournies
Pour positioner Ies antennes Antenne FM interieure
Guides par eclairage
Pour mettre I’appareil sous tension
Pour mettre I’appareil hors tension
FeniMres clignotantes
2 Tournez MULTI JOG pour selectionner Ie rythme de votre choix
Pour changer Ie niveau du volume du rythme selectionne
1 Appuyez sur RHYTHM
H.Rock 1,2,3
CLASSIC
Tourner VOLUME de I’appareii principal, ou appuyer sur
VOLUME de la telecommande
SELECTION D’UNE COURBE D’EGALISATION PROGRAMMEE
M1-M4
secondes
REGILAGE MANUEL DE NOUVELLES ~OURBES D’EGALISATION
FREQUENCY
d’un nouveau son DSP Temps de retard TM
1 Selectionnez une des elements ~tre reglage pour
selectionner I’un des niveaux a I’etape 1 de I’element selectionne
Retraction FB
7 Appuyer surTUNER/BAND pour selectionner une
FM OU AM
selectionner une station
gamme, puis appuyer sur U DOWN ou * UP pour selectionner une station
MISE EN PLACE DE DISQUES
Selection d’une plage avec la telecommande
Appuyer sur CD, puis appuyer sur A OPEN/CLOSE
Pour mettre en place trois h cinq disques, appuyer sur la
1 Appuyer deux fois sur PRGM clans Ie mode arr~t
Appuyer sur RANDOM/REPEAT
~\ /1
4 Repeter Ies etapes 2 et 3 pour programmer d’autres plages
utilisee 0 NR
Appuyez surTAPE et puis sur 4 EJECT pour ouvrir la trappe a cassette
7 Appuyez sur DOLBY NR pour activer ou
2 Appuyer sur 4 pour demarrer la lecture
4 Appuyer sur -4E pour demarrer la lecture
1 Inserer des cassettes clans Ies platines 1 et
3 Appuyer sur REV MODE pour selectionner Z
Au sujet des cassettes Pour eviter un effacement accidental
1 Inserer la cassette a enregistrer clans la platine
INSERTION D’ESPACES BLANCS
REGLAGE DU SON PENDANT L’ENREGISTREMENT
2 Appuyer sur REV MODE pour selectionner Ie mode d’inversion
I’enregistrement
1 Appuyer surTAPE
la platine
1 Appuyer sur TAPE
6 Appuyez sur REC/REC MUTE pour commencer I’enregistrement
Appuyer sur CD et mettre Ies disques en place
Appuyer une fois sur CD EDITICHECK
A I’aide des 44 ou -, specifier la duree de la cassette
2 Appuyer sur CD et mettre Ies disques en place
6 Repeter I’etape 5 pour Ie reste des plages de la
face A
3 Appuyer deux fois sur CD EDIT/CHECK
Microphones recommandes
3 Regler Ie volume et la tonalite de la source
5 Appuyez sur ECHO et tournez VOLUME clans Ies
FONCTIONS VOCAL FADER/MULTIPLEX
Pm.rr ajouter une reservation pendant la lecture
2 Appuyer sur DISC DIRECT PLAY, selecticmner un
4 Appuyer sur la pour dernarrer la lecture
Pour contr61er Ies plages reservees
2 Appuyer sur - DOWN ou UP pour specifier
Si vous utilisez la telecommande
2,3*, al 1,2
Ies heures, et appuyer sur 11 SET
du programmateur
4 Selectionnez
la duree de la periode deactivation
au moyen de
PRISES MD
PRISES SURROUND SkAKERS
PRISES VIDEO/AUX IN
PRISES LINE OUT
Nettoyagle du coffret
La fonction Karaoke n’est-elle pas en service? + page
1 Appuyer sur POWER pour couper I’alimf?ntation
Nettoyage des t~tes et des chemins de bande
Dimensions de I’appareil
Reponse en frequence Rapport signal/bruit
Rapport signal/bruit
Partie tuner AM
Page
Page/Pagina/Page
Cil// ~0// fh? l-800-BUY-A/WA
Name/Nombre/Nom
=OpEN/cLOsE