Installation
The setting items are shown in the following table. When finished setting, click the “Save” Icon. The accuracy of the internal clock is ±120 seconds/month or less.
Setting |
| Description |
Date & |
| Select the display format for date and |
Time |
| time on the monitor screen from the |
Format |
| |
|
|
|
| 12h/24h | Select either [12h] or [24h] for 12- or |
|
| |
|
|
|
Current Camera | Displays the current date and time. | |
Time |
| The displayed date and time cannot |
|
| be edited. |
|
|
|
New | Synchronize | Turn this on to synchronize the video |
Camera | with | network station clock with the |
Time | computer | computer’s internal clock. The |
| time | displayed date and time cannot be |
|
| edited. |
|
|
|
| Synchronize | Turn this on to synchronize the video |
| with NTP | network station clock with an NTP |
| server | server. |
|
|
|
| IP address | Enter the IP address of the NTP |
|
| server. |
|
|
|
| Time Zone | Select your time zone from the drop- |
|
| down list. |
|
|
|
| Set | Enable this if you need to set the |
| manually | date and time manually. |
|
|
|
| Date | Enter the date |
|
| |
|
|
|
| Time | Enter the time (hh:mm:ss) |
|
|
|
Changing Passwords and User
Registration
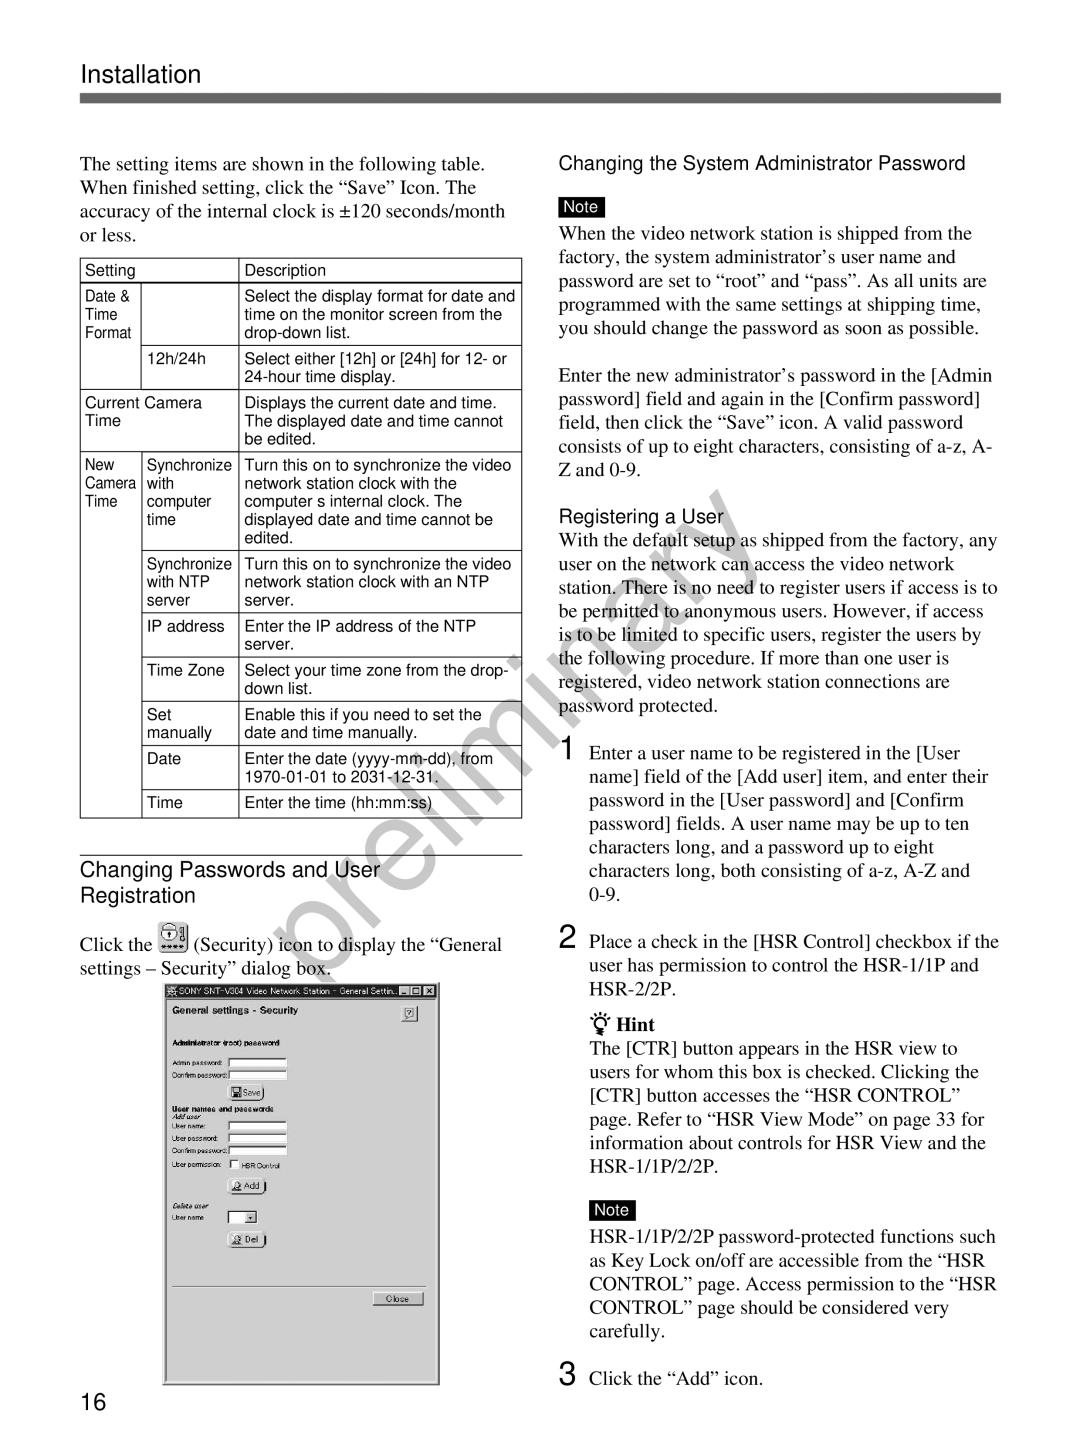
Click the ![]() (Security) icon to display the “General settings – Security” dialog box.
(Security) icon to display the “General settings – Security” dialog box.
Changing the System Administrator Password
Note
When the video network station is shipped from the factory, the system administrator’s user name and password are set to “root” and “pass”. As all units are programmed with the same settings at shipping time, you should change the password as soon as possible.
Enter the new administrator’s password in the [Admin password] field and again in the [Confirm password] field, then click the “Save” icon. A valid password consists of up to eight characters, consisting of
Registering a User
With the default setup as shipped from the factory, any user on the network can access the video network station. There is no need to register users if access is to be permitted to anonymous users. However, if access is to be limited to specific users, register the users by the following procedure. If more than one user is registered, video network station connections are password protected.
1 Enter a user name to be registered in the [User name] field of the [Add user] item, and enter their password in the [User password] and [Confirm password] fields. A user name may be up to ten characters long, and a password up to eight characters long, both consisting of
2 Place a check in the [HSR Control] checkbox if the user has permission to control the
zHint
The [CTR] button appears in the HSR view to users for whom this box is checked. Clicking the [CTR] button accesses the “HSR CONTROL” page. Refer to “HSR View Mode” on page 33 for information about controls for HSR View and the
Note
3 Click the “Add” icon.
16
