Chapter 1 Overview
B:Selects the signal input from the connectors on the optional input board installed in the INPUT B section.
C:Selects the signal input from the connectors on the optional input board installed in the INPUT C section.
D:Selects the signal input from the connectors on the optional input board installed in the INPUT D section.
Use these buttons together with the PICTURE CONT buttons (6) or SCREEN SEL buttons (7).
Example: When you want to increase the contrast of the signal input from the INPUT A board, press INPUT SEL A button, then press the CONTR + button.
fPICTURE CONT (Picture control) buttons Adjust the projected picture quality.
BRIGHT
+button makes the picture brighter. Pressing the – button makes the picture darker.
SHARP
button makes the picture sharper. Pressing the – button makes the picture softer.
In multiple screen mode, adjustment can be made for the input signal from each input board.
Select the input signal with the INPUT SEL A/B/C/D buttons (5), then adjust the picture with these buttons. In
Example: When you want to increase the contrast for the
signal input from the INPUT A board, press the INPUT SEL A button, then press the CONTR + button.
gSCREEN SEL buttons
In multiple screen mode, select one of the divided screens where you want to project the selected signal from each input board.
Select the input signal with one of the INPUT SEL A/B/C/ D buttons (5), then select the screen with one of these buttons.
Example: When you want to project the signal input from the INPUT B board on Screen 3 (lower left screen), press the INPUT SEL B button, then press the SCREEN SEL 3 button.
hLENS CONT buttons
FOCUS
ZOOM
SHIFT
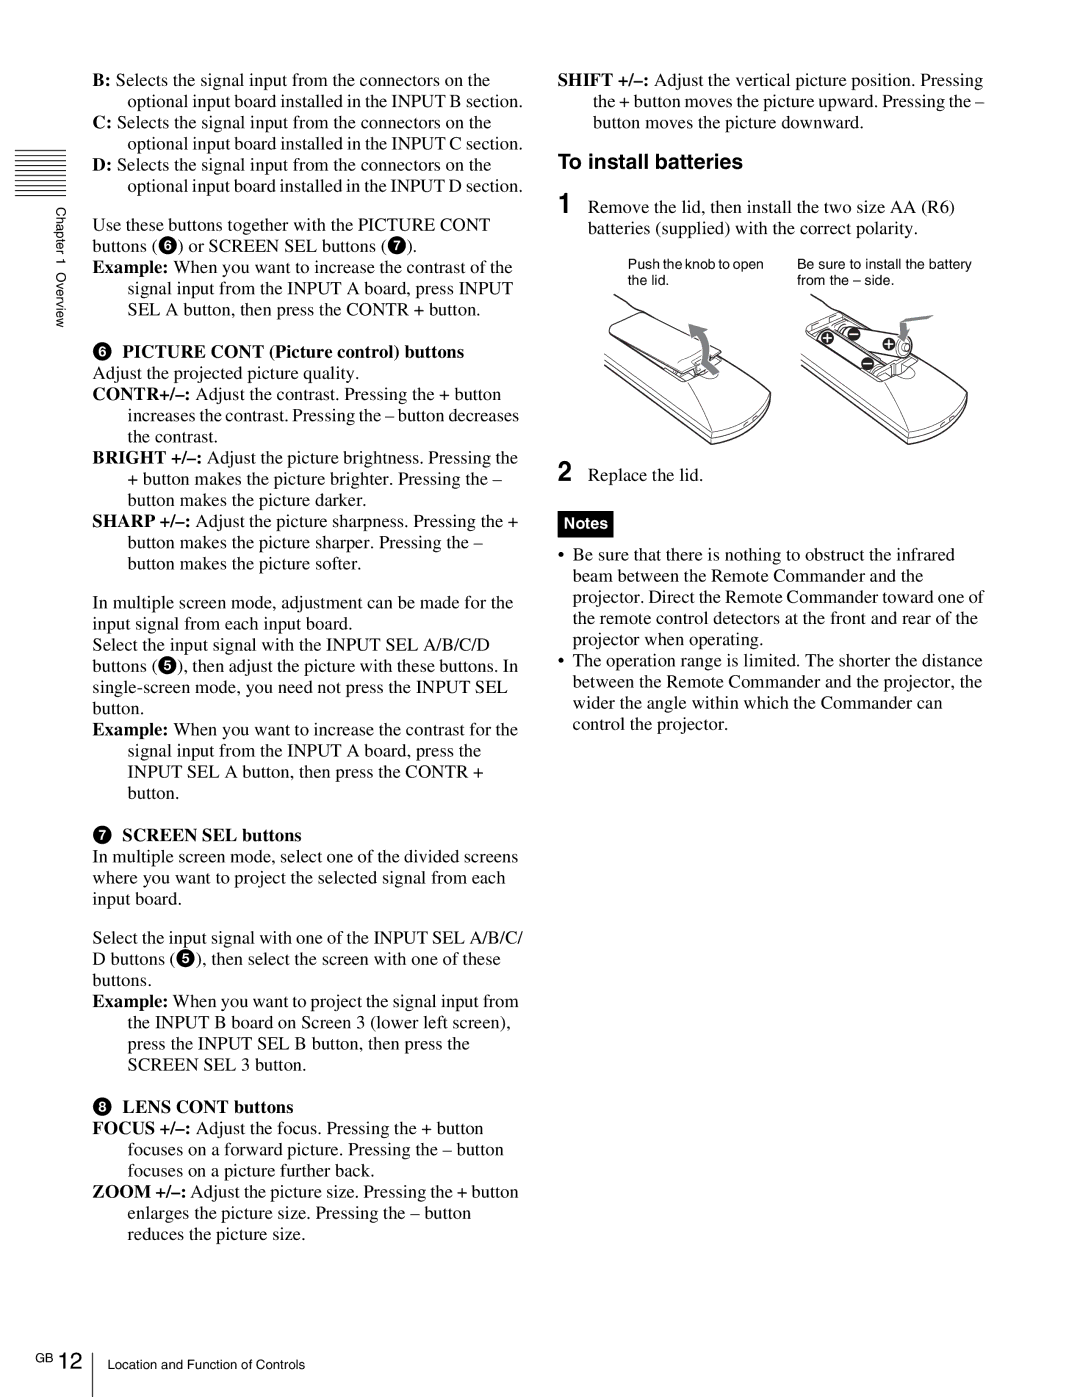
To install batteries
1Remove the lid, then install the two size AA (R6) batteries (supplied) with the correct polarity.
Push the knob to open | Be sure to install the battery |
the lid. | from the – side. |
2Replace the lid.
Notes
•Be sure that there is nothing to obstruct the infrared beam between the Remote Commander and the projector. Direct the Remote Commander toward one of the remote control detectors at the front and rear of the projector when operating.
•The operation range is limited. The shorter the distance between the Remote Commander and the projector, the wider the angle within which the Commander can control the projector.
GB 12
Location and Function of Controls