cInput signal select drop-down list box
Selects the input signal you want to project on the screen. The SCREEN CONTROL window changes depending on the screen mode selected with the screen mode button (1). When dual- or
the optional input board installed in the INPUT A section.
INPUT B: Selects the signal input from the connectors on the optional input board installed in the INPUT B section.
INPUT C: Selects the signal input from the connectors on the optional input board installed in the INPUT C section.
INPUT D: Selects the signal input from the connectors on the optional input board installed in the INPUT D section.
dMUTING ON/OFF buttons
Clicking the ON button cuts off the whole picture on the screen momentarily. Click the OFF button to restore the picture. Activating the muting function blocks off lamp light completely by use of a shutter, and displays the black signal on the whole screen.
eOSD ON/OFF buttons
Click the OFF button to eliminate the
The buttons also function when you operate the projector with the Remote Commander.
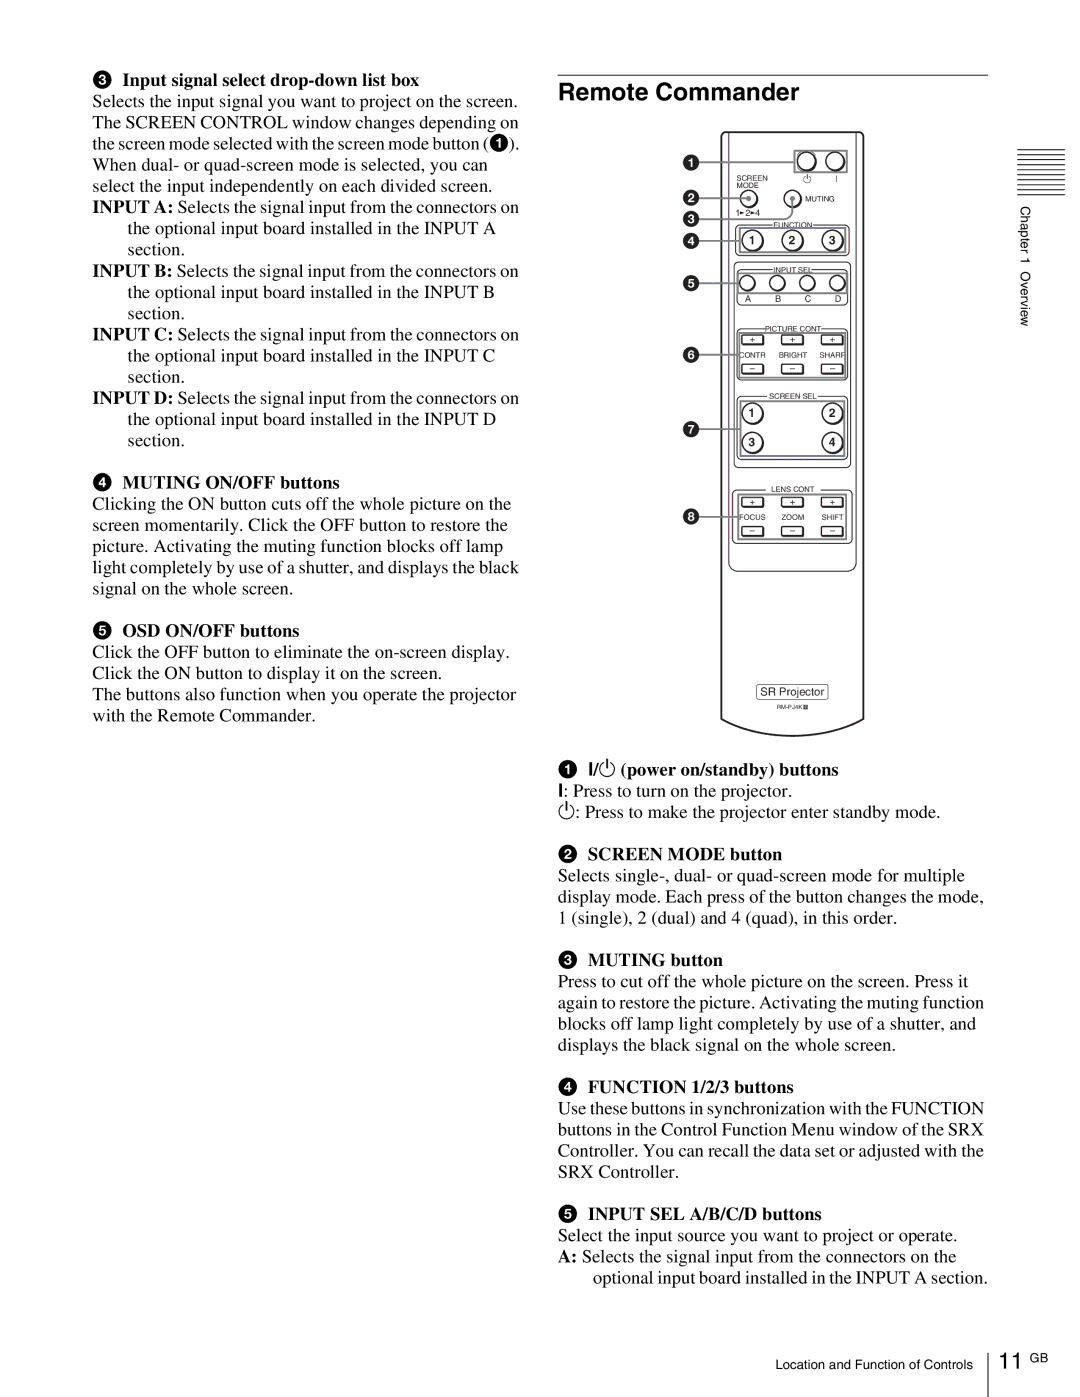
Remote Commander
1
| SCREEN |
| 1 | I |
2 | MODE |
|
|
|
|
| MUTING | ||
3 | 1 2 4 |
|
|
|
| FUNCTION |
| ||
4 | 1 |
| 2 | 3 |
|
| INPUT SEL |
| |
5 |
|
|
|
|
| A | B | C | D |
| PICTURE CONT | |||
| + |
| + | + |
6 | CONTR | BRIGHT | SHARP | |
– – –
SCREEN SEL
12
7
34
|
| LENS CONT |
|
| + | + | + |
8 | FOCUS | ZOOM | SHIFT |
– – –
SR Projector
a?/1 (power on/standby) buttons
?: Press to turn on the projector.
1: Press to make the projector enter standby mode.
bSCREEN MODE button
Selects
cMUTING button
Press to cut off the whole picture on the screen. Press it again to restore the picture. Activating the muting function blocks off lamp light completely by use of a shutter, and displays the black signal on the whole screen.
dFUNCTION 1/2/3 buttons
Use these buttons in synchronization with the FUNCTION buttons in the Control Function Menu window of the SRX Controller. You can recall the data set or adjusted with the SRX Controller.
eINPUT SEL A/B/C/D buttons
Select the input source you want to project or operate.
A:Selects the signal input from the connectors on the optional input board installed in the INPUT A section.
Chapter 1 Overview
Location and Function of Controls