Model SB1001 8K™ Lathe | O P E R A T I O N | For Machines Mfg. Since 8/11 |
Tailstock
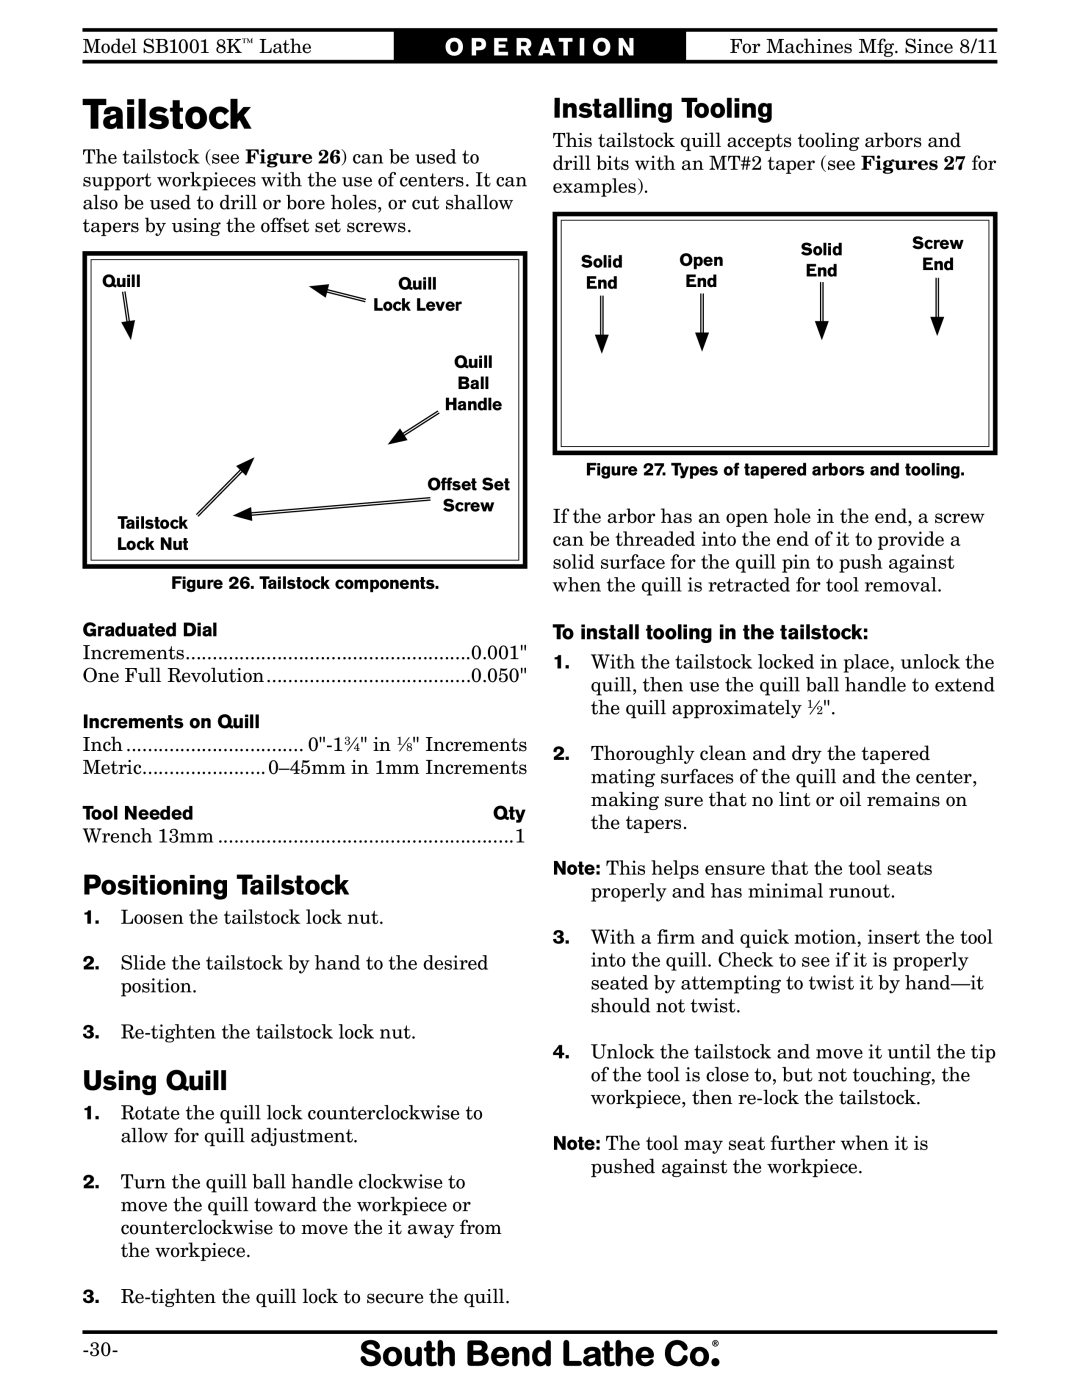
The tailstock (see Figure 26) can be used to support workpieces with the use of centers. It can also be used to drill or bore holes, or cut shallow tapers by using the offset set screws.
Quill | Quill |
| Lock Lever |
Quill
Ball
H![]()
![]() andle
andle
Offset Set
Screw
Tailstock
Lock Nut
Figure 26. Tailstock components.
Graduated Dial |
|
Increments | 0.001" |
One Full Revolution | 0.050" |
Increments.................................on Quill | |
Inch | |
Metric | |
Tool Needed | Qty |
Wrench 13mm | 1 |
Positioning Tailstock
1.Loosen the tailstock lock nut.
2.Slide the tailstock by hand to the desired position.
3.
Using Quill
1.Rotate the quill lock counterclockwise to allow for quill adjustment.
2.Turn the quill ball handle clockwise to move the quill toward the workpiece or counterclockwise to move the it away from the workpiece.
3.
Installing Tooling
This tailstock quill accepts tooling arbors and drill bits with an MT#2 taper (see Figures 27 for examples).
Solid | Open | Solid | Screw | |||||
End | ||||||||
End | ||||||||
End | End |
|
| |||||
|
|
|
| |||||
|
|
|
|
|
|
|
| |
|
|
|
|
|
|
|
| |
|
|
|
|
|
|
|
| |
Figure 27. Types of tapered arbors and tooling.
If the arbor has an open hole in the end, a screw can be threaded into the end of it to provide a solid surface for the quill pin to push against when the quill is retracted for tool removal.
To install tooling in the tailstock:
1.With the tailstock locked in place, unlock the quill, then use the quill ball handle to extend the quill approximately 1⁄2".
2.Thoroughly clean and dry the tapered mating surfaces of the quill and the center, making sure that no lint or oil remains on the tapers.
Note: This helps ensure that the tool seats
properly and has minimal runout.
3.With a firm and quick motion, insert the tool into the quill. Check to see if it is properly seated by attempting to twist it by
4.Unlock the tailstock and move it until the tip of the tool is close to, but not touching, the workpiece, then
Note: The tool may seat further when it is pushed against the workpiece.