14" | S E R V I C E | For Machines Mfg. Since 5/11 |
|
|
|
10.Return the retaining ring against the shroud washer and position the retaining ring ears over the shear pin head, as shown in Figure 135. This will prevent the shear pin from falling out if the shroud washer should rotate during operation.
Figure 135. Retaining ring positioned with ears in
front of pin access groove.
Tools Needed: | Qty |
Hex Wrenches 6mm | 1 |
Hex Wrench 8mm | 1 |
Wrench 17mm | 1 |
Dead Blow Hammer | 1 |
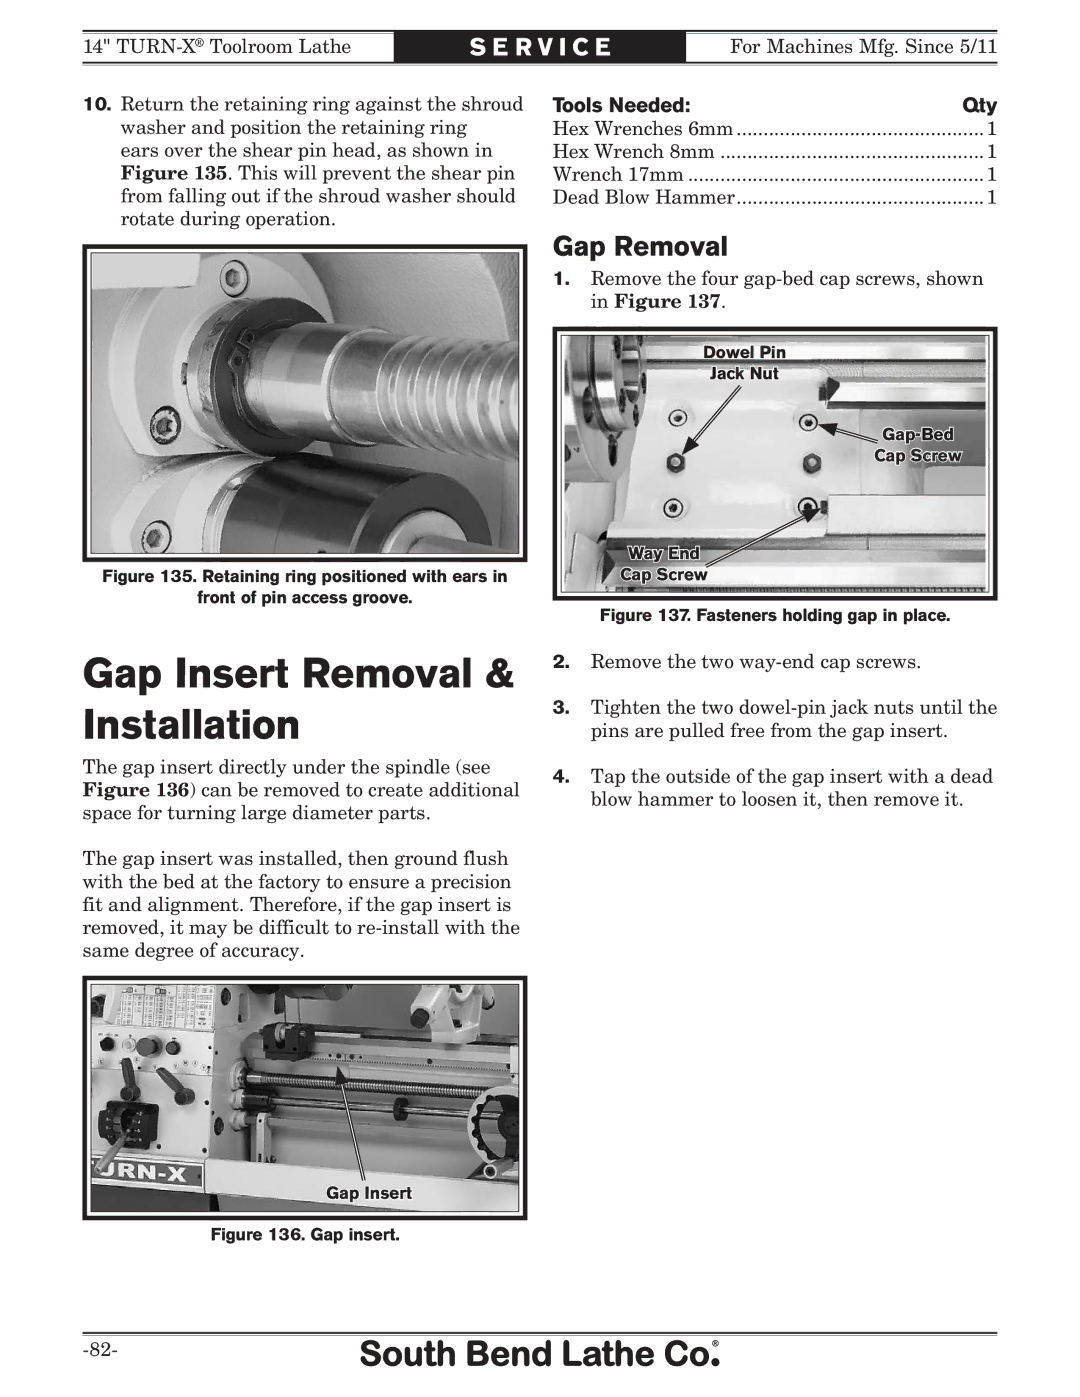
Gap Removal
1.Remove the four
Dowel Pin
Jack Nut
![]()
Cap Screw
Way End
Cap Screw
Figure 137. Fasteners holding gap in place.
Gap Insert Removal & Installation
The gap insert directly under the spindle (see Figure 136) can be removed to create additional space for turning large diameter parts.
The gap insert was installed, then ground flush with the bed at the factory to ensure a precision fit and alignment. Therefore, if the gap insert is removed, it may be difficult to
2.Remove the two
3.Tighten the two
4.Tap the outside of the gap insert with a dead blow hammer to loosen it, then remove it.
Gap Insert