AVR Robot Controller 1.1 Software Tools
Programming Cable
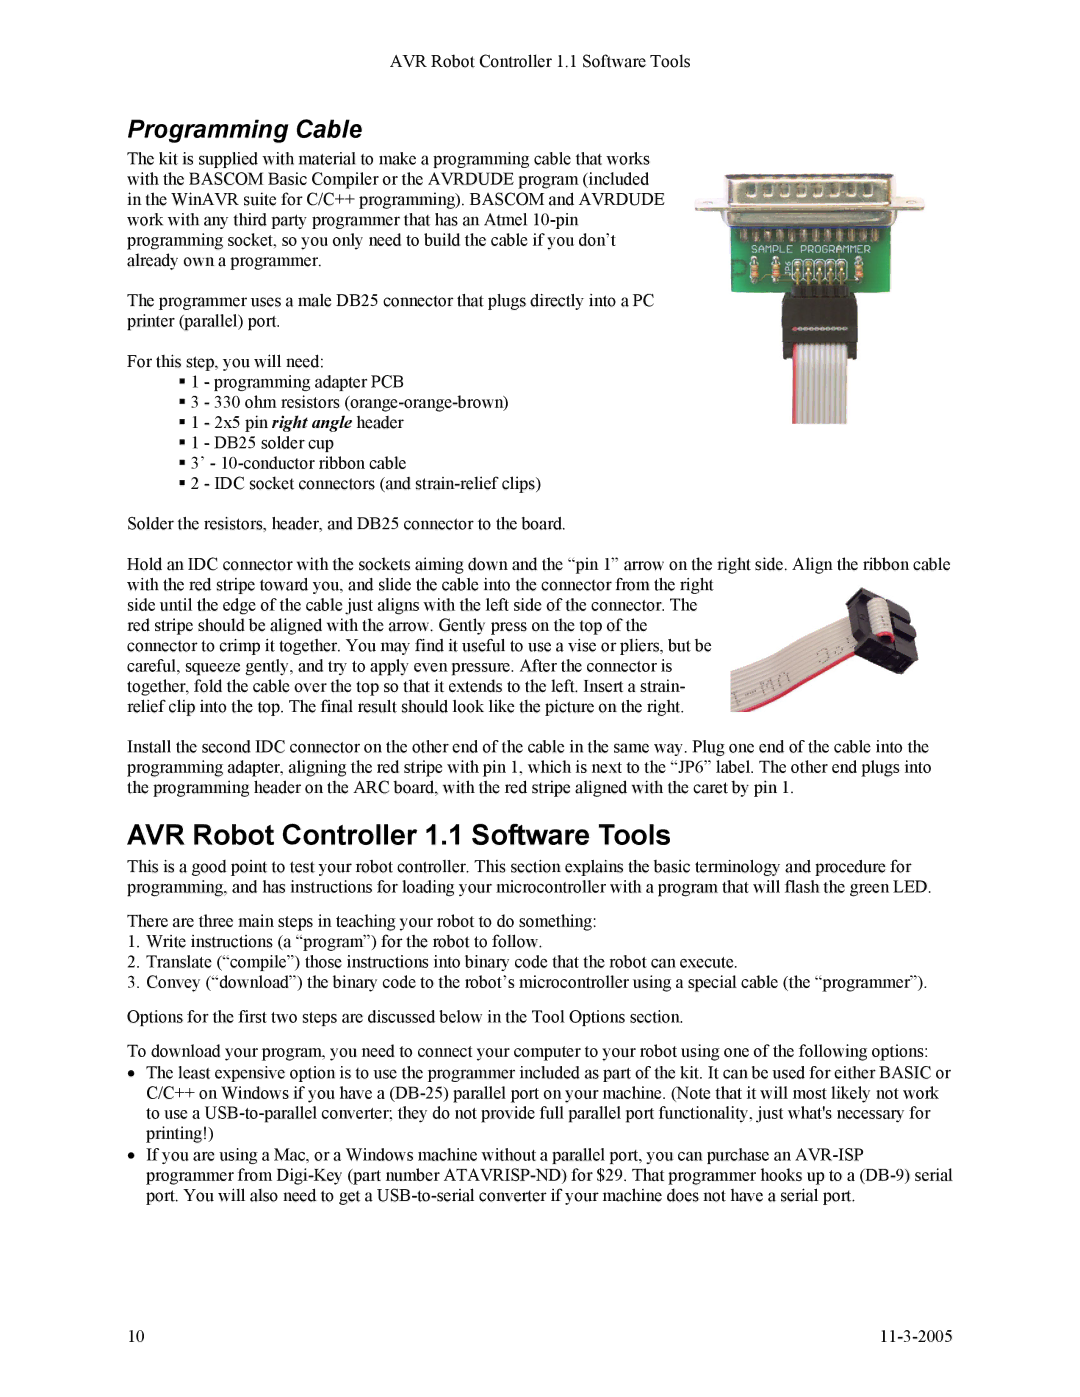
The kit is supplied with material to make a programming cable that works with the BASCOM Basic Compiler or the AVRDUDE program (included in the WinAVR suite for C/C++ programming). BASCOM and AVRDUDE work with any third party programmer that has an Atmel
The programmer uses a male DB25 connector that plugs directly into a PC printer (parallel) port.
For this step, you will need:
1 - programming adapter PCB
3 - 330 ohm resistors
1 - 2x5 pin right angle header
1 - DB25 solder cup
3’ -
2 - IDC socket connectors (and
Solder the resistors, header, and DB25 connector to the board.
Hold an IDC connector with the sockets aiming down and the “pin 1” arrow on the right side. Align the ribbon cable with the red stripe toward you, and slide the cable into the connector from the right
side until the edge of the cable just aligns with the left side of the connector. The red stripe should be aligned with the arrow. Gently press on the top of the connector to crimp it together. You may find it useful to use a vise or pliers, but be careful, squeeze gently, and try to apply even pressure. After the connector is together, fold the cable over the top so that it extends to the left. Insert a strain- relief clip into the top. The final result should look like the picture on the right.
Install the second IDC connector on the other end of the cable in the same way. Plug one end of the cable into the programming adapter, aligning the red stripe with pin 1, which is next to the “JP6” label. The other end plugs into the programming header on the ARC board, with the red stripe aligned with the caret by pin 1.
AVR Robot Controller 1.1 Software Tools
This is a good point to test your robot controller. This section explains the basic terminology and procedure for programming, and has instructions for loading your microcontroller with a program that will flash the green LED.
There are three main steps in teaching your robot to do something:
1.Write instructions (a “program”) for the robot to follow.
2.Translate (“compile”) those instructions into binary code that the robot can execute.
3.Convey (“download”) the binary code to the robot’s microcontroller using a special cable (the “programmer”).
Options for the first two steps are discussed below in the Tool Options section.
To download your program, you need to connect your computer to your robot using one of the following options:
•The least expensive option is to use the programmer included as part of the kit. It can be used for either BASIC or C/C++ on Windows if you have a
•If you are using a Mac, or a Windows machine without a parallel port, you can purchase an
10 |