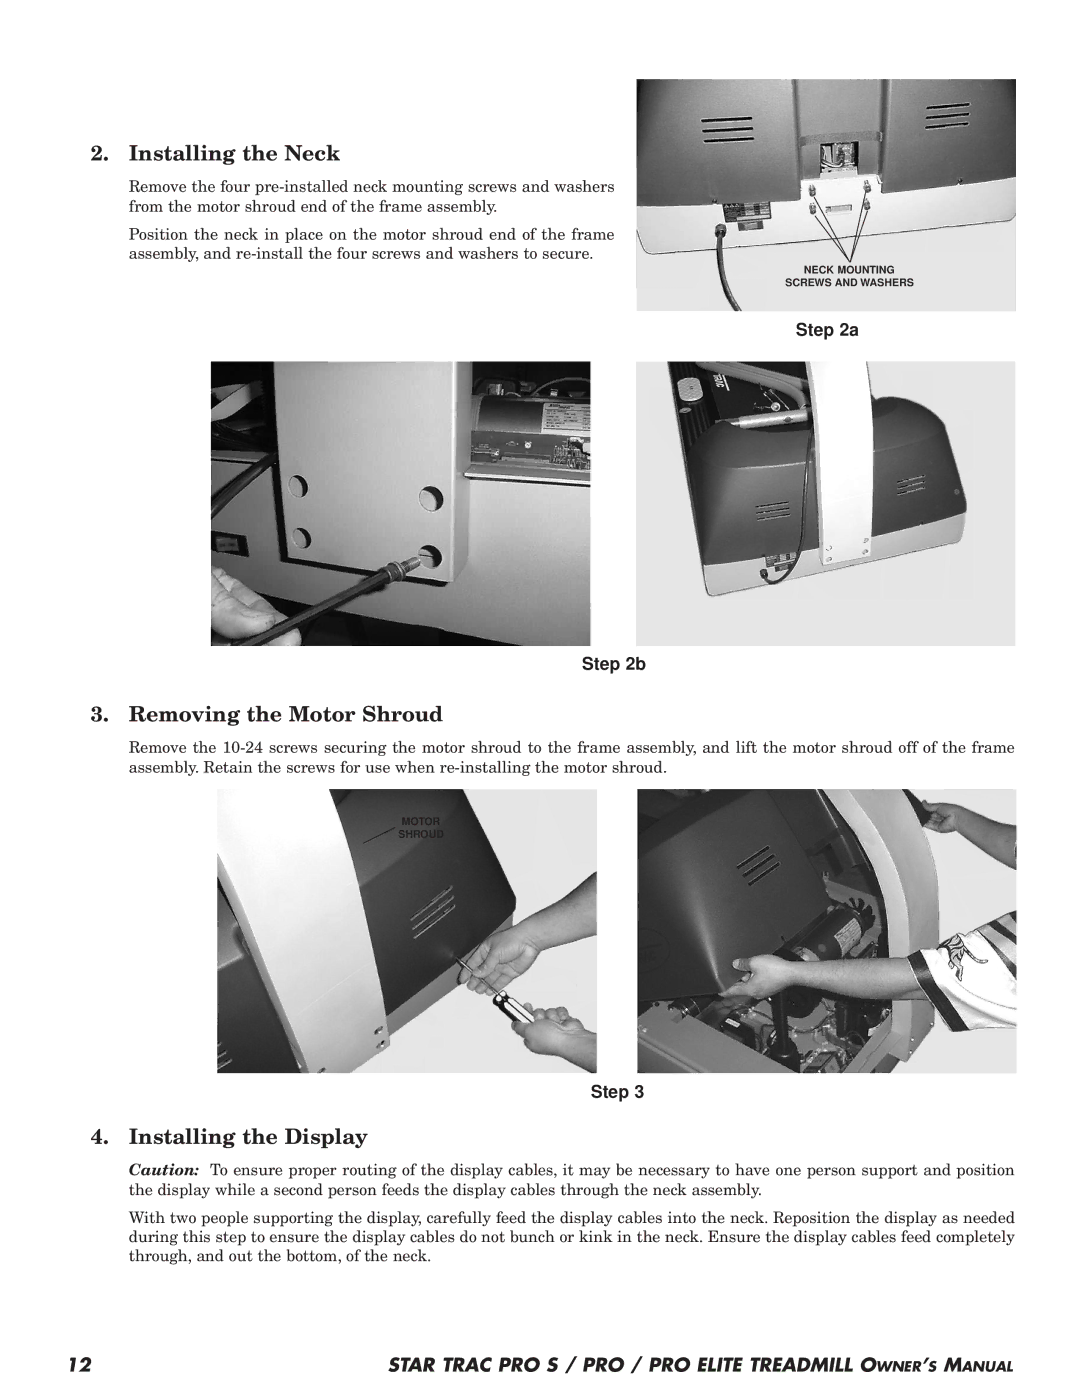
2. Installing the Neck
Remove the four
Position the neck in place on the motor shroud end of the frame assembly, and
NECK MOUNTING
SCREWS AND WASHERS
Step 2a
Step 2b
3. Removing the Motor Shroud
Remove the
MOTOR
![]() SHROUD
SHROUD
Step 3
4. Installing the Display
Caution: To ensure proper routing of the display cables, it may be necessary to have one person support and position the display while a second person feeds the display cables through the neck assembly.
With two people supporting the display, carefully feed the display cables into the neck. Reposition the display as needed during this step to ensure the display cables do not bunch or kink in the neck. Ensure the display cables feed completely through, and out the bottom, of the neck.
12 | STAR TRAC PRO S / PRO / PRO ELITE TREADMILL OWNER’S MANUAL |
