For units with scale system (PRO ELITE), connect the cables tagged
Step 6c
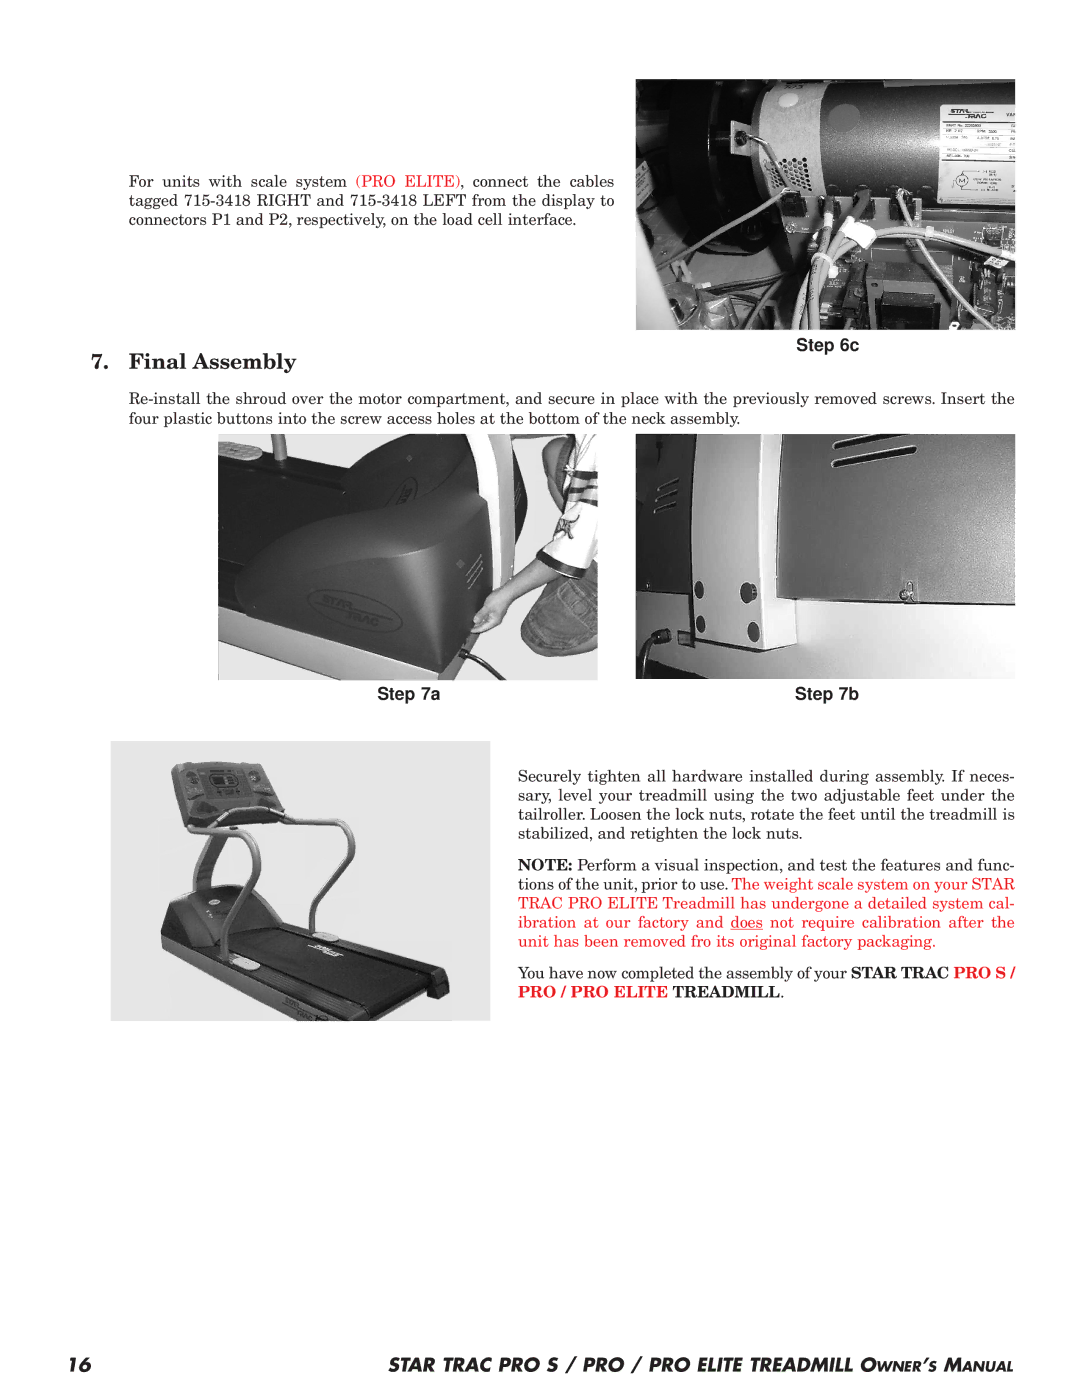
7. Final Assembly
Step 7a | Step 7b |
Securely tighten all hardware installed during assembly. If neces- sary, level your treadmill using the two adjustable feet under the tailroller. Loosen the lock nuts, rotate the feet until the treadmill is stabilized, and retighten the lock nuts.
NOTE: Perform a visual inspection, and test the features and func- tions of the unit, prior to use. The weight scale system on your STAR TRAC PRO ELITE Treadmill has undergone a detailed system cal- ibration at our factory and does not require calibration after the unit has been removed fro its original factory packaging.
You have now completed the assembly of your STAR TRAC PRO S /
PRO / PRO ELITE TREADMILL.
16 | STAR TRAC PRO S / PRO / PRO ELITE TREADMILL OWNER’S MANUAL |