ASSEMBLY AND SETUP | CHAPTER |
|
2 |
| |
|
|
|
UNPACKING
Remove all parts from the shipping crate and verify that the following parts were included in your shipment:
Description | Qty. |
Frame Assembly w/ Motor Shroud | . 1 |
Top Rail with Display | . 1 |
Neck | . 1 |
Side Rail w/ STOP Switch | . 1 |
Side Rail | . 1 |
Button, Plastic** | . 4 |
Screw, Button Head Socket Cap, | . 4 |
Screw, Socket Head Cap, | . 4 |
Bolt, | . 2 |
Washer, Flat, 5/16” I.D. x 1.5" O.D | . 2 |
Washer, Flat, 5/16” I.D. x 1.2” O.D.** | . 6 |
Washer, Split Lock, 5/16”** | . 6 |
Screw, | . 2 |
Hex (Allen) key, 1/4”** | . 1 |
Hex (Allen) key, 5/32”** | . 1 |
Screwdriver, Phillips, #2** | . 1 |
Screwdriver | . 1 |
Owner’s Manual with Warranty Registration Card | . 1 |
Should any component not be present or if you have any operational questions, please call Star Trac’s Service department at (800)
Serial No._________________________________________________________________________
Model No._________________________________________________________________________
NOTE: The following assembly procedure applies to the PRO S, PRO and PRO ELITE Treadmills. Illustrations show the PRO ELITE Treadmill only.
ASSEMBLY
The following toools are required for assembly: Hex (Allen) Key, 1/4”; Hex (Allen) Key, 5/32”; Screwdriver, Phillips; Wrench, 1/2” (not provided). To assemble your STAR TRAC PRO S / PRO / PRO ELITE TREADMILL, just follow these steps.
NOTE: Don’t fully tighten bolts and screws until all parts are assembled.
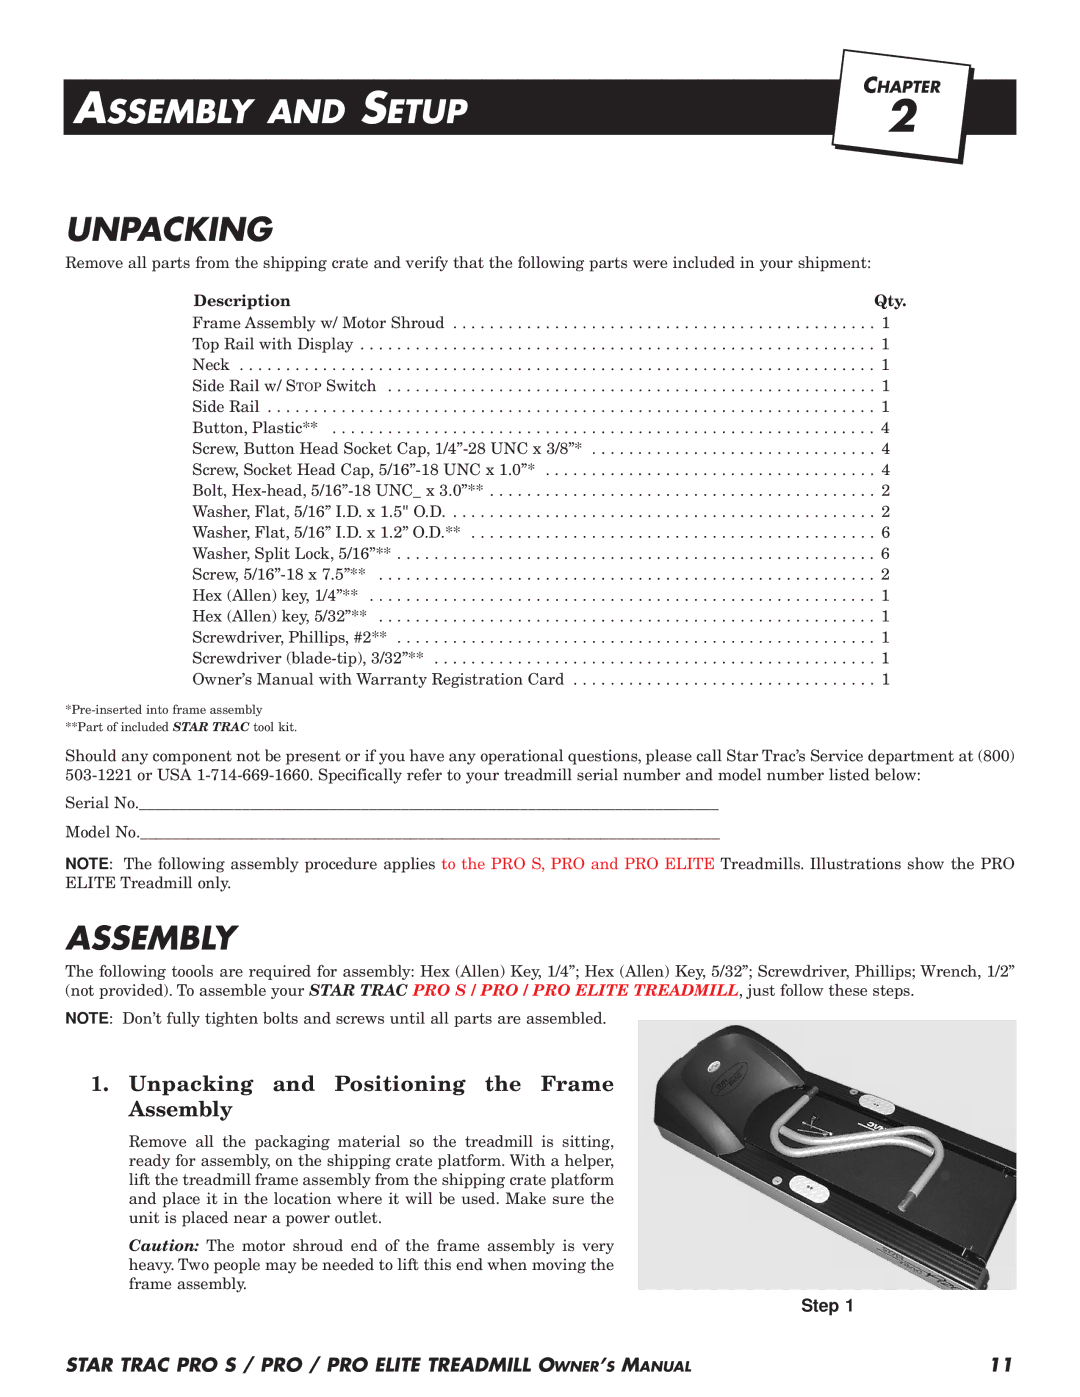
1.Unpacking and Positioning the Frame Assembly
Remove all the packaging material so the treadmill is sitting, ready for assembly, on the shipping crate platform. With a helper, lift the treadmill frame assembly from the shipping crate platform and place it in the location where it will be used. Make sure the unit is placed near a power outlet.
Caution: The motor shroud end of the frame assembly is very heavy. Two people may be needed to lift this end when moving the frame assembly.
Step 1
STAR TRAC PRO S / PRO / PRO ELITE TREADMILL OWNER’S MANUAL | 11 |