424G / 424FSG, 427G / 427RG, WS-30 specifications
Sub-Zero, a name synonymous with high-end refrigeration, offers a range of premium products that cater to the home chef's needs, particularly the WS-30,427G/427RG, and 424G/424FSG models. These integrated refrigerators are designed to deliver superior performance while seamlessly blending into your kitchen decor.One of the standout features of the Sub-Zero WS-30 and 427 models is their advanced preservation technology. With dual refrigeration systems, each compartment maintains optimal temperatures and humidity levels. This is essential for preserving the freshness and flavor of your food and extends the shelf life of perishable items. The models also feature a patented air purification system that filters out impurities, ensuring that your food stays fresher longer.
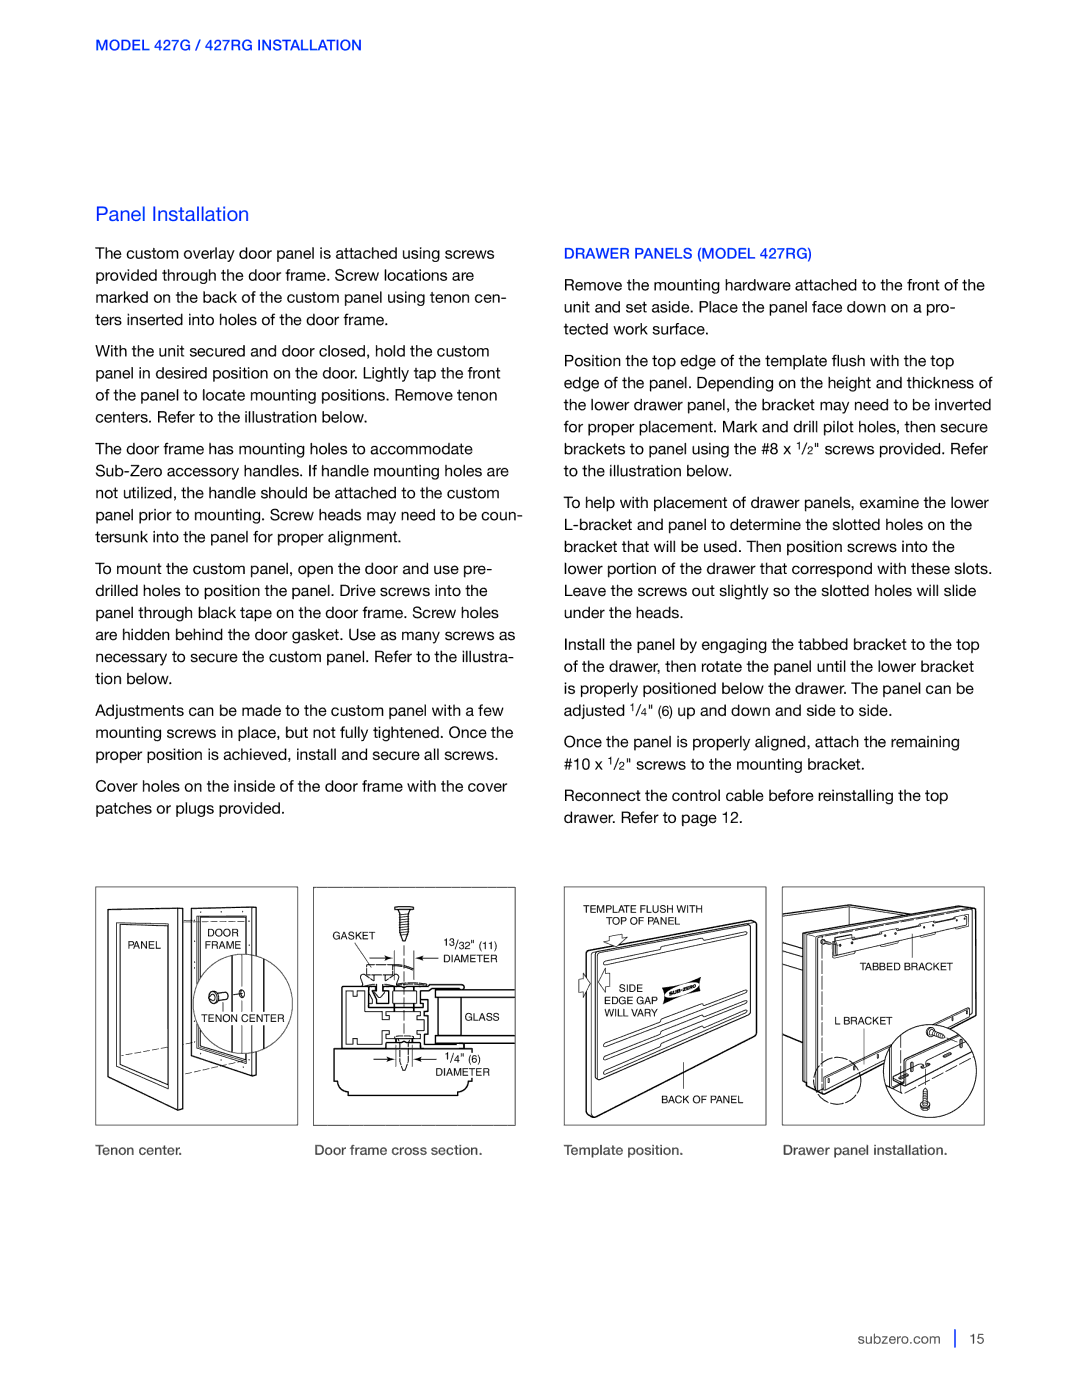
Another key characteristic is the design flexibility. The WS-30 and 427G/427RG models offer custom panel options that allow these units to be integrated into your kitchen aesthetically. The 424G and 424FSG models come with a range of finishes, including stainless steel, which complements modern kitchen designs. The units can be installed flush with cabinetry, giving your kitchen a sleek, streamlined appearance.
The interior layout of these models is engineered for convenience and accessibility. Adjustable shelves and deep bins maximize storage potential, allowing you to organize your groceries efficiently. The soft-close doors and drawers ensure quiet operation and long-lasting durability, while LED lighting enhances visibility and highlights the elegance of the interior.
User-friendly features are also prevalent in these Sub-Zero models. The intuitive temperature controls and digital displays make it easy to monitor and adjust settings to suit your specific storage needs. The ice and water dispensers in the 427RG and 424FSG models provide added convenience while incorporating advanced filtration for purified drinking water and ice.
In terms of energy efficiency, Sub-Zero refrigerators are built to comply with strict energy standards, helping you save on utility bills while being environmentally conscious.
In summary, the Sub-Zero WS-30,427G/427RG, and 424G/424FSG models combine cutting-edge technology, superior design, and exceptional performance, making them ideal choices for discerning homeowners looking to invest in a high-quality refrigeration solution. With a focus on food preservation, aesthetic integration, and user convenience, these refrigerators exemplify the ideal blend of function and style.

