Chapter 6 | Section 6.5 |
Implementing the JDBC/ODBC eWay Sample Projects | Building and Deploying the prjJDBC_JCD Sample Project |
Steps required to create an Environment:
1From the Enterprise Designer’s Enterprise Explorer, click the Environment Explorer tab.
2
3Rename the new Environment to envJDBCProj.
4
5
6
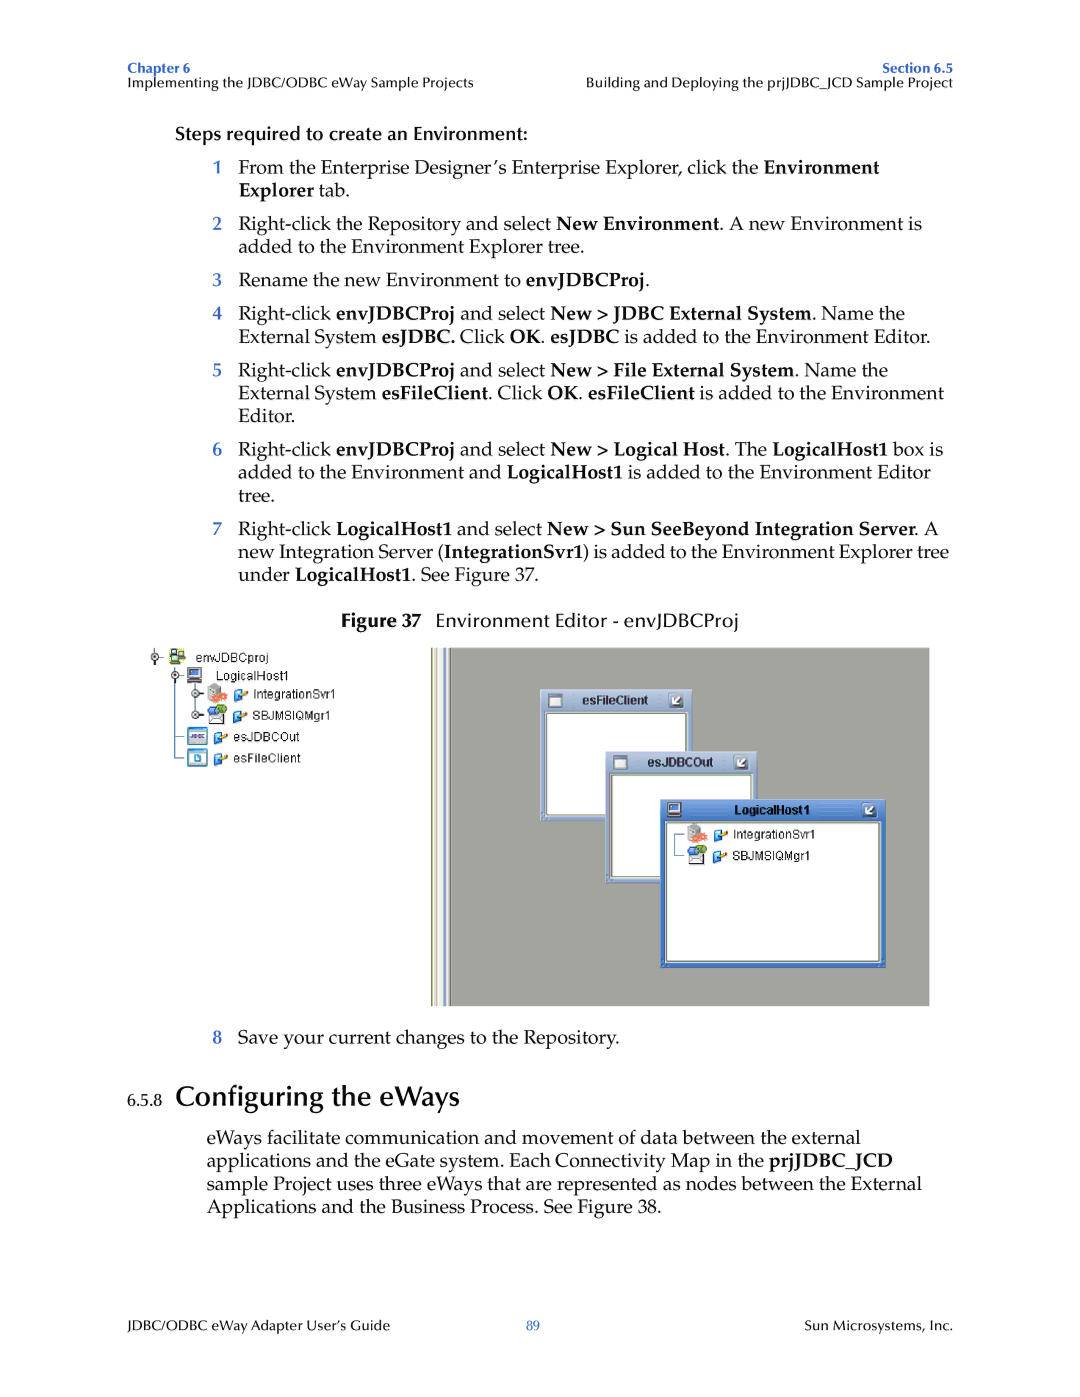
7
Figure 37 Environment Editor - envJDBCProj
8Save your current changes to the Repository.
6.5.8Configuring the eWays
eWays facilitate communication and movement of data between the external applications and the eGate system. Each Connectivity Map in the prjJDBC_JCD sample Project uses three eWays that are represented as nodes between the External Applications and the Business Process. See Figure 38.
JDBC/ODBC eWay Adapter User’s Guide | 89 | Sun Microsystems, Inc. |