A+ SERVER
Note: You need to have an external USB floppy when building the driver diskette. Window's Vista, Windows 2008 or later Windows OS systems can use a USB stick instead of a floppy.
Enabling SATA RAID in the BIOS
Before installing the Windows Operating System, you must change some settings in BIOS. Boot up the system and hit the <Del> key to enter the BIOS Setup Utlility. After the Setup Utility loads,
1.Use the arrow keys to move to the Exit menu. Scroll down with the arrow keys to the "Load Optimal Defaults setting and press <Enter>. Select "OK" to confirm, then <Enter> to load the default settings.
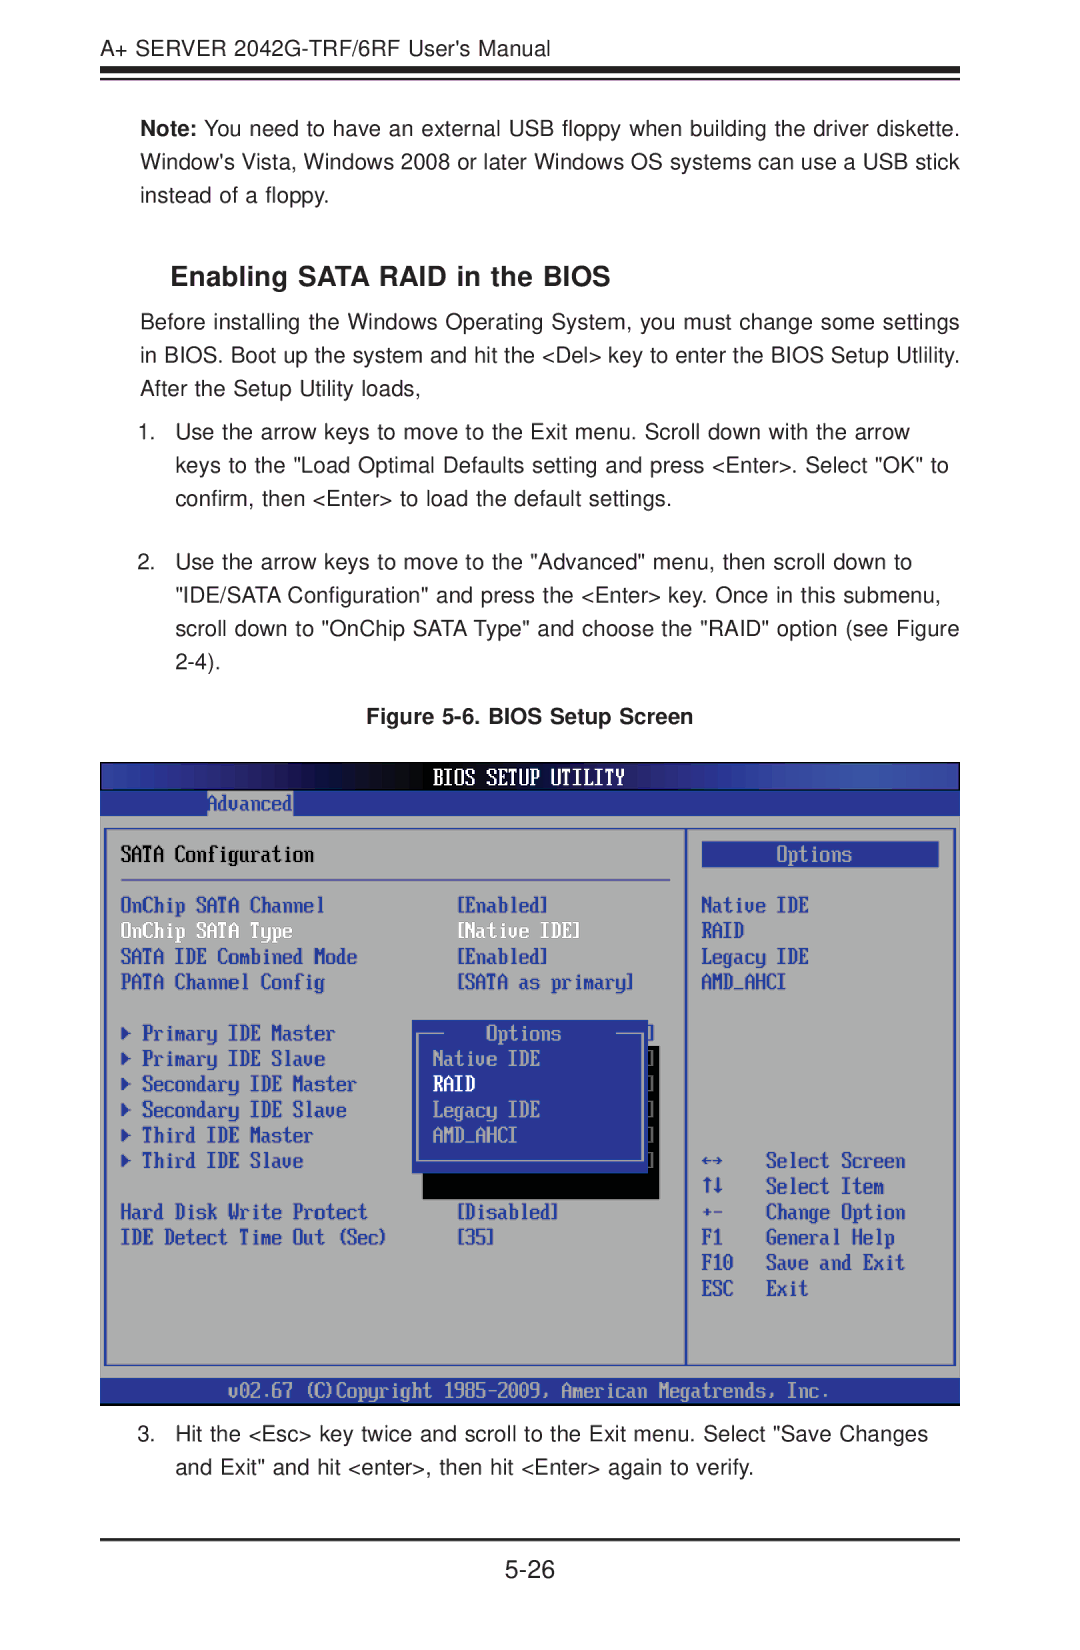
2.Use the arrow keys to move to the "Advanced" menu, then scroll down to "IDE/SATA Configuration" and press the <Enter> key. Once in this submenu, scroll down to "OnChip SATA Type" and choose the "RAID" option (see Figure
Figure 5-6. BIOS Setup Screen
3.Hit the <Esc> key twice and scroll to the Exit menu. Select "Save Changes and Exit" and hit <enter>, then hit <Enter> again to verify.