Appendix B: Software Installation Instructions
Appendix B
Software Installation Instructions
B-1 Installing Drivers
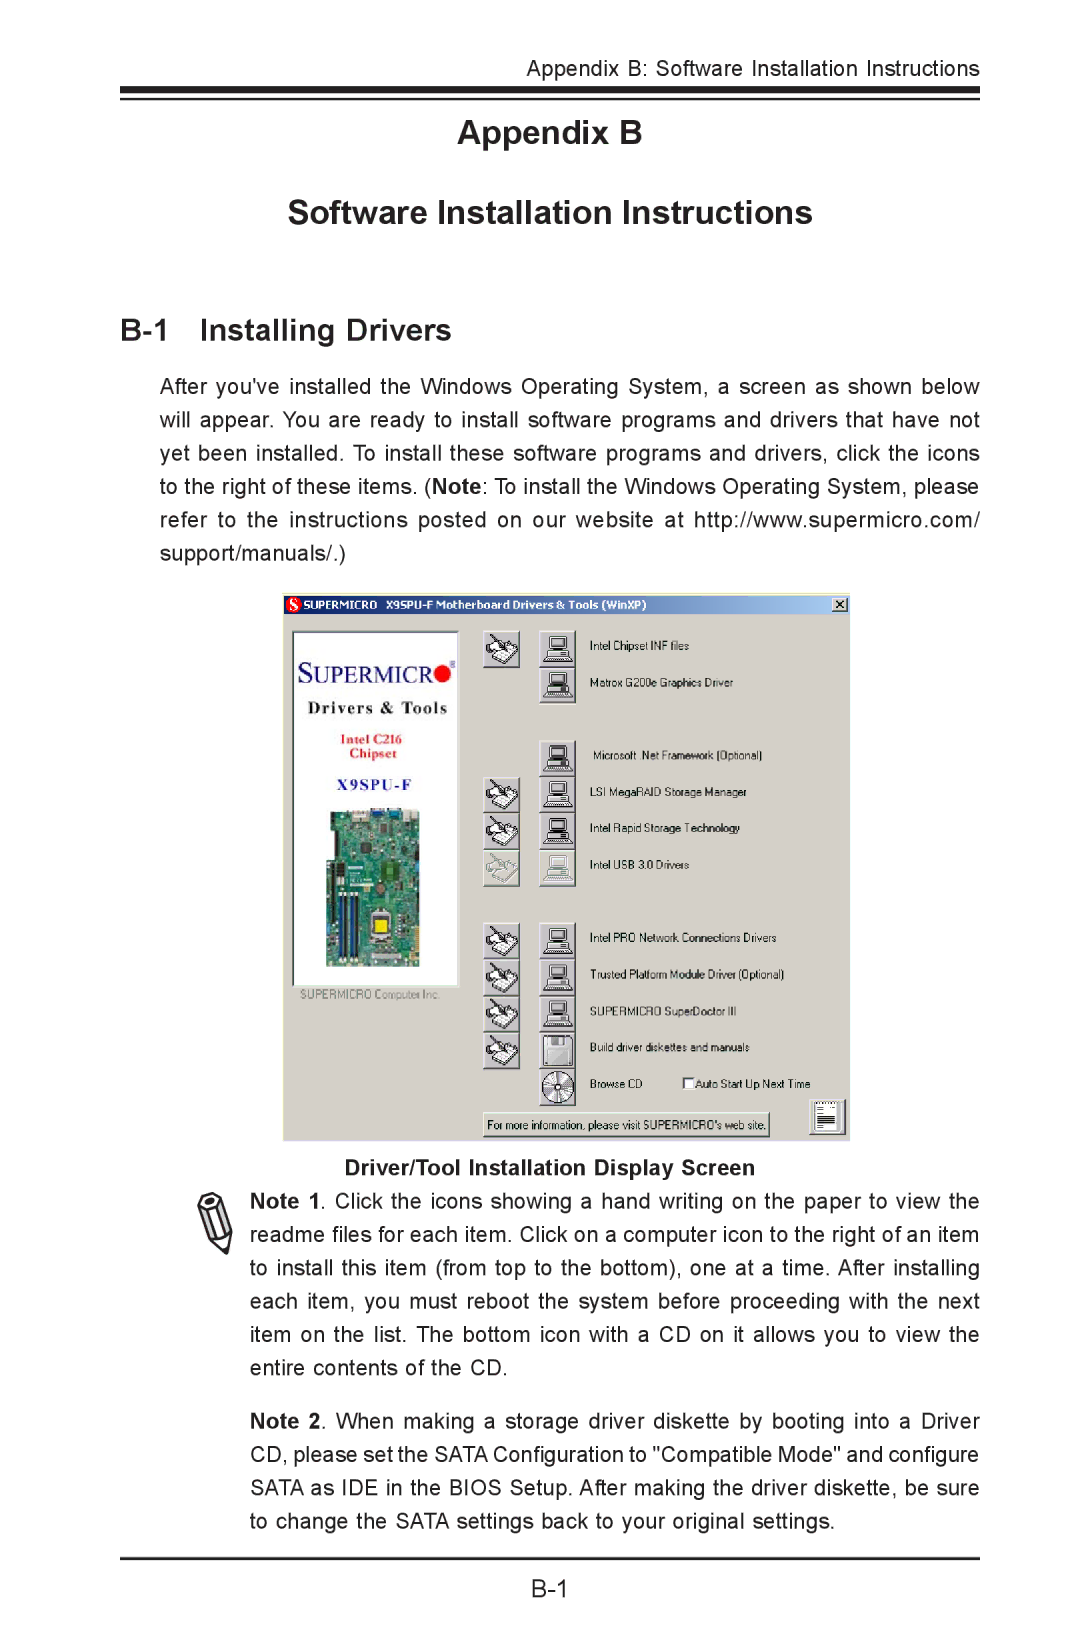
After you've installed the Windows Operating System, a screen as shown below will appear. You are ready to install software programs and drivers that have not yet been installed. To install these software programs and drivers, click the icons to the right of these items. (Note: To install the Windows Operating System, please refer to the instructions posted on our website at http://www.supermicro.com/ support/manuals/.)
Driver/Tool Installation Display Screen
Note 1. Click the icons showing a hand writing on the paper to view the readme files for each item. Click on a computer icon to the right of an item to install this item (from top to the bottom), one at a time. After installing each item, you must reboot the system before proceeding with the next item on the list. The bottom icon with a CD on it allows you to view the entire contents of the CD.
Note 2. When making a storage driver diskette by booting into a Driver CD, please set the SATA Configuration to "Compatible Mode" and configure SATA as IDE in the BIOS Setup. After making the driver diskette, be sure to change the SATA settings back to your original settings.