SECTION 11 : Error Messages Explained
Supplementary explanation. Note 1
When "No INK Ribbon" or "No TFR Ribbon" is displayed and you find the corresponding ribbon is fully consumed, be sure to change it.
(Attention: Do not close the side door without changing a fully consumed ribbon, or a tape that holds the ribbon shaft and the ribbon itself in place would be peeled off and thus the ribbon might get stuck in the mechanism, likely causing the printer to go out of order.)
Note 2
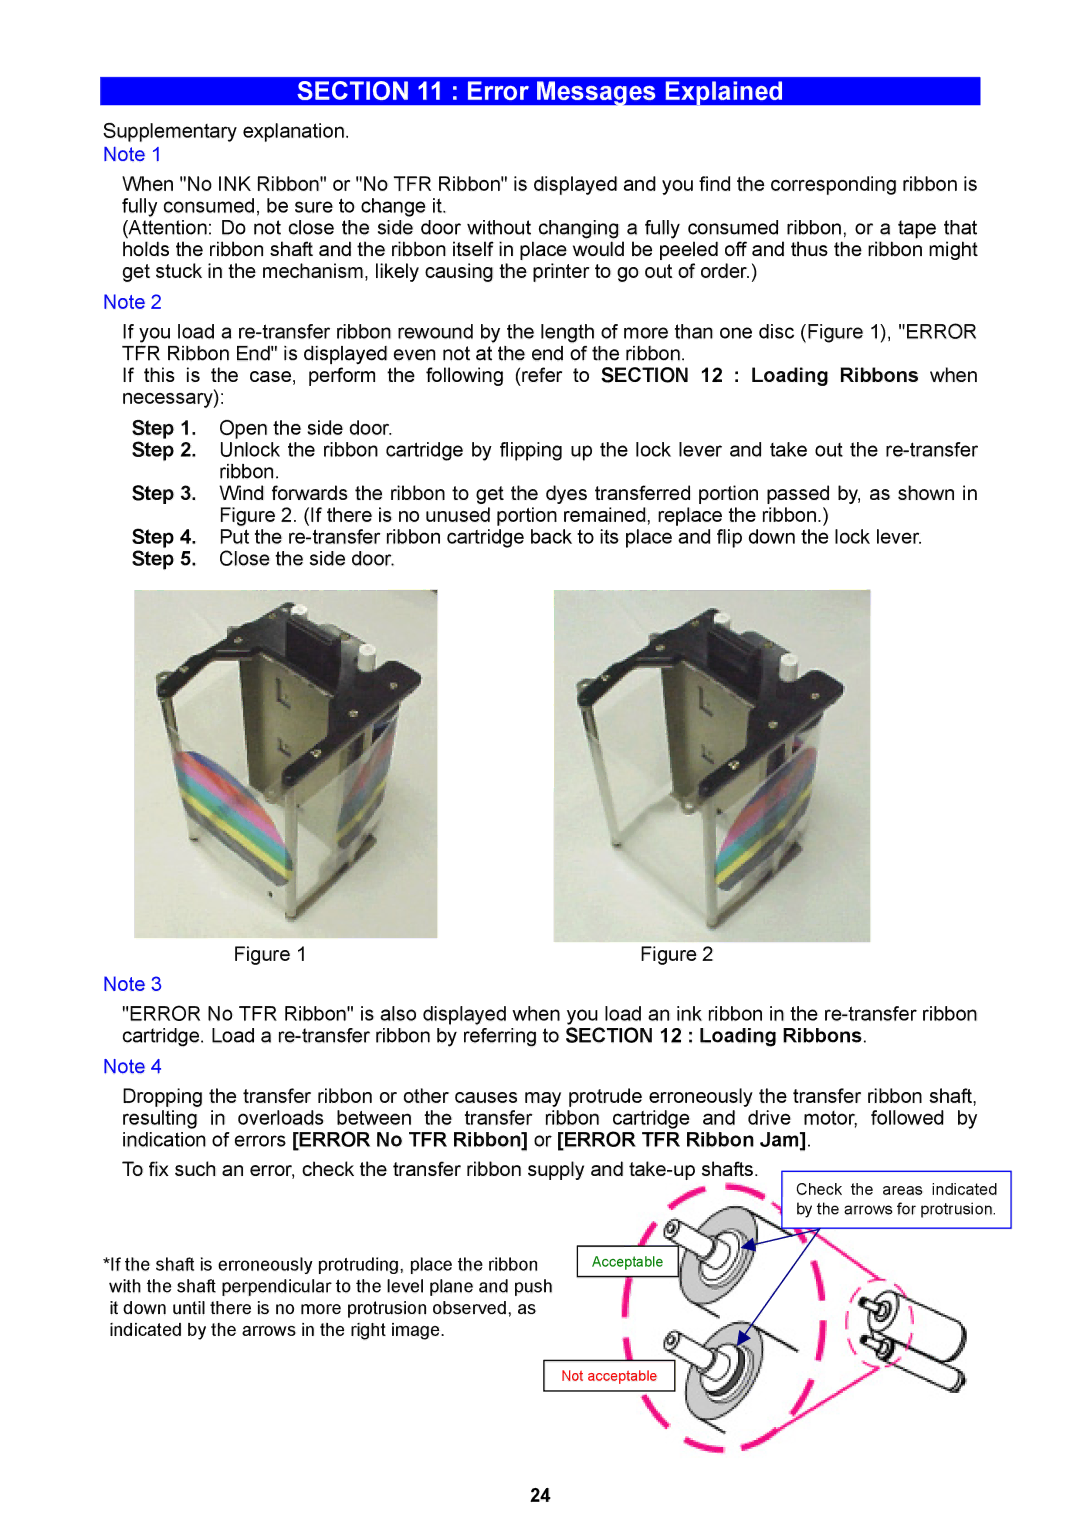
If you load a
If this is the case, perform the following (refer to SECTION 12 : Loading Ribbons when necessary):
Step 1. Open the side door.
Step 2. Unlock the ribbon cartridge by flipping up the lock lever and take out the
Step 3. Wind forwards the ribbon to get the dyes transferred portion passed by, as shown in Figure 2. (If there is no unused portion remained, replace the ribbon.)
Step 4. Put the
Figure 1 | Figure 2 |
Note 3
"ERROR No TFR Ribbon" is also displayed when you load an ink ribbon in the
Note 4
Dropping the transfer ribbon or other causes may protrude erroneously the transfer ribbon shaft, resulting in overloads between the transfer ribbon cartridge and drive motor, followed by indication of errors [ERROR No TFR Ribbon] or [ERROR TFR Ribbon Jam].
To fix such an error, check the transfer ribbon supply and
*If the shaft is erroneously protruding, place the ribbon | Acceptable |
with the shaft perpendicular to the level plane and push it down until there is no more protrusion observed, as indicated by the arrows in the right image.
Check the areas indicated by the arrows for protrusion.
Not acceptable
24
