SECTION 14 : Getting Label Print Job Started
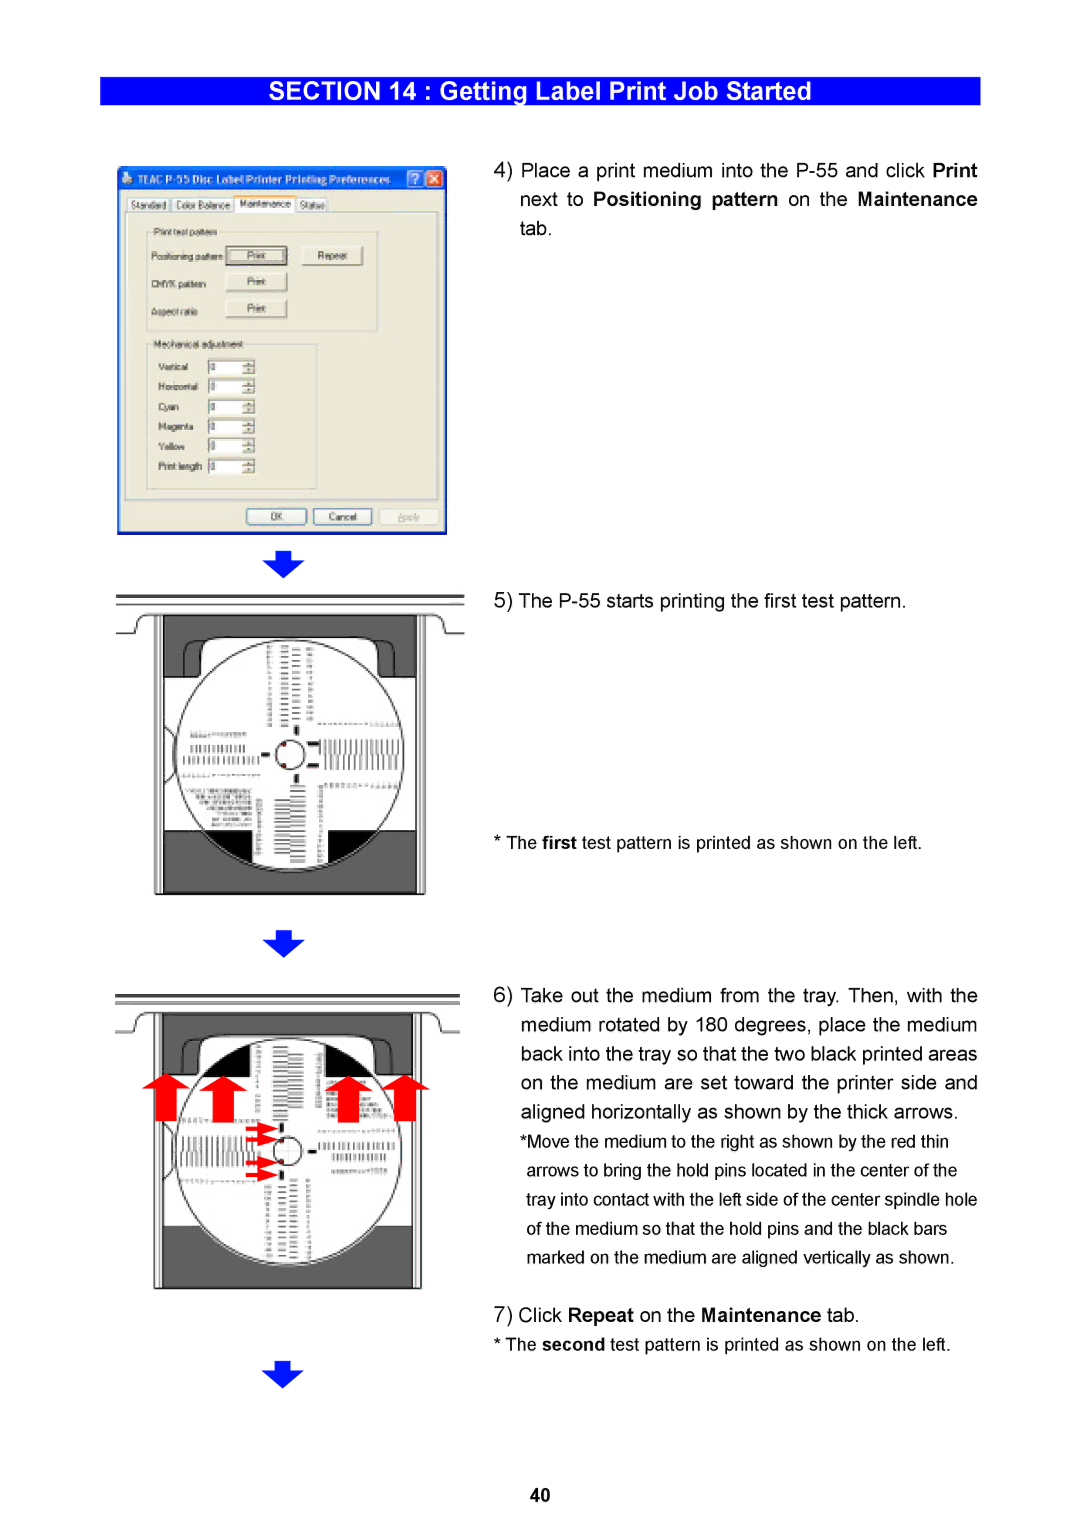
4)Place a print medium into the
5)The
*The first test pattern is printed as shown on the left.
6)Take out the medium from the tray. Then, with the medium rotated by 180 degrees, place the medium back into the tray so that the two black printed areas on the medium are set toward the printer side and aligned horizontally as shown by the thick arrows.
*Move the medium to the right as shown by the red thin arrows to bring the hold pins located in the center of the tray into contact with the left side of the center spindle hole of the medium so that the hold pins and the black bars marked on the medium are aligned vertically as shown.
7)Click Repeat on the Maintenance tab.
* The second test pattern is printed as shown on the left.
40