SECTION 12 : Loading Ribbons
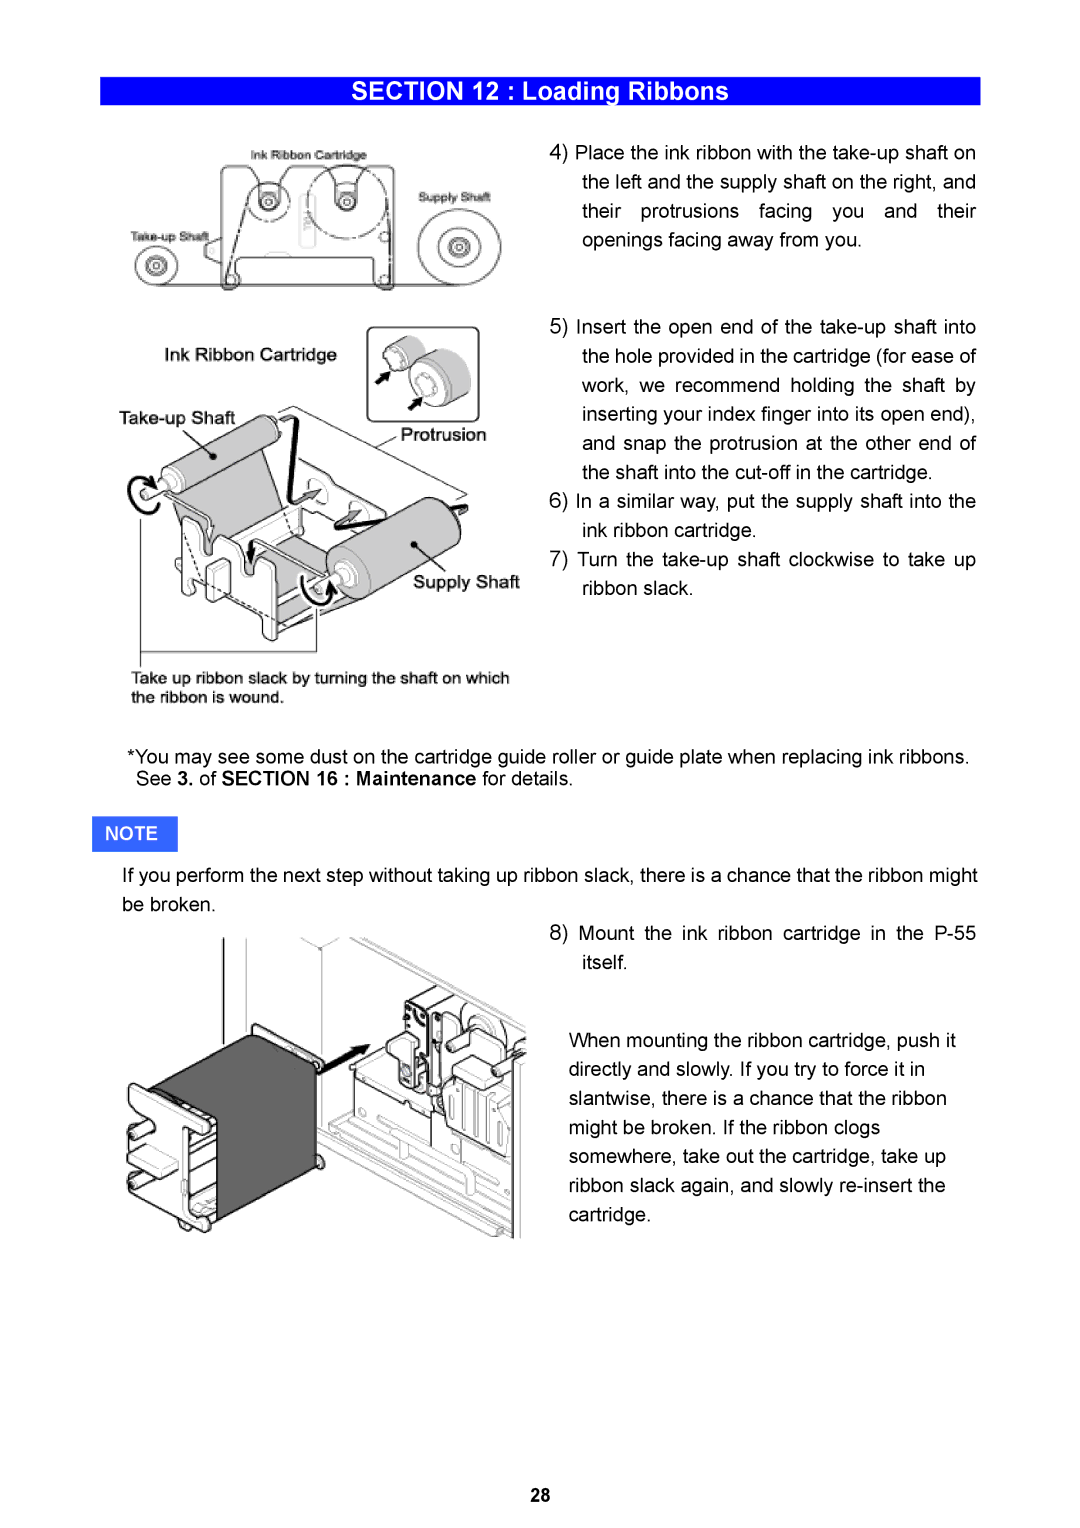
4) Place the ink ribbon with the
5) Insert the open end of the
6) In a similar way, put the supply shaft into the ink ribbon cartridge.
7) Turn the
*You may see some dust on the cartridge guide roller or guide plate when replacing ink ribbons. See 3. of SECTION 16 : Maintenance for details.
NOTE
If you perform the next step without taking up ribbon slack, there is a chance that the ribbon might be broken.
8) Mount the ink ribbon cartridge in the
When mounting the ribbon cartridge, push it directly and slowly. If you try to force it in slantwise, there is a chance that the ribbon might be broken. If the ribbon clogs somewhere, take out the cartridge, take up ribbon slack again, and slowly
28