Setting Up the Audio Options
5 | Use the | ❷ buttons to select the desired item. |
|
Then press the ❿ or OK button.
Press the RETURN or ➛ button to return to
Allow you to setup the Audio device and sound status depending on the audio system in use.
Note
the previous menu. Press the MENU button to exit the menu.
System Setup
1 | With the DVD in Stop mode, press the MENU | |
button on the remote control. | ||
|
|
|
2 | Select “Setup” using | ❷ buttons, then press |
the ❿ or OK button. |
| |
|
|
|
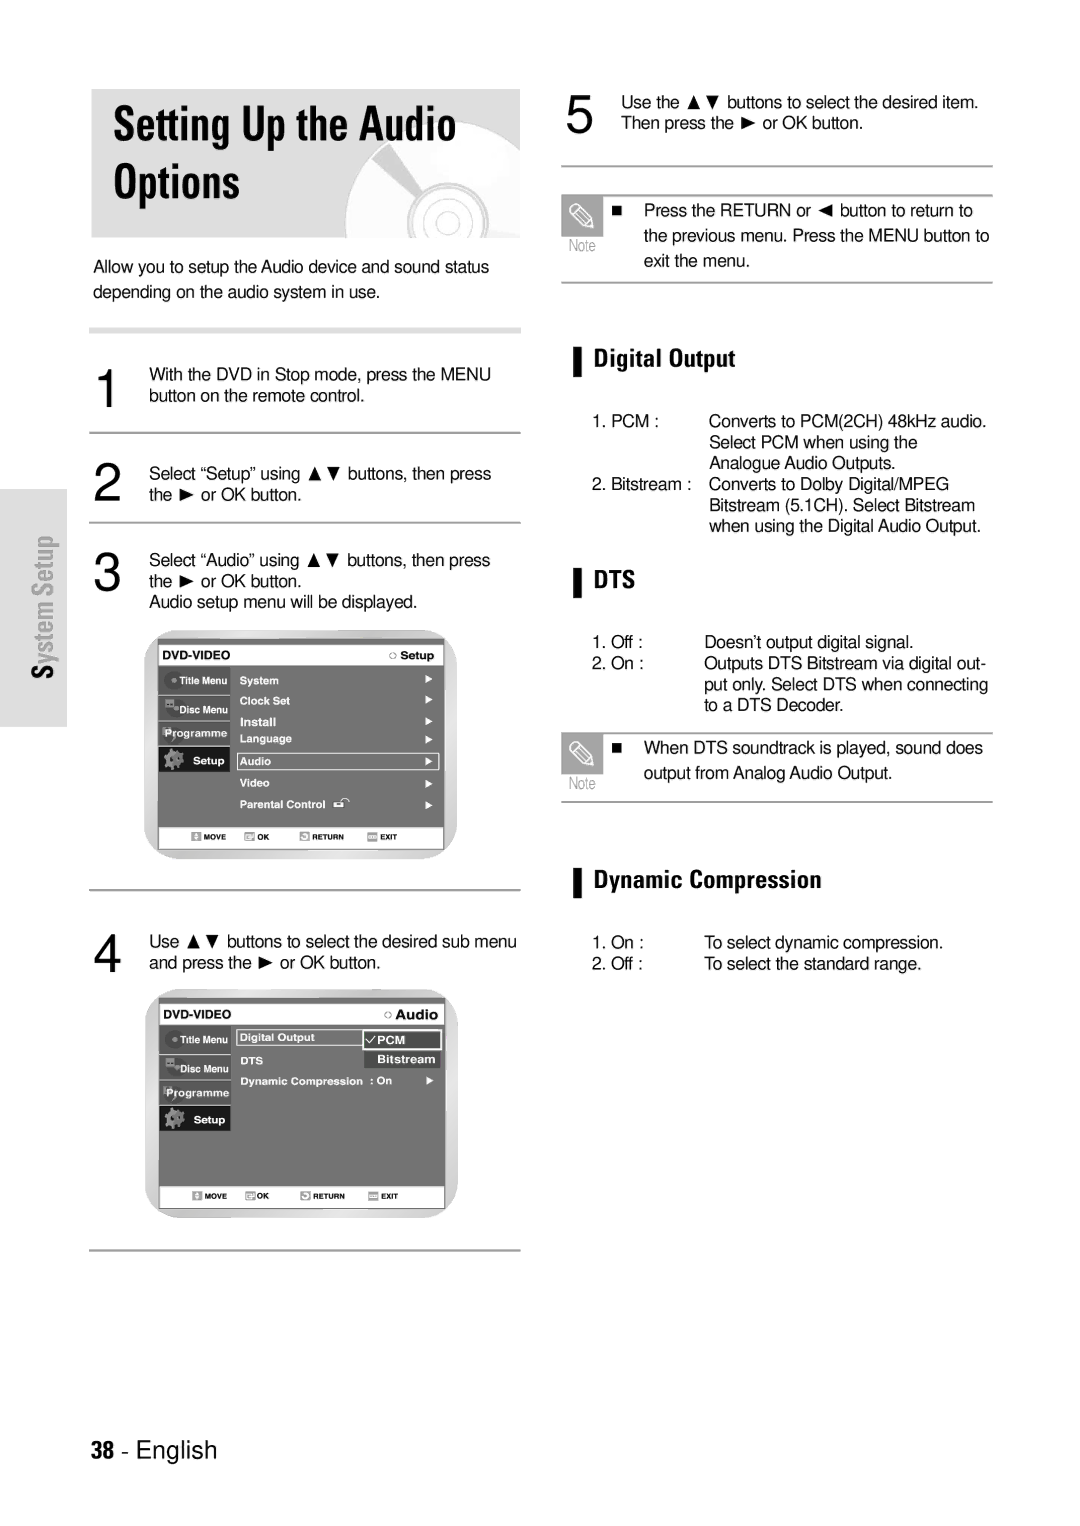
3 | Select “Audio” using | ❷ buttons, then press |
| ||
the ❿ or OK button.
Audio setup menu will be displayed.
Programme
Digital Output
1.PCM : Converts to PCM(2CH) 48kHz audio. Select PCM when using the Analogue Audio Outputs.
2.Bitstream : Converts to Dolby Digital/MPEG Bitstream (5.1CH). Select Bitstream when using the Digital Audio Output.
DTS
1.Off : Doesn’t output digital signal.
2.On : Outputs DTS Bitstream via digital out- put only. Select DTS when connecting to a DTS Decoder.
When DTS soundtrack is played, sound does
Note
output from Analog Audio Output.
|
|
|
|
|
|
| Dynamic Compression | |
|
|
|
|
|
|
|
|
|
|
|
|
|
|
|
| ||
4 | Use ❷ buttons to select the desired sub menu |
|
|
| 1. On : | To select dynamic compression. | ||
and press the ❿ or OK button. |
|
| 2. Off : | To select the standard range. | ||||
|
|
|
|
|
|
|
|
|
|
|
|
|
|
|
|
|
|
|
|
|
|
|
|
|
|
|
![]() PCM
PCM
![]() Bitstream
Bitstream
Programme