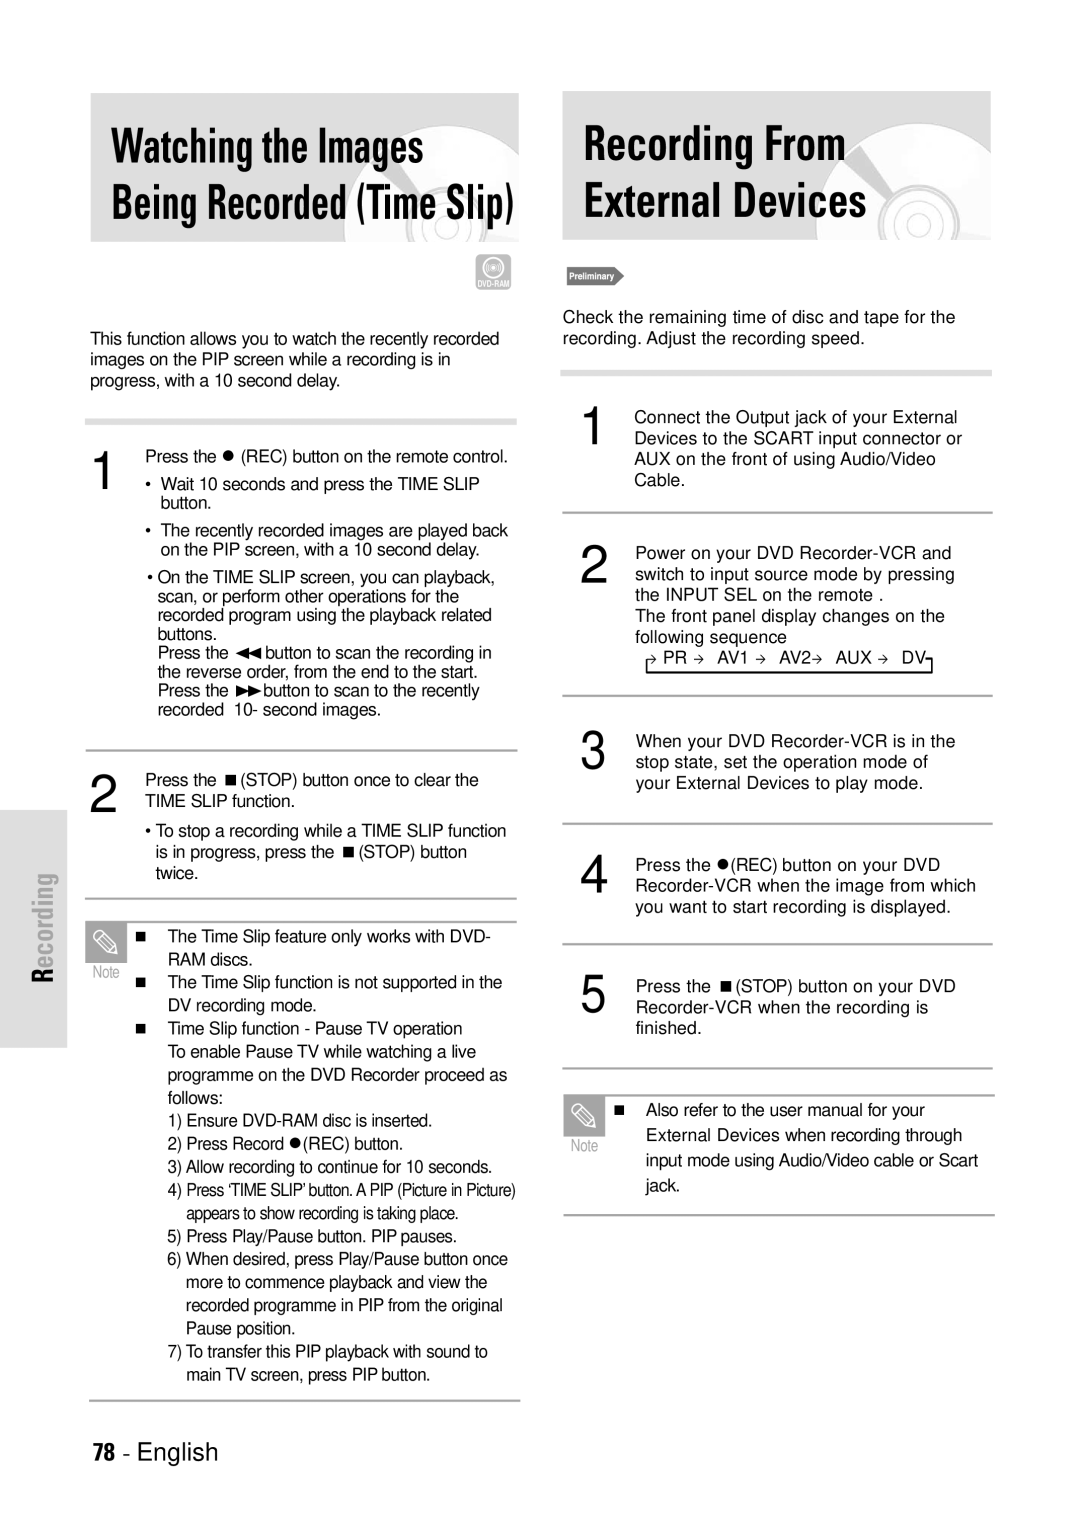
Recording
Watching the Images Being Recorded (Time Slip)
This function allows you to watch the recently recorded images on the PIP screen while a recording is in progress, with a 10 second delay.
Press the z (REC) button on the remote control.
1 • Wait 10 seconds and press the TIME SLIP button.
•The recently recorded images are played back on the PIP screen, with a 10 second delay.
•On the TIME SLIP screen, you can playback, scan, or perform other operations for the recorded program using the playback related buttons.
Press the ➛➛ button to scan the recording in the reverse order, from the end to the start. Press the ❿❿button to scan to the recently recorded 10- second images.
2 | Press the (STOP) button once to clear the |
TIME SLIP function. |
• To stop a recording while a TIME SLIP function is in progress, press the (STOP) button twice.
The Time Slip feature only works with DVD- RAM discs.
Note The Time Slip function is not supported in the DV recording mode.
Time Slip function - Pause TV operation |
To enable Pause TV while watching a live |
programme on the DVD Recorder proceed as |
follows: |
1) Ensure |
Recording From
External Devices
Check the remaining time of disc and tape for the recording. Adjust the recording speed.
1 |
| Connect the Output jack of your External |
| ||||||||
| Devices to the SCART input connector or |
| |||||||||
|
|
|
| AUX on the front of using Audio/Video |
| ||||||
|
|
|
| Cable. |
|
|
|
|
|
| |
|
|
|
|
|
|
|
|
|
|
|
|
|
|
|
|
|
|
|
|
|
|
|
|
| 2 |
| Power on your DVD |
|
| ||||||
|
|
|
|
| |||||||
|
|
|
| switch to input source mode by pressing |
| ||||||
|
|
|
| the INPUT SEL on the remote . |
| ||||||
|
|
|
| The front panel display changes on the |
| ||||||
|
|
|
| ||||||||
|
|
|
| following sequence |
| ||||||
|
|
|
|
| Æ PR Æ | AV1 Æ AV2Æ AUX Æ DV |
|
|
| ||
|
|
|
|
|
|
|
|
|
| ||
|
|
|
|
|
|
|
|
|
|
| |
|
|
|
|
|
|
|
|
|
|
|
|
|
|
|
|
|
|
|
|
|
|
|
|
|
|
|
|
|
|
|
|
| |||
|
| 3 |
|
|
|
|
|
| |||
|
|
| When your DVD | ||||||||
|
| stop state, set the operation mode of |
| ||||||||
|
|
|
| your External Devices to play mode. |
| ||||||
|
|
|
|
|
|
|
|
|
|
| |
|
|
|
|
|
|
|
|
|
|
|
|
|
|
|
|
|
|
|
|
|
|
|
|
|
|
|
|
|
|
|
| ||||
| 4 |
| Press the z(REC) button on your DVD |
| |||||||
|
|
| |||||||||
|
|
|
| you want to start recording is displayed. |
| ||||||
|
|
|
|
|
|
|
|
|
|
|
|
|
|
|
|
|
|
|
|
|
|
|
|
|
|
|
|
|
|
|
|
|
|
|
|
5 |
| Press the | (STOP) button on your DVD | ||||||||
| |||||||||||
finished.
Also refer to the user manual for your
2) Press Record z(REC) button. | |
3) Allow recording to continue for 10 seconds. | |
4) | Press ‘TIME SLIP’ button. A PIP (Picture in Picture) |
| appears to show recording is taking place. |
5) | Press Play/Pause button. PIP pauses. |
6) When desired, press Play/Pause button once | |
| more to commence playback and view the |
| recorded programme in PIP from the original |
| Pause position. |
7) | To transfer this PIP playback with sound to |
| main TV screen, press PIP button. |
|
|
Note
External Devices when recording through input mode using Audio/Video cable or Scart jack.
