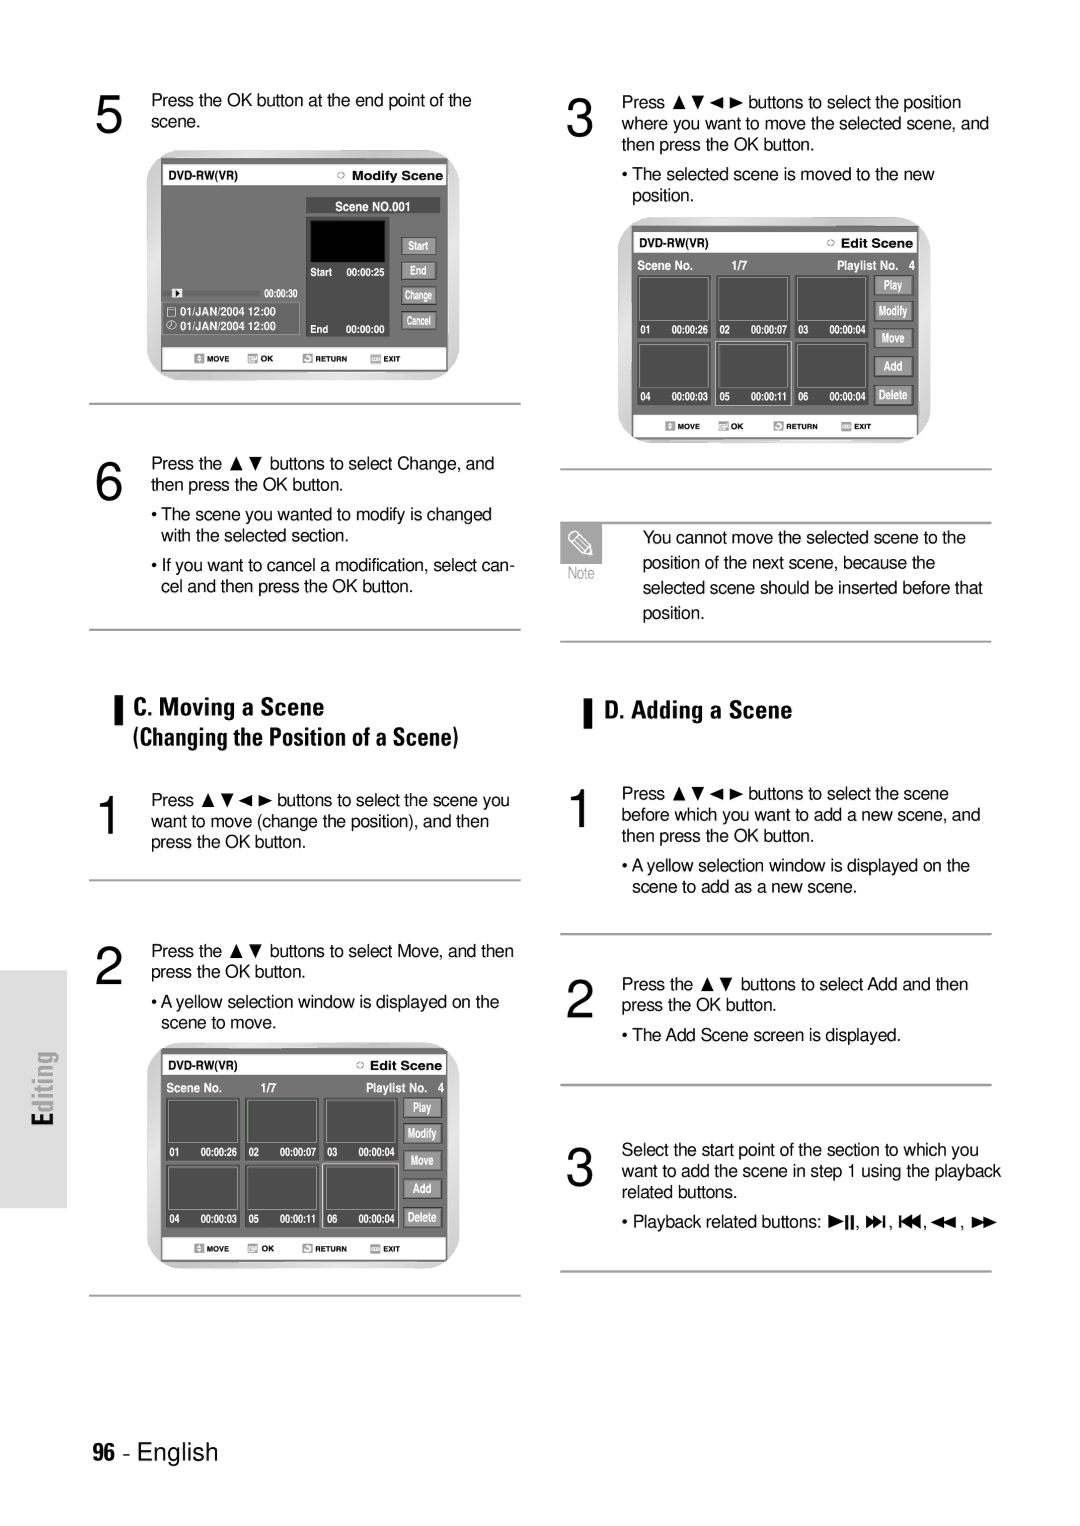
Press the OK button at the end point of the
5 scene.
01/JAN/2004 12:00 01/JAN/2004 12:00
Press ❷➛ ❿ buttons to select the position
3 where you want to move the selected scene, and then press the OK button.
•The selected scene is moved to the new position.
6 | Press the ❷ buttons to select Change, and |
then press the OK button. |
• The scene you wanted to modify is changed with the selected section.
• If you want to cancel a modification, select can- cel and then press the OK button.
|
|
|
|
| You cannot move the selected scene to the |
|
| position of the next scene, because the |
Note |
| |
| selected scene should be inserted before that | |
|
| |
|
| |
|
| position. |
|
|
|
|
|
|
C. Moving a Scene
(Changing the Position of a Scene)
Press ❷➛ ❿ buttons to select the scene you
1 want to move (change the position), and then press the OK button.
2 | Press the ❷ buttons to select Move, and then |
press the OK button. |
• A yellow selection window is displayed on the scene to move.
Editing
D. Adding a Scene
Press ❷➛ ❿ buttons to select the scene
1 before which you want to add a new scene, and then press the OK button.
•A yellow selection window is displayed on the scene to add as a new scene.
2 | Press the ❷ buttons to select Add and then |
press the OK button. |
• The Add Scene screen is displayed.
Select the start point of the section to which you
3 want to add the scene in step 1 using the playback related buttons.
• Playback related buttons: ❿II, ❿❿l , l➛➛,➛➛ , ❿❿