RECORDING METHODS
With dual built in tuners, this recorder allows up to two recordings to take place at the same time. However, it is
to be reminded that schedules of recordings have to be carefully planned so as to avoid any conflicts between
different entries. Also take note that recording of external sources connected through Auxiliary (L1/L2) is not
permitted.
OTR (ONE TIME RECORDING)
To record a TV program currently being broadcasted, follow the procedures below.
1. Before recording, ensure that there is sufficient space remaining in the HDD (Refer to page 14). Delete unwanted files or archive some files using VCR to create space for recording. Refer to Library Menu and External Recording in the next chapter for instructions on deleting and archiving files.
2.
3.
4.
5.
6. If two OTR recordings are taking place at the same time, select the desired channel to display on the main window and press “STOP” button to stop the recording.
7. If viewing auxiliary input (L1/L2) while recording is going on, “STOP” and “PLAY/PAUSE” button will not have effect on the recording channel. Press “INPUT SELECT” to switch to the recording channel to execute STOP or PAUSE.
8.
9. During recording, press the “REC” button to set a timer for stopping the recording. The timer can be set at intervals of 30 minutes and up to a maximum of 4 hours by pressing the “REC” button repeatedly. The timer can be switched off by selecting
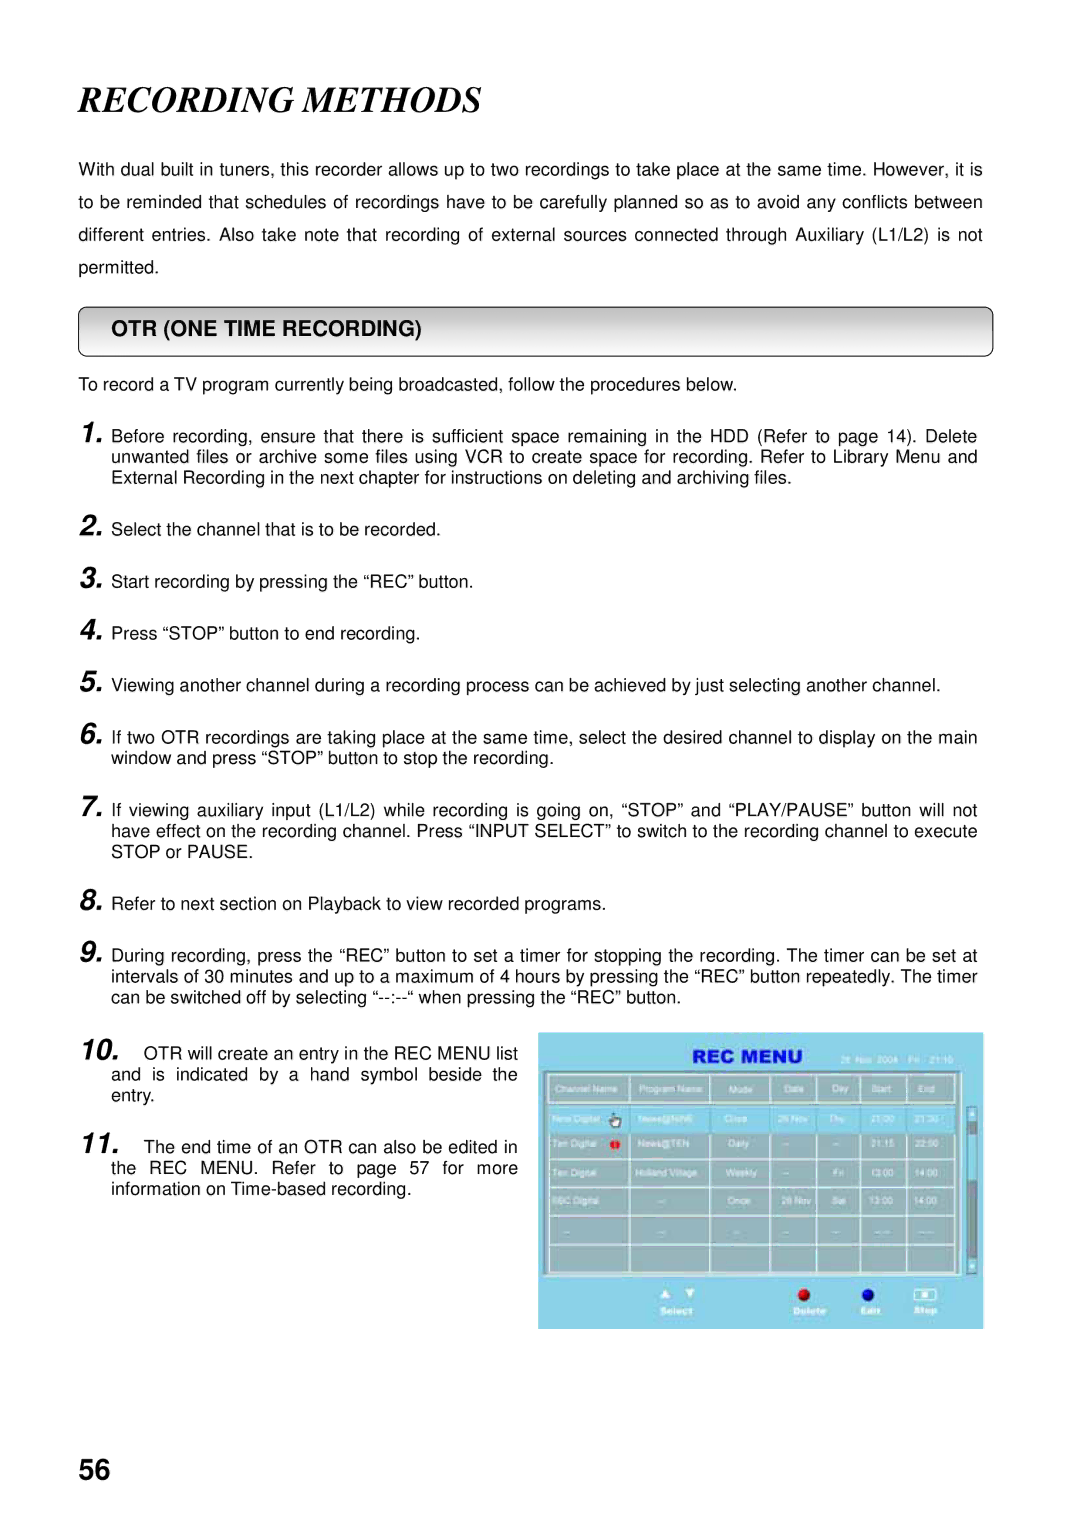
10. OTR will create an entry in the REC MENU list and is indicated by a hand symbol beside the entry.
11. The end time of an OTR can also be edited in the REC MENU. Refer to page 57 for more information on
56
