time yet.
4. Now that your PC has been properly configured, you can highlight “YES” on the TV screen and press the “ENTER” button on the remote control.
5. After selecting “YES”, you will see the current software version on the TV screen. Make sure this software version is different from the version of the new software file stored on your PC. Select “YES” again to proceed with the download.
6. Now click on the “Send” button on your PC HyperTerminal to start uploading the new software.
7. On the TV screen, you will see the window with a status bar indicating the download progress.
8. When download is completed, the recorder will reboot automatically. You can now exit HyperTerminal.
9. After the recorder is booted up, you will see a message window informing you that the recorder’s database is empty. Note that the password will also be reset to the default “0000”. Now press the “TOP MENU” button and select your region of residence.
10. On the Main Menu, select “PROFILE” and then “INFORMATION” to confirm the current software is indeed changed to the new one. You can then proceed to tune your recorder by following “INSTALLATION” instructions on page 33.
Note: It is safe to turn off the recorder only after the recorder has booted up automatically. Do not disconnect the recorder from the power source during the software update process. If there is a power failure during this time, the recorder may become unusable. In this case, contact your local dealer.
RECEIVING
Over time, Automatic Software Upgrade service will be available as broadcasters transmit new software of your recorder. It is recommended to carry out the software upgrade so that the recorder is equipped to perform better.
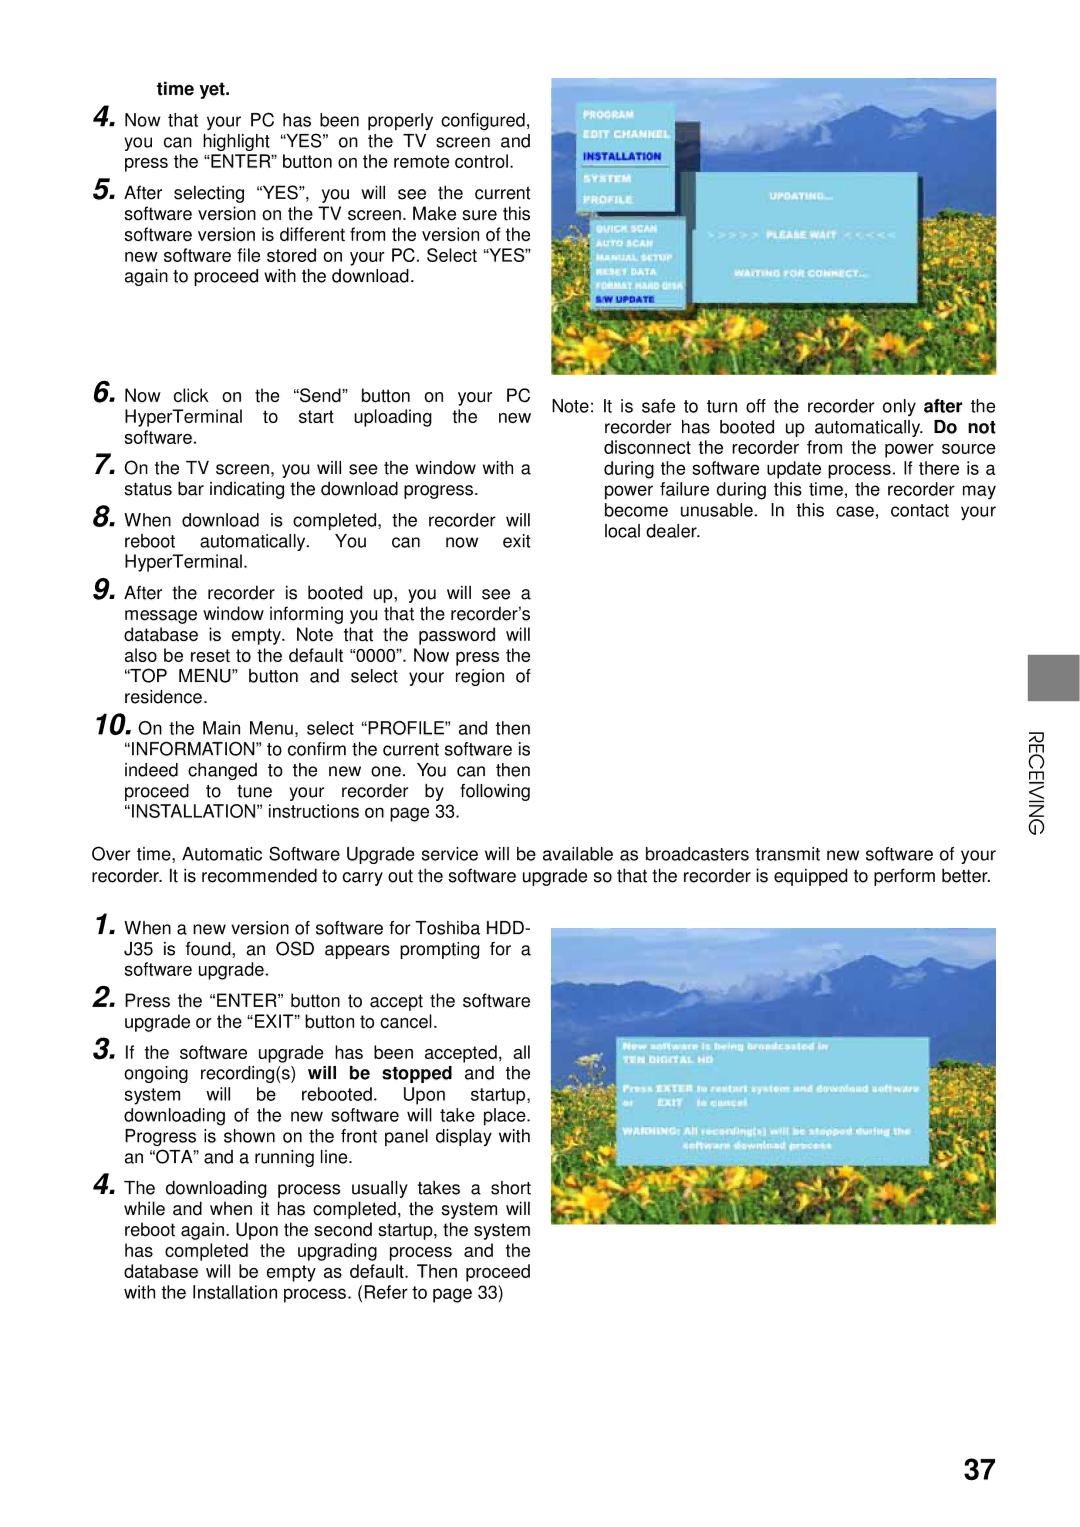
1. When a new version of software for Toshiba HDD- J35 is found, an OSD appears prompting for a software upgrade.
2.
3. If the software upgrade has been accepted, all ongoing recording(s) will be stopped and the system will be rebooted. Upon startup, downloading of the new software will take place. Progress is shown on the front panel display with an “OTA” and a running line.
4. The downloading process usually takes a short while and when it has completed, the system will reboot again. Upon the second startup, the system has completed the upgrading process and the database will be empty as default. Then proceed with the Installation process. (Refer to page 33)
37