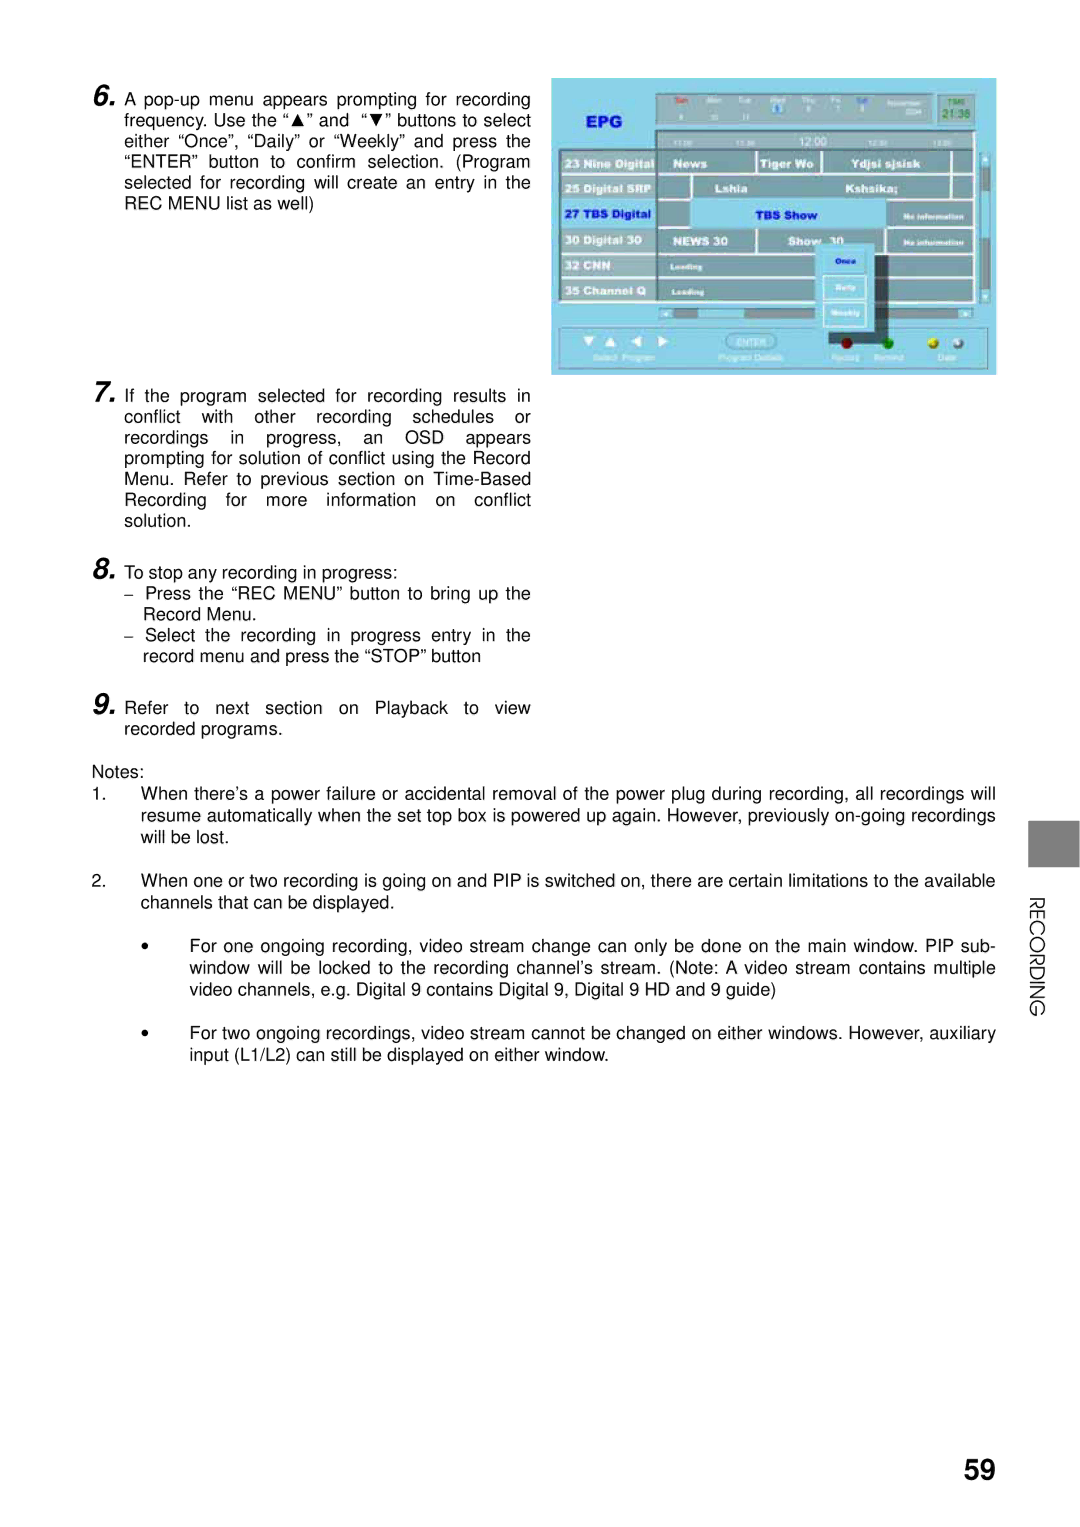
6. A
7. If the program selected for recording results in conflict with other recording schedules or recordings in progress, an OSD appears prompting for solution of conflict using the Record Menu. Refer to previous section on
8. To stop any recording in progress:
–Press the “REC MENU” button to bring up the Record Menu.
–Select the recording in progress entry in the record menu and press the “STOP” button
9.Refer to next section on Playback to view recorded programs.
Notes:
1.When there’s a power failure or accidental removal of the power plug during recording, all recordings will resume automatically when the set top box is powered up again. However, previously
2.When one or two recording is going on and PIP is switched on, there are certain limitations to the available channels that can be displayed.
•For one ongoing recording, video stream change can only be done on the main window. PIP sub- window will be locked to the recording channel’s stream. (Note: A video stream contains multiple video channels, e.g. Digital 9 contains Digital 9, Digital 9 HD and 9 guide)
•For two ongoing recordings, video stream cannot be changed on either windows. However, auxiliary input (L1/L2) can still be displayed on either window.
RECORDING
59