The Log Server

The Windows-based Log Server is an administrative utility that records all the events that take place on selected B051-000 units and writes them to a searchable database. This chapter describes how to install and configure the Log Server.

Installation

1.From the computer that you want to use as the Log Server, open the CD that came with the B051-000 and open the Log Server Installer file.

2.If any security warning dialog boxes appear, ignore them and click Run or Open. A Log Server setup screen appears.

3.Click Next. Then follow the on-screen instructions to complete the installation and have the Log Server program icon placed on your desktop.

4.Before starting up the Log Server, go to the B051-000 ANMS settings screen and enter the MAC address and port number for the computer/server that you have installed the Log Server on. (See page 18 for details.)

Starting Up

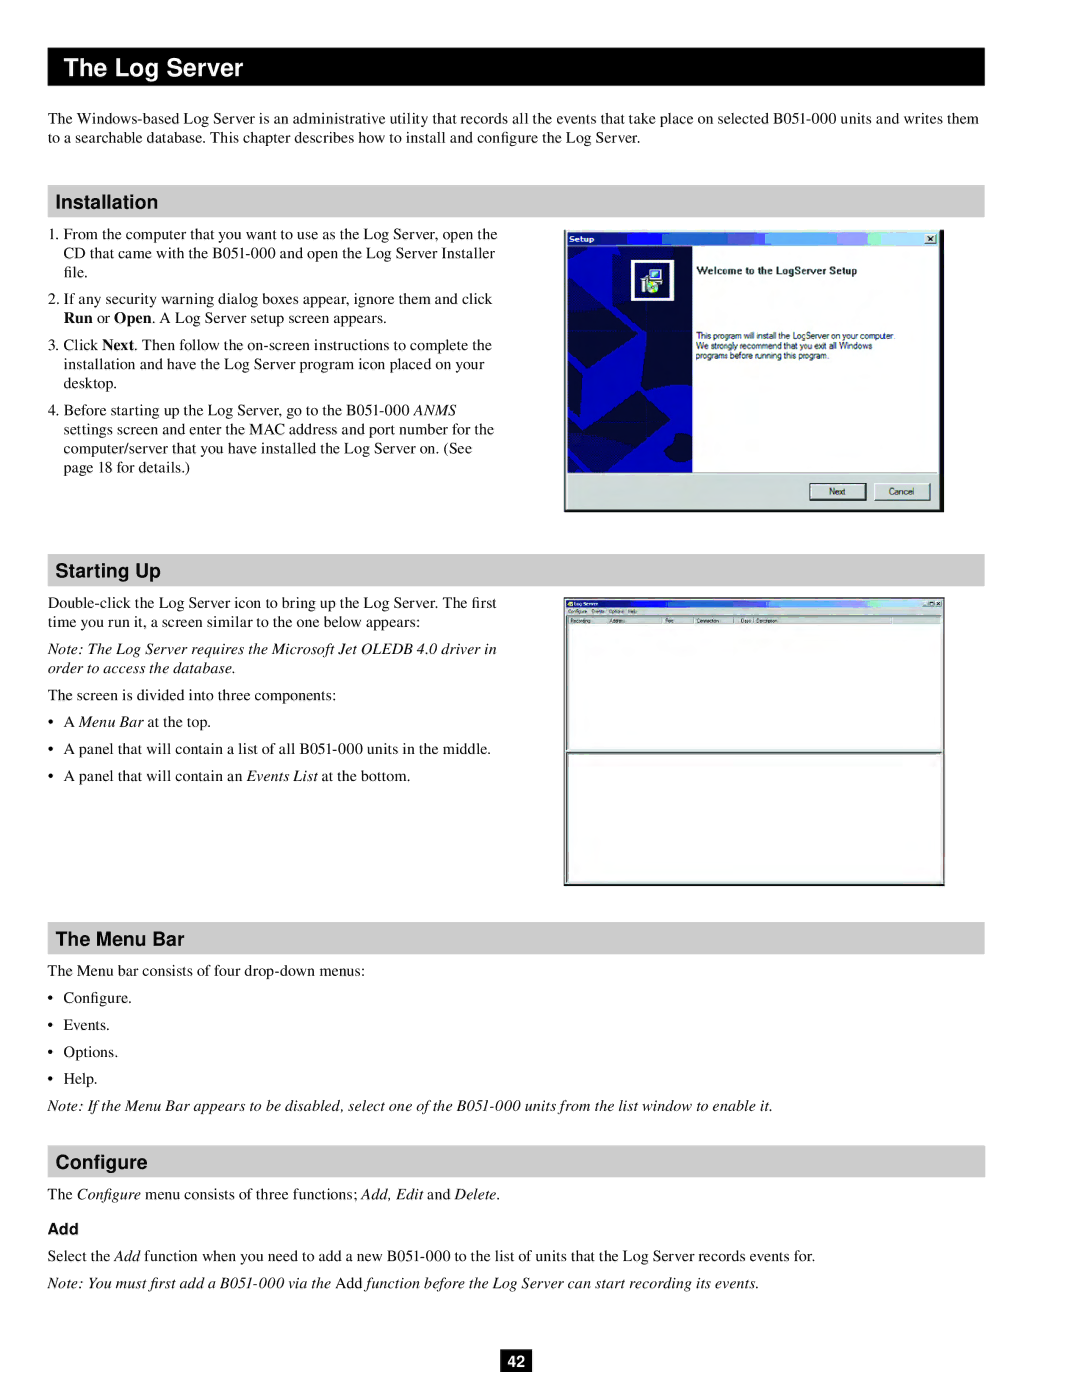
Double-click the Log Server icon to bring up the Log Server. The first time you run it, a screen similar to the one below appears:

Note: The Log Server requires the Microsoft Jet OLEDB 4.0 driver in order to access the database.

The screen is divided into three components:

A Menu Bar at the top.

A panel that will contain a list of all B051-000 units in the middle.

A panel that will contain an Events List at the bottom.

The Menu Bar

The Menu bar consists of four drop-down menus:

Configure.

Events.

Options.

Help.

Note: If the Menu Bar appears to be disabled, select one of the B051-000 units from the list window to enable it.

Configure

The Configure menu consists of three functions; Add, Edit and Delete.

Add

Select the Add function when you need to add a new B051-000 to the list of units that the Log Server records events for.

Note: You must first add a B051-000 via the Add function before the Log Server can start recording its events.

42

Page 42
Image 42
Tripp Lite B051-000 IP owner manual Log Server, Menu Bar, Configure, Add