Vermont Castings, Majestic Products DVRT36/39/43
Step 2
Measure wall thickness and cut zero clearance sleeve parts to proper length (maximum 12” / 305mm). As- semble sleeve and attach to firestop with #8 sheet metal screws (supplied). Install firestop assembly. (Fig. 28)
Step 3
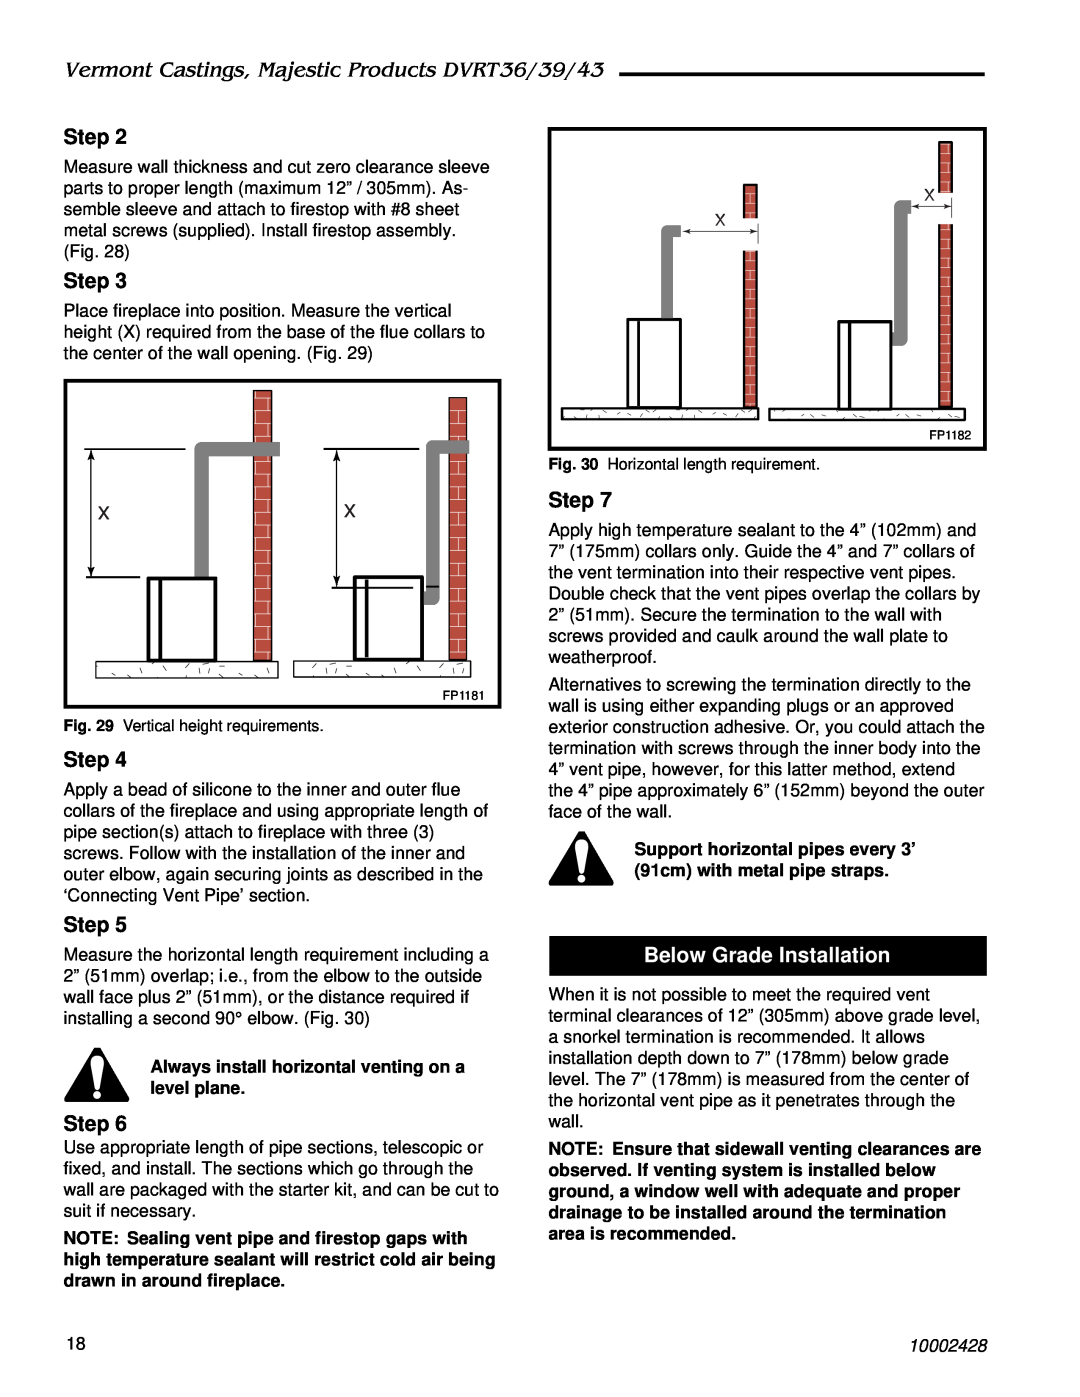
Place fireplace into position. Measure the vertical height (X) required from the base of the flue collars to the center of the wall opening. (Fig. 29)
X | X |
| FP1181 |
Fig. 29 | Vertical height requirements. |
Step 4
Apply a bead of silicone to the inner and outer flue collars of the fireplace and using appropriate length of pipe section(s) attach to fireplace with three (3) screws. Follow with the installation of the inner and outer elbow, again securing joints as described in the ‘Connecting Vent Pipe’ section.
X![]()
X
| FP1182 |
Fig. 30 | Horizontal length requirement. |
Step 7
Apply high temperature sealant to the 4” (102mm) and 7” (175mm) collars only. Guide the 4” and 7” collars of the vent termination into their respective vent pipes.
Double check that the vent pipes overlap the collars by 2” (51mm). Secure the termination to the wall with screws provided and caulk around the wall plate to weatherproof.
Alternatives to screwing the termination directly to the wall is using either expanding plugs or an approved exterior construction adhesive. Or, you could attach the termination with screws through the inner body into the 4” vent pipe, however, for this latter method, extend the 4” pipe approximately 6” (152mm) beyond the outer face of the wall.
Support horizontal pipes every 3’ (91cm) with metal pipe straps.
Step 5
Measure the horizontal length requirement including a 2” (51mm) overlap; i.e., from the elbow to the outside wall face plus 2” (51mm), or the distance required if installing a second 90° elbow. (Fig. 30)
Always install horizontal venting on a level plane.
Step 6
Use appropriate length of pipe sections, telescopic or fixed, and install. The sections which go through the wall are packaged with the starter kit, and can be cut to suit if necessary.
NOTE: Sealing vent pipe and firestop gaps with high temperature sealant will restrict cold air being drawn in around fireplace.
Below Grade Installation
When it is not possible to meet the required vent terminal clearances of 12” (305mm) above grade level, a snorkel termination is recommended. It allows installation depth down to 7” (178mm) below grade level. The 7” (178mm) is measured from the center of the horizontal vent pipe as it penetrates through the wall.
NOTE: Ensure that sidewall venting clearances are observed. If venting system is installed below ground, a window well with adequate and proper drainage to be installed around the termination area is recommended.
18 | 10002428 |