VIVOTEK
Hardware Installation
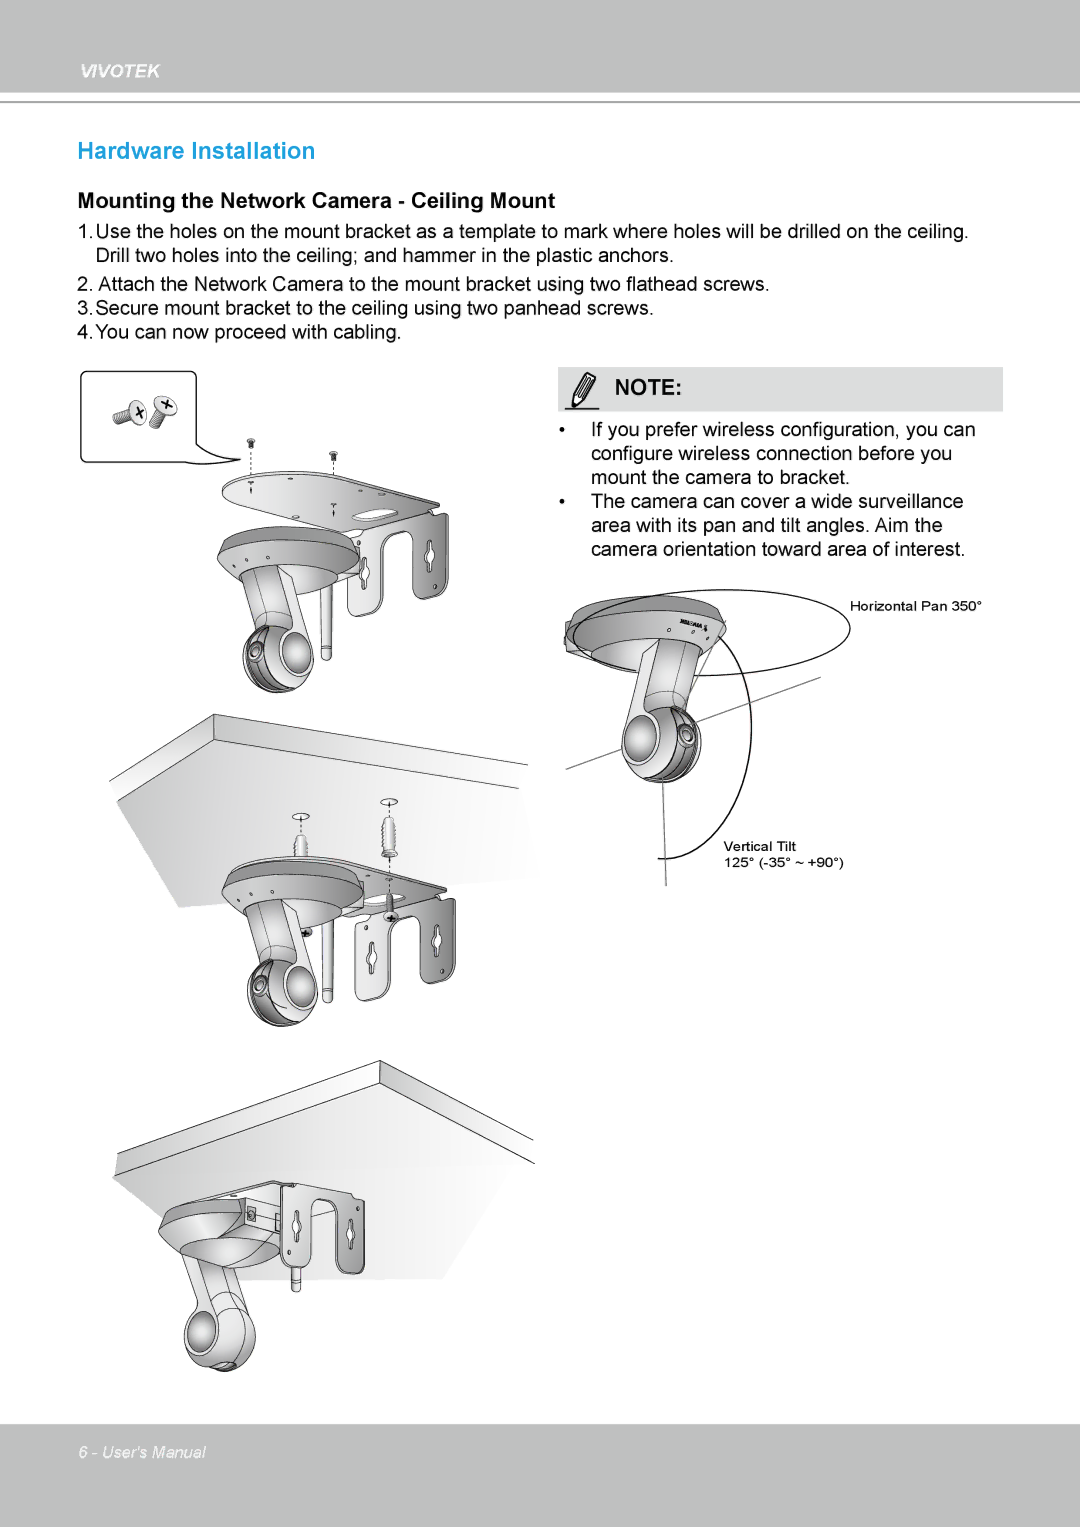
Mounting the Network Camera - Ceiling Mount
1.Use the holes on the mount bracket as a template to mark where holes will be drilled on the ceiling.
Drill two holes into the ceiling; and hammer in the plastic anchors.
2.Attach the Network Camera to the mount bracket using two flathead screws.
3.Secure mount bracket to the ceiling using two panhead screws.
4.You can now proceed with cabling.
NOTE:
• If you prefer wireless configuration, you can configure wireless connection before you mount the camera to bracket.
• The camera can cover a wide surveillance area with its pan and tilt angles. Aim the camera orientation toward area of interest.
Horizontal Pan 350°
Vertical Tilt
125°
2
6 - User's Manual