Note
Observe the manufacturer's recommenda- tions. The journey may be resumed provid- ing that the directions supplied by the product manufacturer have been observed. The tyre/wheel change should nonetheless be carried out as soon as possible.
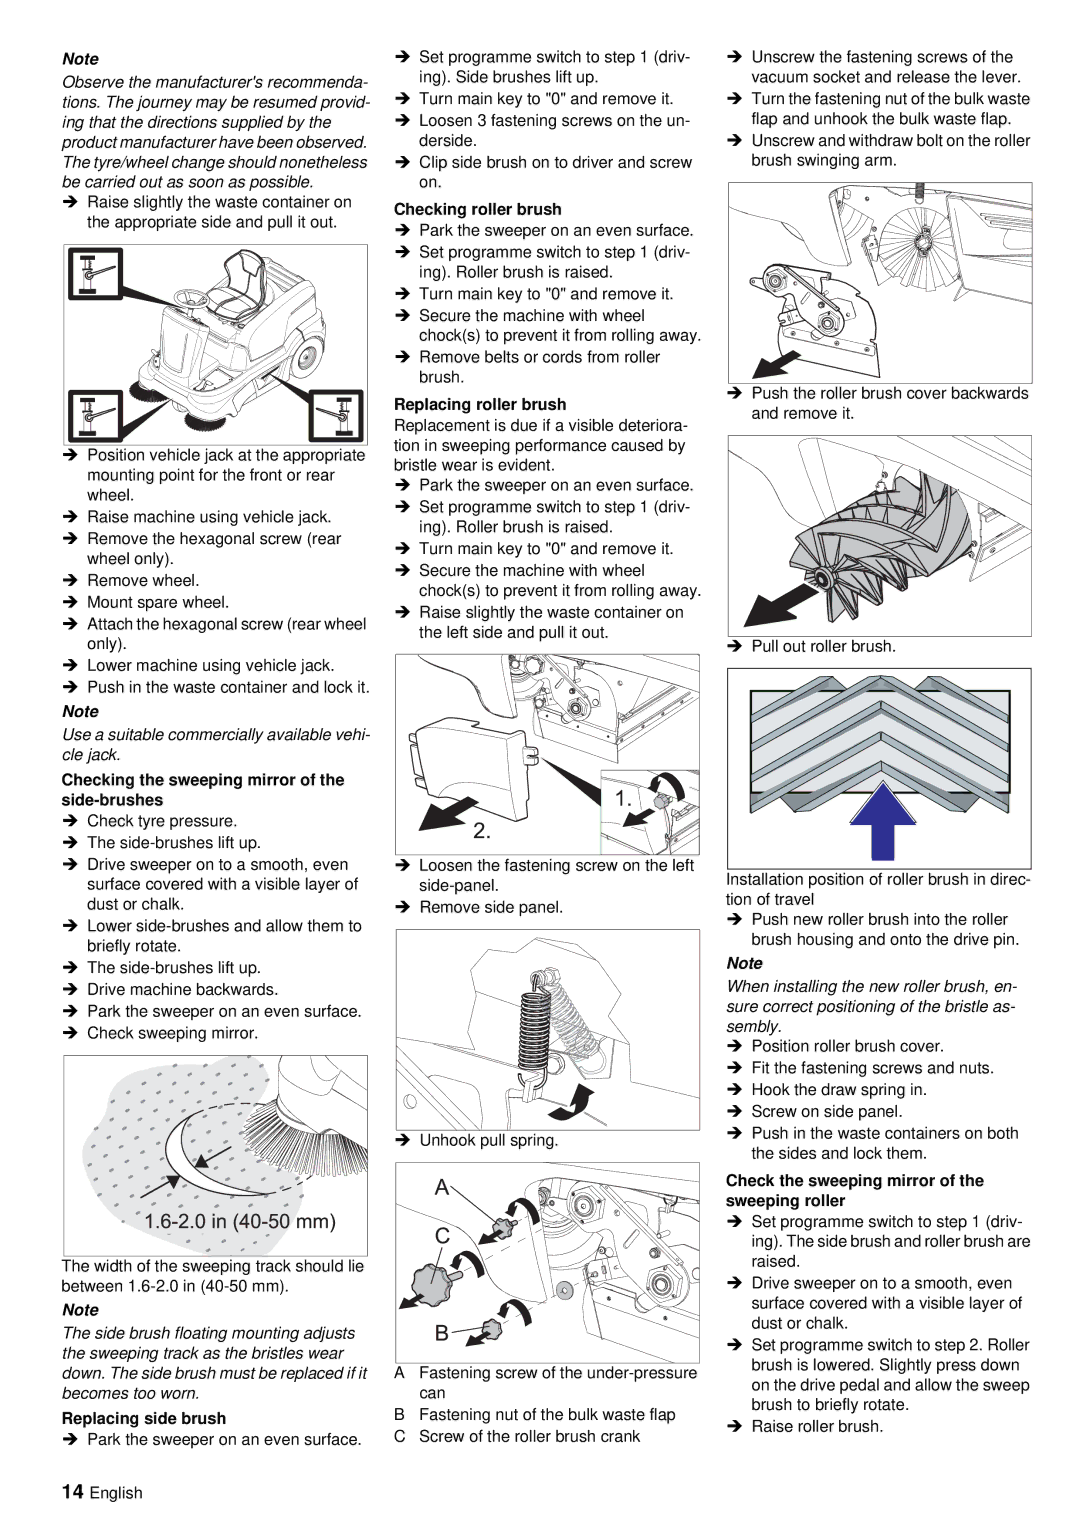
ÎRaise slightly the waste container on the appropriate side and pull it out.
ÎPosition vehicle jack at the appropriate mounting point for the front or rear wheel.
ÎRaise machine using vehicle jack.
ÎRemove the hexagonal screw (rear wheel only).
ÎRemove wheel.
ÎMount spare wheel.
ÎAttach the hexagonal screw (rear wheel only).
ÎLower machine using vehicle jack.
ÎPush in the waste container and lock it.
Note
Use a suitable commercially available vehi- cle jack.
Checking the sweeping mirror of the side-brushes
ÎCheck tyre pressure.
ÎThe
ÎDrive sweeper on to a smooth, even surface covered with a visible layer of dust or chalk.
ÎLower
ÎThe
ÎDrive machine backwards.
ÎPark the sweeper on an even surface.
ÎCheck sweeping mirror.
ÎSet programme switch to step 1 (driv- ing). Side brushes lift up.
ÎTurn main key to "0" and remove it.
ÎLoosen 3 fastening screws on the un- derside.
ÎClip side brush on to driver and screw on.
Checking roller brush
ÎPark the sweeper on an even surface.
ÎSet programme switch to step 1 (driv- ing). Roller brush is raised.
ÎTurn main key to "0" and remove it.
ÎSecure the machine with wheel chock(s) to prevent it from rolling away.
ÎRemove belts or cords from roller brush.
Replacing roller brush
Replacement is due if a visible deteriora- tion in sweeping performance caused by bristle wear is evident.
ÎPark the sweeper on an even surface.
ÎSet programme switch to step 1 (driv- ing). Roller brush is raised.
ÎTurn main key to "0" and remove it.
ÎSecure the machine with wheel chock(s) to prevent it from rolling away.
ÎRaise slightly the waste container on the left side and pull it out.
ÎLoosen the fastening screw on the left
ÎRemove side panel.
Î Unhook pull spring. |
ÎUnscrew the fastening screws of the vacuum socket and release the lever.
ÎTurn the fastening nut of the bulk waste flap and unhook the bulk waste flap.
ÎUnscrew and withdraw bolt on the roller brush swinging arm.
ÎPush the roller brush cover backwards and remove it.
ÎPull out roller brush.
Installation position of roller brush in direc- tion of travel
ÎPush new roller brush into the roller brush housing and onto the drive pin.
Note
When installing the new roller brush, en- sure correct positioning of the bristle as- sembly.
ÎPosition roller brush cover.
ÎFit the fastening screws and nuts.
ÎHook the draw spring in.
ÎScrew on side panel.
ÎPush in the waste containers on both the sides and lock them.
Check the sweeping mirror of the sweeping roller
The width of the sweeping track should lie between
Note
The side brush floating mounting adjusts the sweeping track as the bristles wear down. The side brush must be replaced if it becomes too worn.
Replacing side brush
ÎPark the sweeper on an even surface.
14English
AFastening screw of the
BFastening nut of the bulk waste flap
CScrew of the roller brush crank
ÎSet programme switch to step 1 (driv- ing). The side brush and roller brush are raised.
ÎDrive sweeper on to a smooth, even surface covered with a visible layer of dust or chalk.
ÎSet programme switch to step 2. Roller brush is lowered. Slightly press down on the drive pedal and allow the sweep brush to briefly rotate.
ÎRaise roller brush.