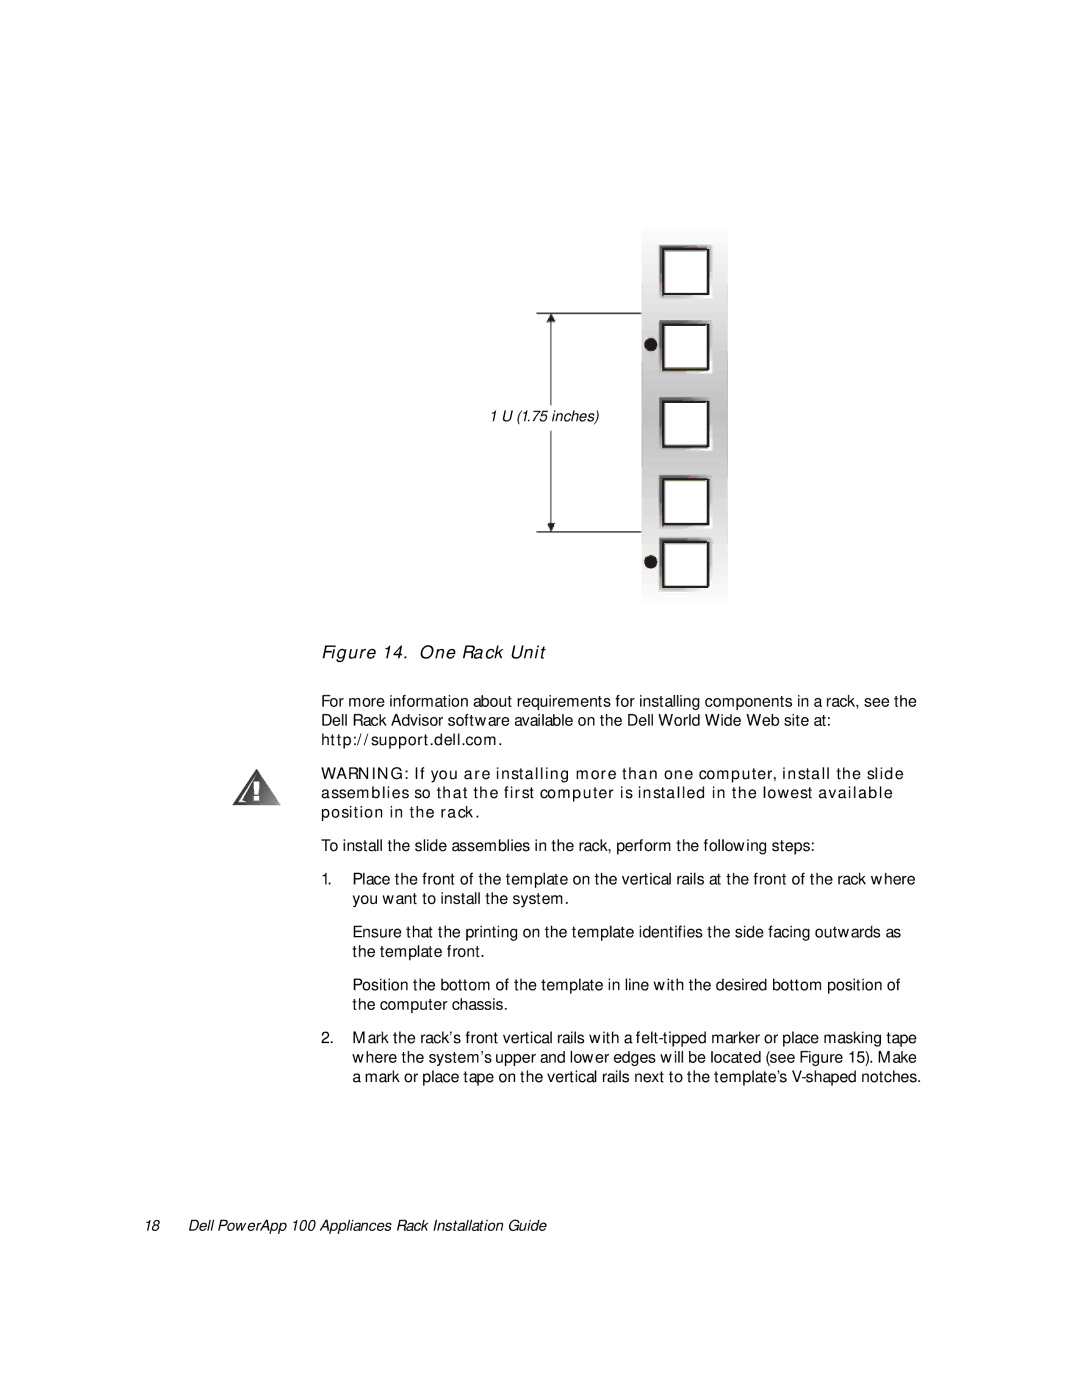
1 U (1.75 inches)
Figure 14. One Rack Unit
For more information about requirements for installing components in a rack, see the
Dell Rack Advisor software available on the Dell World Wide Web site at:
http://support.dell.com.
WARNING: If you are installing more than one computer, install the slide assemblies so that the first computer is installed in the lowest available position in the rack.
To install the slide assemblies in the rack, perform the following steps:
1.Place the front of the template on the vertical rails at the front of the rack where you want to install the system.
Ensure that the printing on the template identifies the side facing outwards as the template front.
Position the bottom of the template in line with the desired bottom position of the computer chassis.
2.Mark the rack’s front vertical rails with a
18 Dell PowerApp 100 Appliances Rack Installation Guide
