2.Place the
3.Position the bottom of the template in line with the desired bottom position of the computer chassis.
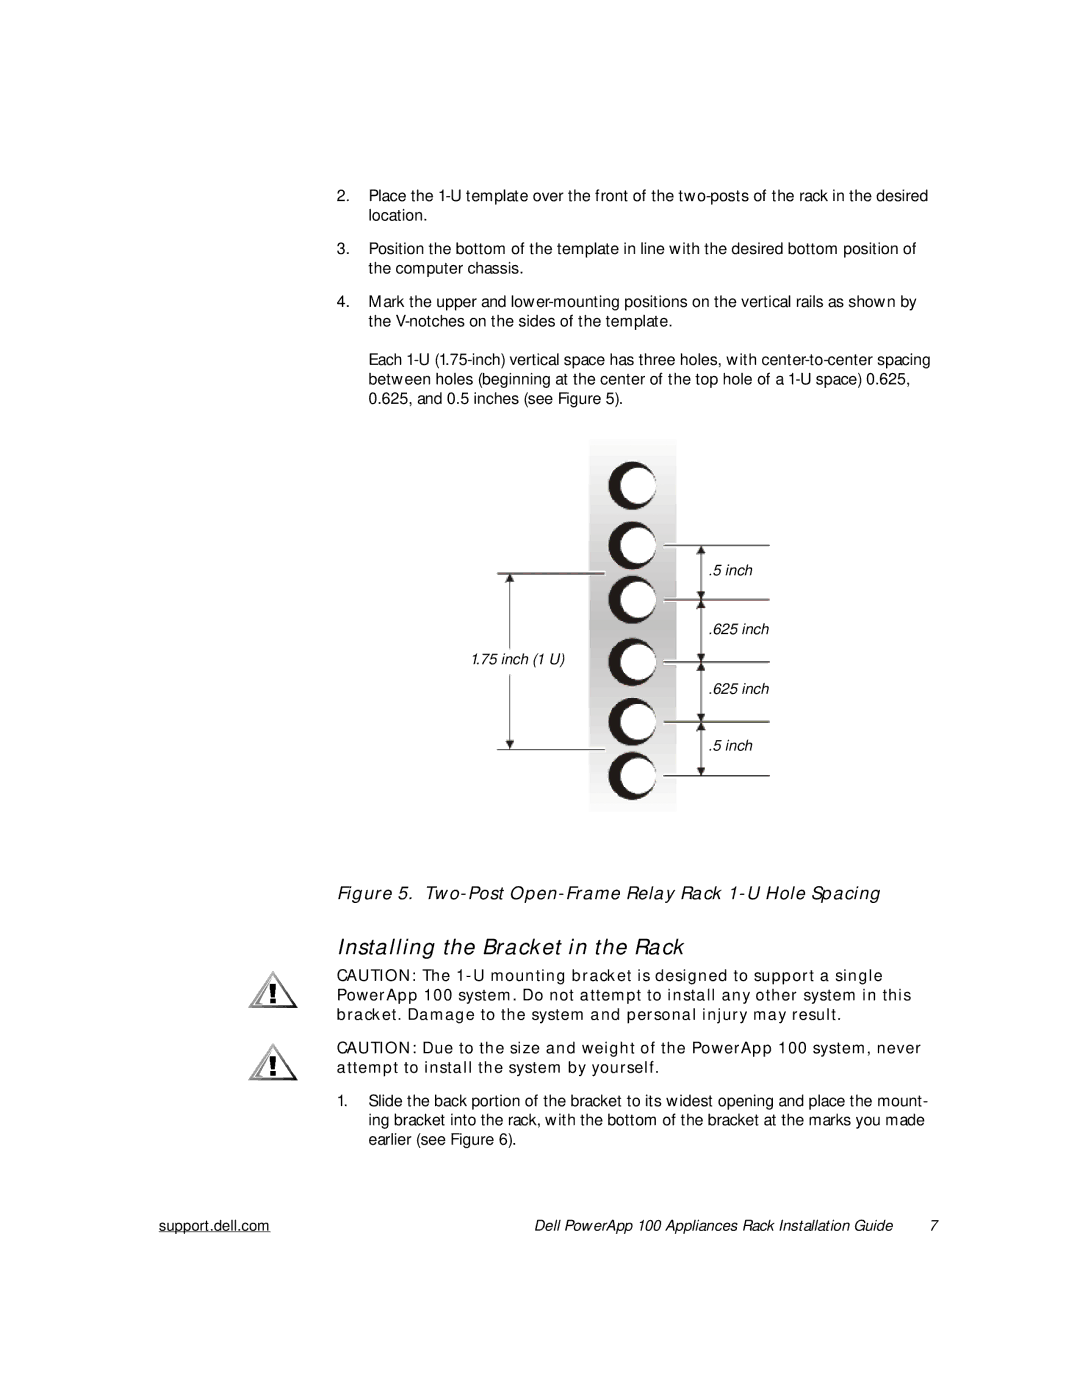
4.Mark the upper and
Each
.5 inch
.625 inch
1.75 inch (1 U)
.625 inch
.5 inch
Figure 5. Two-Post Open-Frame Relay Rack 1-U Hole Spacing
Installing the Bracket in the Rack
CAUTION: The
CAUTION: Due to the size and weight of the PowerApp 100 system, never attempt to install the system by yourself.
1.Slide the back portion of the bracket to its widest opening and place the mount- ing bracket into the rack, with the bottom of the bracket at the marks you made earlier (see Figure 6).
support.dell.com | Dell PowerApp 100 Appliances Rack Installation Guide | 7 |