Rack Kit Contents

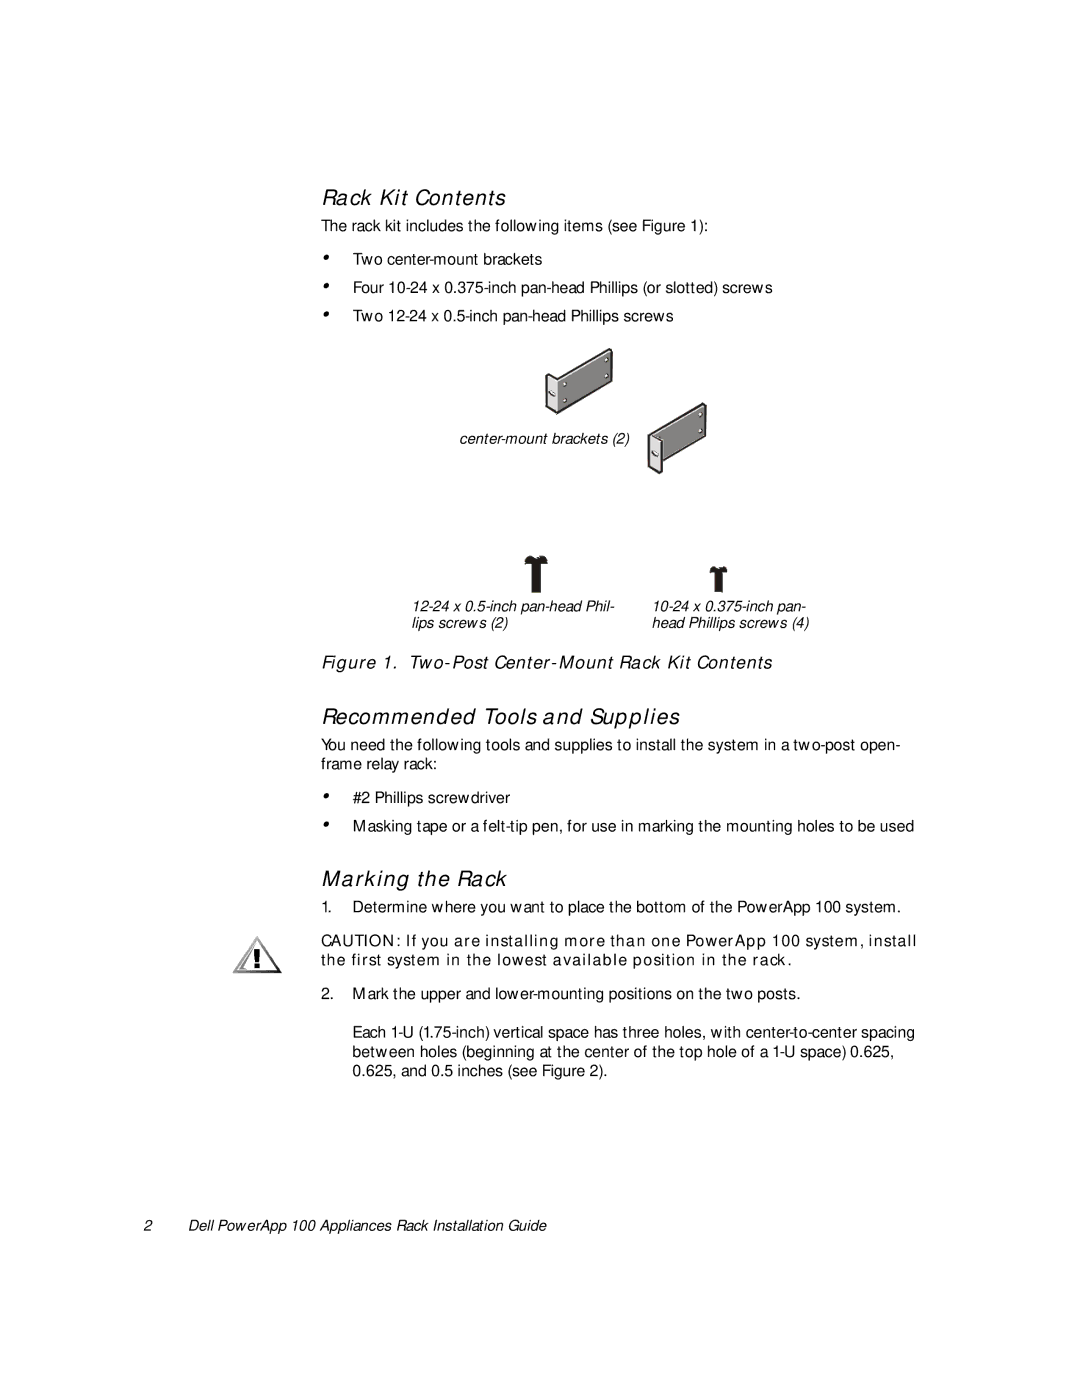
The rack kit includes the following items (see Figure 1):

Two center-mount brackets

Four 10-24 x 0.375-inch pan-head Phillips (or slotted) screws

Two 12-24 x 0.5-inch pan-head Phillips screws

center-mount brackets (2)

12-24 x 0.5-inch pan-head Phil-

10-24 x 0.375-inch pan-

lips screws (2)

head Phillips screws (4)

Figure 1. Two-Post Center-Mount Rack Kit Contents

Recommended Tools and Supplies

You need the following tools and supplies to install the system in a two-post open- frame relay rack:

#2 Phillips screwdriver

Masking tape or a felt-tip pen, for use in marking the mounting holes to be used

Marking the Rack

1.Determine where you want to place the bottom of the PowerApp 100 system.

CAUTION: If you are installing more than one PowerApp 100 system, install the first system in the lowest available position in the rack.

2.Mark the upper and lower-mounting positions on the two posts.

Each 1-U (1.75-inch) vertical space has three holes, with center-to-center spacing between holes (beginning at the center of the top hole of a 1-U space) 0.625, 0.625, and 0.5 inches (see Figure 2).

2 Dell PowerApp 100 Appliances Rack Installation Guide
Page 2
Image 2
Windster 100 manual Rack Kit Contents, Recommended Tools and Supplies, Marking the Rack