
DF484CG specifications
The Wolf Appliance Company DF484CG is a premier dual fuel range that embodies professional-grade cooking performance for both home chefs and culinary enthusiasts. Known for its robust construction and innovative technology, the DF484CG offers a seamless blend of power, precision, and style.One of the standout features of the DF484CG is its dual fuel capabilities. This range combines a high-performance gas cooktop with an electric oven, providing the best of both worlds. Chefs can achieve precise temperature control with the gas burners while benefiting from even heat distribution and consistency in baking with the electric oven.
The cooktop is equipped with four sealed burners that deliver varying levels of heat output. With a powerful 20,000 BTU burner, high-heat cooking like searing meats becomes effortless. The middle simmer burner provides gentle heat, perfect for delicate sauces or melting chocolate. Each burner is crafted to ensure efficiency and control, making it easy for users to transition from rapid boiling to low simmering with finesse.
In terms of oven technology, the DF484CG features advanced convection cooking capabilities. Its true convection system circulates heated air throughout the oven cavity, ensuring that baked goods rise evenly and meats cook perfectly. The oven also features multiple cooking modes, allowing chefs to customize their cooking experience. Whether roasting, baking, broiling, or using the infrared charbroiler, the range delivers professional results whether you are preparing a family meal or hosting a dinner party.
Another characteristic that sets the DF484CG apart is its intuitive control panel. Located at the front, the controls are easy to use and provide precise adjustments for temperature settings and cooking modes. The range also includes a stylish and durable stainless steel exterior that complements any kitchen design while ensuring longevity.
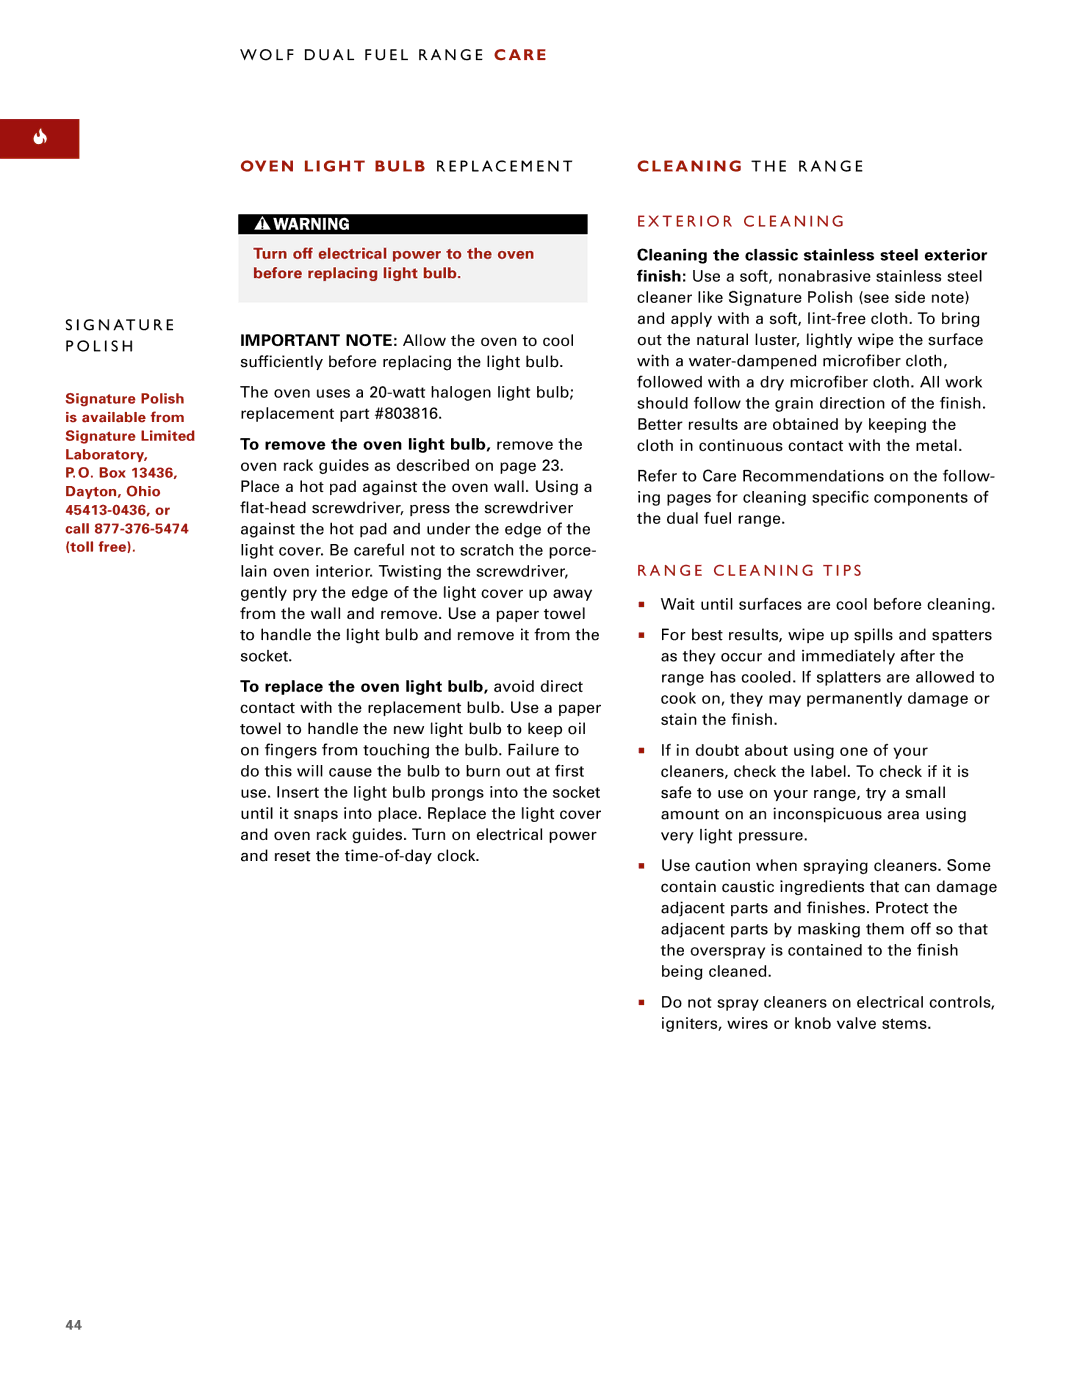
Safety features like automatic shut-off and a built-in temperature gauge add peace of mind for users. The oven's interior is easy to clean, with smooth surfaces that resist staining and grime.
Overall, the Wolf Appliance Company DF484CG offers unmatched performance, superior technology, and exceptional design. This dual fuel range is a perfect investment for anyone looking to elevate their cooking experience and bring restaurant-quality results to their kitchen. With its combination of power, precision, and style, the DF484CG redefines what it means to cook with confidence.