Phaser 3100MFP/S

Select the printing format: THICK or NORMAL and confirm with OK to start printing.

5Exit this menu by pressing the button.

Delete your files stored on the key

You can delete files stored on your USB memory key.

06 - MEDIA / DELETE

1Insert the USB memory key into the front of the machine.

MEDIA ANALYSIS appears on the screen.

2 Select DELETE with the or buttons and confirm with OK.

3You have three possible ways of deleting your files:

-ALL, to delete all the files stored on the USB memory key.

Select ALL with the or buttons and confirm with OK.

You come back to the previous menu.

-SERIES, to delete a series of files stored on the

USB memory key.

Select SERIES with the or buttons and confirm with OK.

FIRST FILE and the first indexed file appears on the screen. Select with the or buttons the first file of the series to delete and confirm with OK. A star (*) appears on the left of the file. LAST FILE appears on the screen, select with the or buttons the last file of the series to delete and confirm with OK. A star (*) appears on the left side of the file.

Press the button.

You come back to the previous menu.

-SELECTION, to delete only one or several files stored on the USB memory key.

Select with the or buttons the file to delete and confirm with OK. A star (*) appears on the left side of the file.

Repeat this step for each file you want to delete.

Press the button.

You come back to the previous menu.

4 Exit this menu by pressing the button.

Read the USB memory key contents

key

After a period of inactivity, your machine will return to the

memory

main menu. To view the USB memory key again please


proceed as follows:


07 - MEDIA / MEDIA ANALYSIS


1

Press , enter 07 using the keypad.


2

The scanning of the USB memory key is started.

USB

3

You can print or delete the detected files stored on


your USB memory key. Refer to the previous


chapters.

Save a document on a USB memory

7 -


key

This function allows you to scan and save a document directly in the folder Phaser3100MFP_S\SCAN on a USB memory key. The folder Phaser3100MFP_S\SCAN is created by the application.


Before scanning a document, make


sure that your USB memory key has

Important

sufficient disk space. If not, you can

delete manually the files, see


section Delete your files stored on


the key, page 34.


1Place the document to be scanned face down on the document glass.

2Insert the USB memory key into the front of the machine.

The scanning of the USB memory key is started. When the scanning is finished, the MEDIA menu is displayed.

3 Select SCAN TO with the or

buttons then

confirm with the OK button.


You can also access this function in

two other ways:


by pressing the

button then

Important

by selecting SCAN-TO-MEDIA.


by pressing the

button from the


screen saver then by typing 03 on


the numerical keypad.

4Choose between B&W SCAN or COLOUR SCAN

with the or buttons and confirm with OK.

5With the alphanumerical keypad, give a name to the scan file (up to 20 characters) and confirm with OK.

6Choose the scan format between IMAGE and PDF, and confirm to start the scan and the recording of the document.

IMAGE allows to have the same kind of file as a photo. PDF is a format for the digital documents

- 34 -

Page 38
Image 38
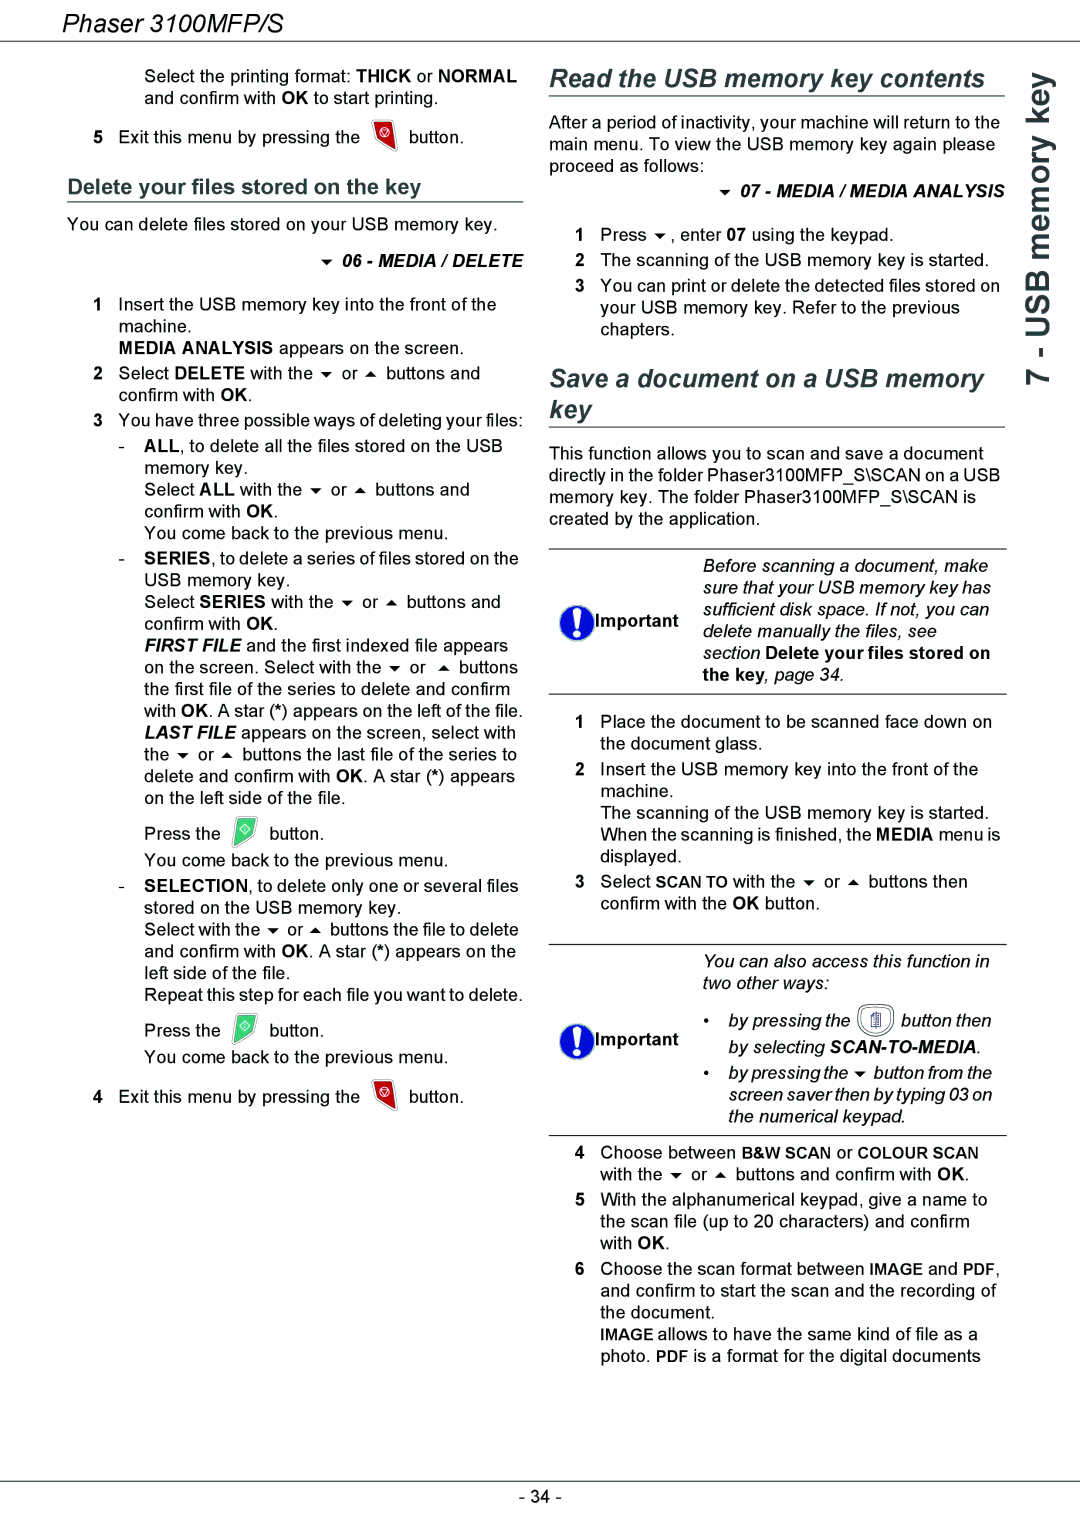
Xerox 3100MFP/S manual Read the USB memory key contents, Save a document on a USB memory Key

3100MFP/S specifications

The Xerox 3100MFP/S is a versatile multifunction printer designed to meet the needs of small to mid-sized businesses. This compact device combines printing, scanning, copying, and faxing capabilities into a single machine, making it an ideal choice for offices that require efficiency and space-saving solutions.

One of the standout features of the Xerox 3100MFP/S is its impressive print speed. The printer boasts a rapid output of up to 30 pages per minute, which significantly reduces waiting times and enhances productivity. This device supports a maximum print resolution of 1200 x 2400 dpi, delivering sharp and vivid documents that are essential for professional presentations and reports.

The Xerox 3100MFP/S incorporates advanced scanning technology, offering users the ability to scan documents at a speed of up to 27 images per minute. The scanner supports various formats, including PDF, JPEG, and TIFF, and features a one-pass duplex scanning capability, allowing users to scan both sides of a document simultaneously. This feature is particularly useful for digitizing double-sided documents quickly and efficiently.

In terms of copying functions, the Xerox 3100MFP/S provides users with several convenient options. Users can easily create multiple copies of a document, adjust the reduction/enlargement settings, and utilize features like ID card copying for added versatility. The user-friendly interface with a color touchscreen makes it easy to navigate through these options and customize the output.

Connectivity options are robust with the Xerox 3100MFP/S. It supports USB 2.0, Ethernet, and wireless connections, allowing users to print from a variety of devices, including computers, smartphones, and tablets. This wireless capability is enhanced by compatibility with mobile printing solutions like Apple AirPrint and Google Cloud Print, ensuring seamless printing from anywhere in the office.

Furthermore, the Xerox 3100MFP/S incorporates a range of security features designed to protect sensitive information. With secure printing options, user authentication protocols, and the ability to set access controls, businesses can rest assured that their documents are safeguarded against unauthorized access.

The compact design of the Xerox 3100MFP/S allows it to fit comfortably in any workspace without occupying too much real estate. The device is built for reliability, promising high-volume performance and dependable operation over time. Overall, the Xerox 3100MFP/S is a smart investment for businesses looking for a multifaceted solution to their printing, scanning, copying, and faxing needs.