Selecting the SCENE templates
Using the remote control for the SCENE feature
■Controlling the input source
components in the SCENE mode
You can operate both this unit and the input source component by using the remote control. You must set the appropriate remote control code for each input source in advance (see page 84).
Before performing the following operations, set the operation mode selector on the remote control to FSOURCE.
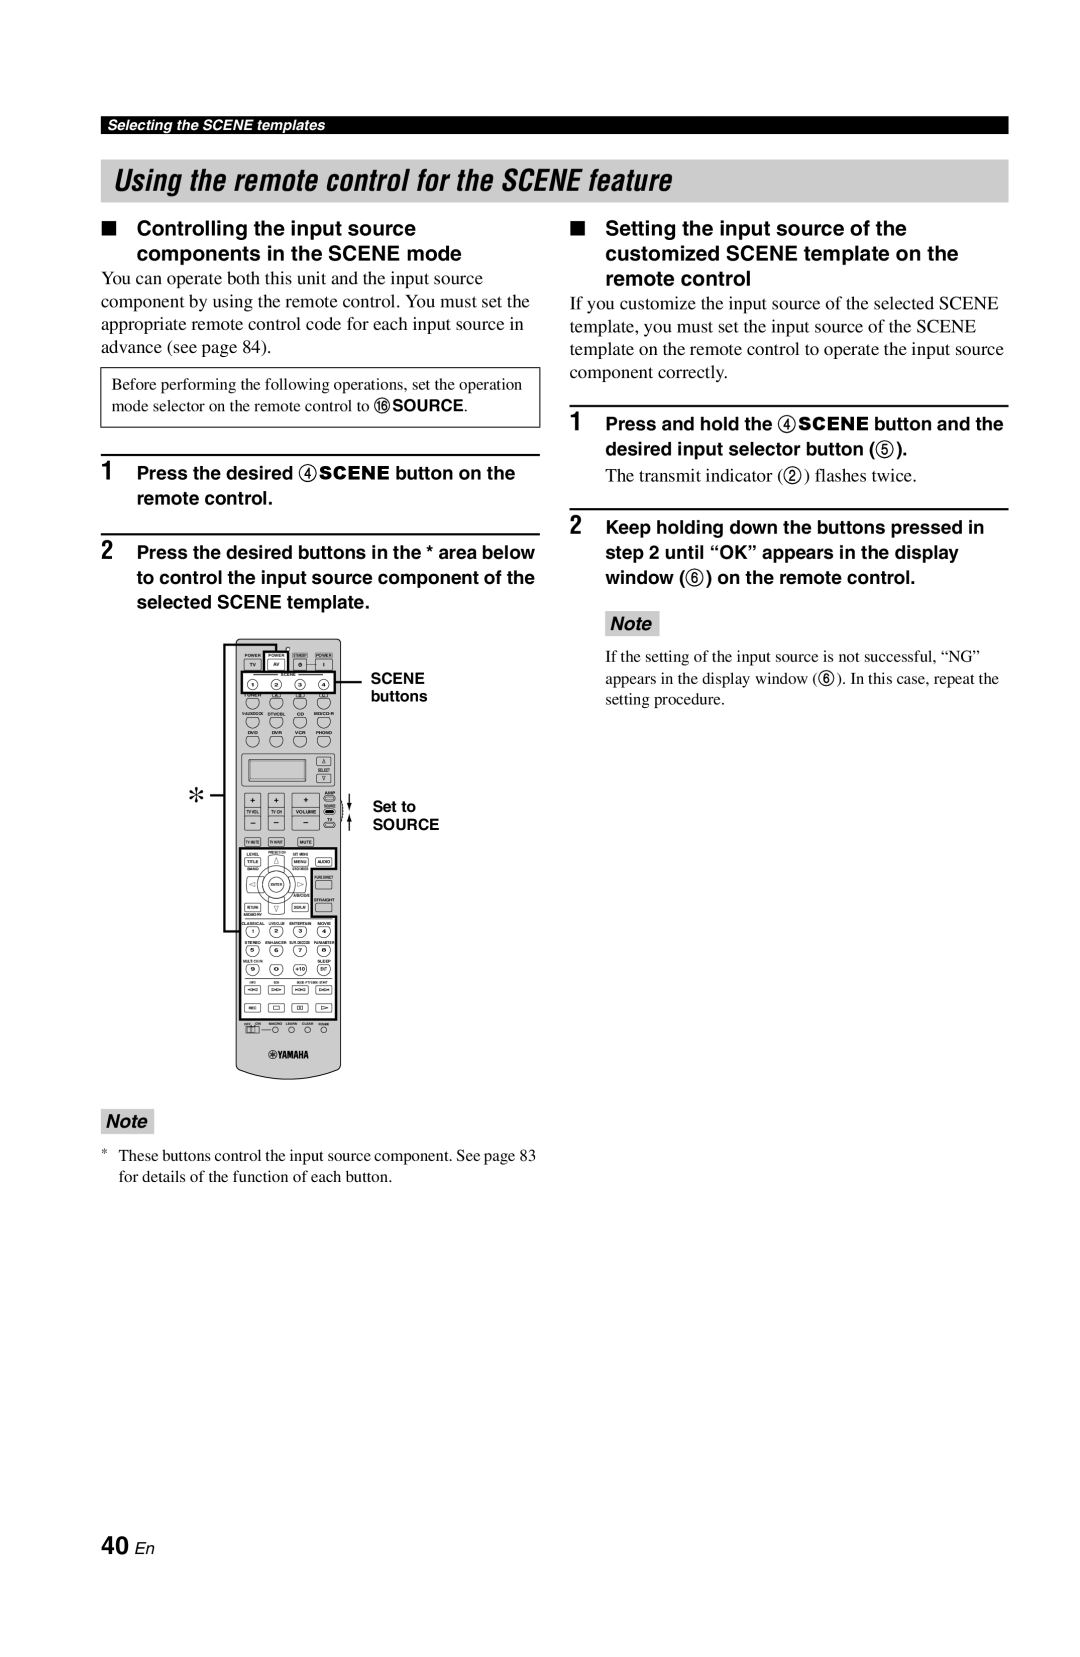
1Press the desired 4SCENE button on the remote control.
2Press the desired buttons in the * area below to control the input source component of the selected SCENE template.
| POWER | POWER |
| STANDBY | POWER |
| |
| TV | AV |
|
|
|
| SCENE |
| 1 | 2 |
| 3 |
| 4 | |
|
| SCENE |
|
|
| ||
| TUNER | A |
| B |
| C | buttons |
| DTV/CBL |
| CD |
| |||
| DVD | DVR |
| VCR | PHONO |
| |
|
|
|
|
|
| SELECT |
|
* | + | + |
| + |
| AMP |
|
|
| TV | Set to | ||||
TV VOL | TV CH |
| VOLUME | ||||
|
|
|
|
|
| SOURCE | SOURCE |
| – | – |
| – |
|
| |
| TV MUTE | TV INPUT |
| MUTE |
|
|
|
| LEVEL | PRESET/CH |
| SET MENU |
|
|
|
| TITLE |
|
| MENU |
| AUDIO |
|
| BAND |
|
| SRCH MODE |
|
|
|
|
|
|
|
| PURE DIRECT |
| |
|
| ENTER |
|
|
|
|
|
|
|
|
| A/B/C/D/E |
|
|
|
|
|
|
|
| STRAIGHT |
| |
| RETURN |
|
| DISPLAY |
|
|
|
| MEMORY |
|
|
|
|
|
|
| CLASSICAL | LIVE/CLUB |
| ENTERTAIN |
| MOVIE |
|
| 1 | 2 |
| 3 |
| 4 |
|
| STEREO | ENHANCER | SUR. DECODE | PARAMETER |
| ||
| 5 | 6 |
| 7 |
| 8 |
|
| MULTI CH IN |
|
|
|
| SLEEP |
|
| 9 | 0 |
| +10 |
| ENT |
|
| INFO | EON |
| MODE- PTY SEEK- START |
| ||
| REC |
|
|
|
|
|
|
| OFF ON | MACRO | LEARN CLEAR |
| RENAME |
| |
■Setting the input source of the customized SCENE template on the
remote control
If you customize the input source of the selected SCENE template, you must set the input source of the SCENE template on the remote control to operate the input source component correctly.
1Press and hold the 4SCENE button and the desired input selector button (5).
The transmit indicator (2) flashes twice.
2Keep holding down the buttons pressed in step 2 until “OK” appears in the display window (6) on the remote control.
Note
If the setting of the input source is not successful, “NG” appears in the display window (6). In this case, repeat the setting procedure.
Note
*These buttons control the input source component. See page 83 for details of the function of each button.